Rethinking Pie Crust
A traditional double crust pie dough recipe generally calls for about 2 ½ cups of flour, ½ pound of butter and/or shortening, and 6-8 tablespoons of water. This pie crust recipe calls for the same ratio of flour/fat, but it calls for much less water (4½ tablespoons, as opposed to 6 to 8 tablespoons). I learned this from Petra Paradez of Petee’s Pie Company in NYC, who makes some of the best pie I’ve ever had. Their crust is impossibly flaky and delicious. Originally, I assumed they used lard or shortening to achieve that flakiness. (I personally don’t use shortening in my pie crust, because while it does add flakiness, it’s also partially hydrogenated oil, and I would prefer to use all natural ingredients, which is why I like to use only butter.) However, I soon found out that Petee’s uses only grass-fed butter in all of their pie crusts. I had to know their secret! This led me to watching this video of Paradez talking about how to make perfect pie crust at home, and several key revelations:- Most pie crust recipes call for too much water: Adding more water helps the dough come together and become easier to work with, but it also activates the gluten in the flour, making the crust tough instead of flaky.
- Using frozen butter: While most recipes call for “very cold butter,” Paradez calls for butter that has been frozen for at least 30 minutes. However, I used butter that’s frozen solid! I find it easier to grate (more on that later), and it stays cold longer. Plus, I store butter in the freezer, so it’s easy for me to just take out a couple sticks of frozen butter anytime I need it.
- Dissolving the sugar/salt before adding to the dough: A brilliant tip! This allows the sugar and salt to evenly incorporate throughout the dough, without sinking to the bottom of the mixing bowl.
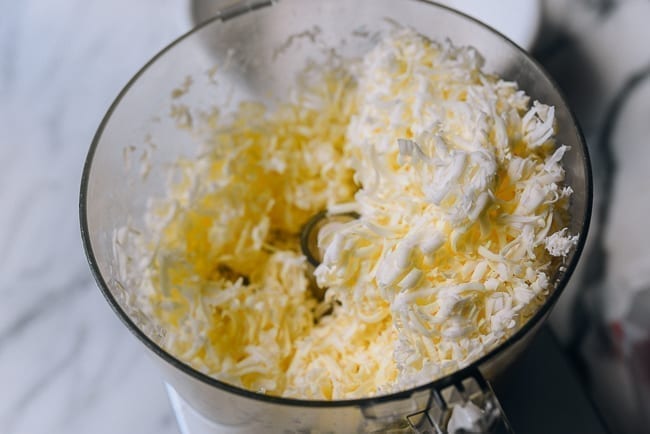
- Grating the butter: While I usually use a pastry cutter, to incorporate my butter into the flour, grating the butter first made this process easier, and also helped the dough come together despite using less water! A food processor with a grating attachment makes this step less painful.
My Problem with Most Apple Pie Filling
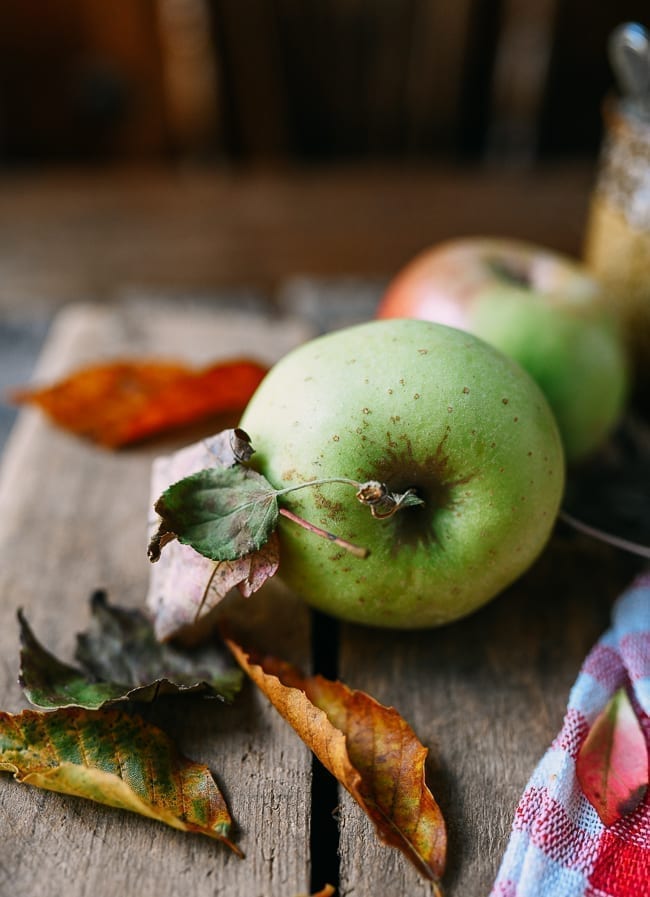
I’m not a fan of apple pies where the filling is partially cooked and/or still crunchy. I find that no matter how thinly I slice my apples, if I just put raw apples directly into a pie shell, they’re usually still crunchy after baking for an hour. That’s why I’m pre-cooking my filling for this apple pie recipe to yield tender apples. It’s also a bit less sweet than most traditional apple pie recipes, as I think too much sugar can overpower the apple cinnamon flavor. I also add a tablespoon of lemon juice to offset the sweetness and add a little extra tartness. If you can, use a blend of different apples for a more complex flavor. I used Macouns and Golden Delicious apples, because that’s what was ripe at our local orchard. You can also use a blend of Honeycrisp, Granny Smith, McIntosh, and/or Braeburn apples.
Apple Pie Recipe Instructions
Dissolve 1 tablespoon sugar and 1 teaspoon salt in 2 tablespoons of hot water, and then add an additional 2 ½ tablespoons of cold water. Transfer to the freezer for 20 minutes. Carefully grate the frozen butter using a box grater or the grating attachment on your food processor. You can also very finely chop it, taking care to minimize contact with your warm hands.
 Add 2 1/2 cups all purpose flour to a mixing bowl, along with the grated butter.
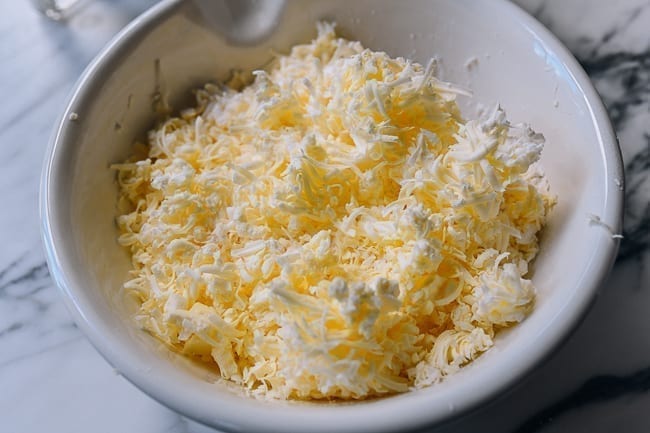 Combine the butter and flour quickly with your hands for a few seconds.
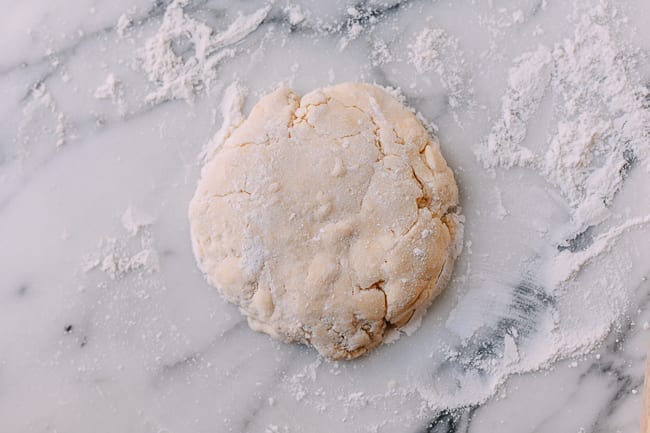
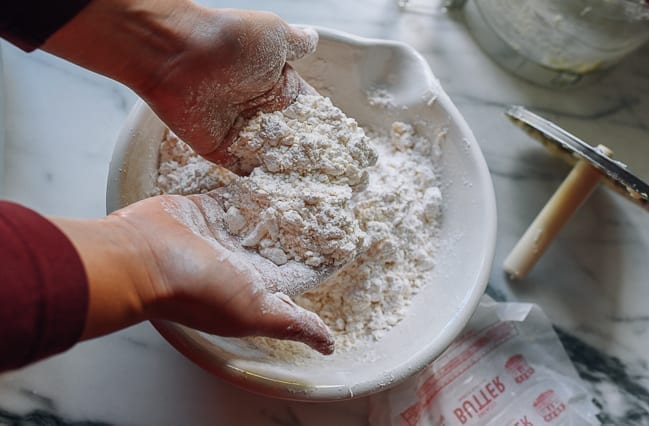 Drizzle the cold water solution evenly over the flour and butter, and work it with your hands quickly to squeeze it together into 2 balls roughly the same size. It will be a little dry and a tad challenging to ball together, but do your best. Place the dough in airtight reusable silicone bags (or wrap in plastic), and press the balls down into discs.
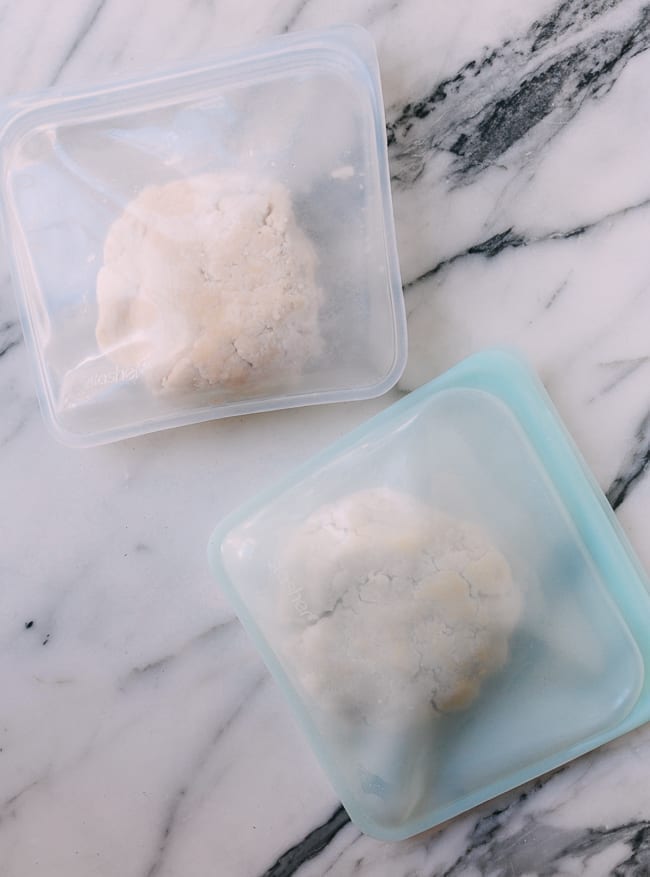 Transfer the dough discs to the fridge to chill for at least 1 hour (you can also make the dough a day in advance or freeze it if you’d like to make it further in advance).
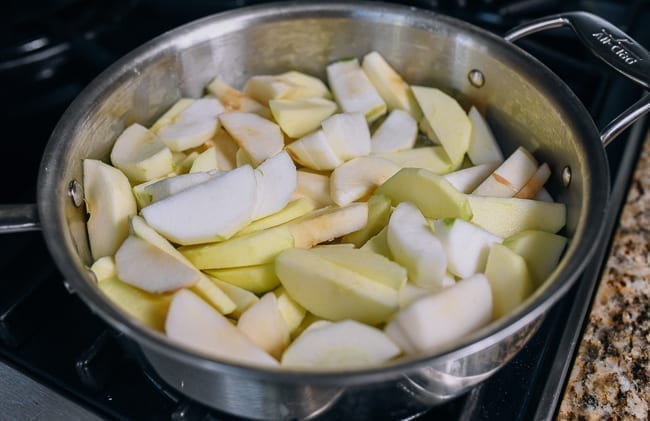
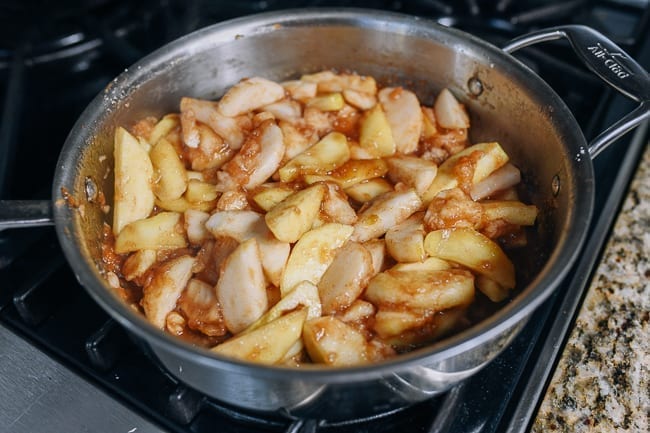
While the pie crust is resting, make the filling. Melt 1 tablespoon of butter in a large saute pan over medium high heat. Add the apples, and cook for 3 minutes, stirring to prevent sticking.
Transfer the dough discs to the fridge to chill for at least 1 hour (you can also make the dough a day in advance or freeze it if you’d like to make it further in advance).
While the pie crust is resting, make the filling. Melt 1 tablespoon of butter in a large saute pan over medium high heat. Add the apples, and cook for 3 minutes, stirring to prevent sticking.
 Add the cinnamon, lemon juice, and ½ cup of sugar.
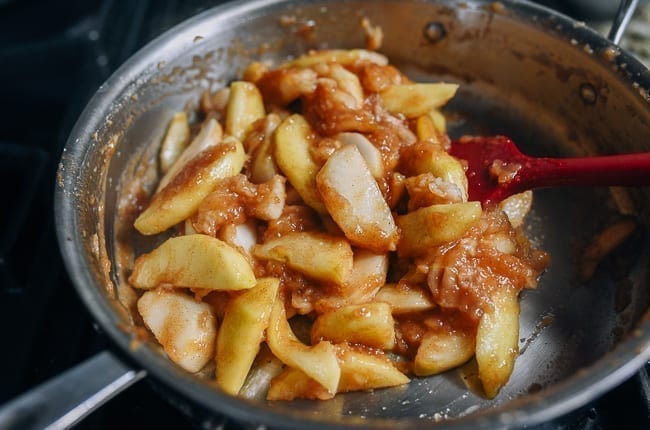
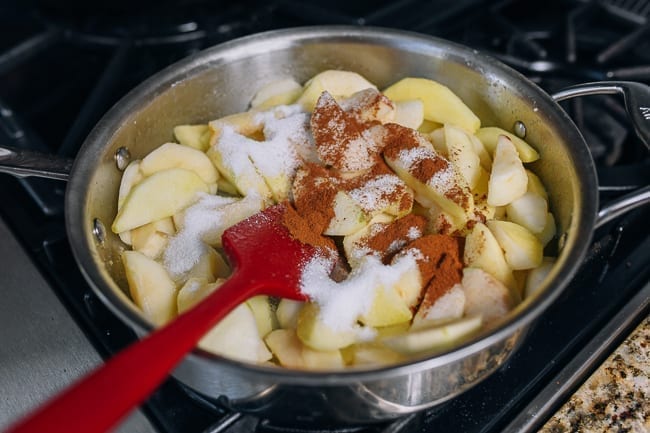 Cook for 5 minutes, until the apples are somewhat softened. Turn off the heat.
 Dissolve the cornstarch in 2 tablespoons of water, and off the heat, pour it into the apple mixture. Stir to thicken. Allow to cool completely—the filling shouldn’t be warm when you add it to the pie shell!
 Position a rack in the center of your oven and place a baking sheet on the rack. Preheat the oven to 400°F/200°C.
Remove the dough from the fridge. Allow it to sit at room temperature for about 5 minutes to soften slightly, so it’s easier to work with.
Position a rack in the center of your oven and place a baking sheet on the rack. Preheat the oven to 400°F/200°C.
Remove the dough from the fridge. Allow it to sit at room temperature for about 5 minutes to soften slightly, so it’s easier to work with.
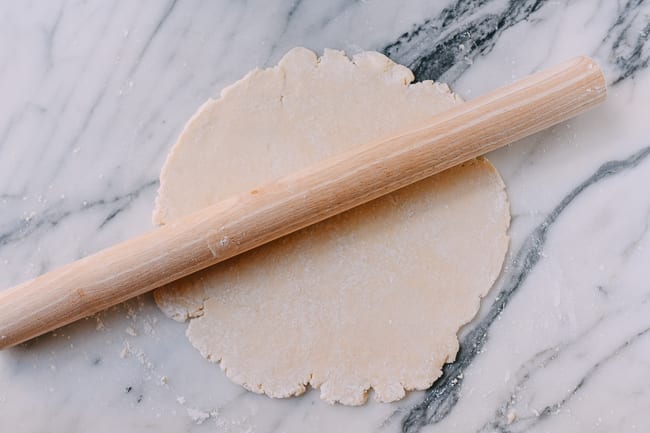
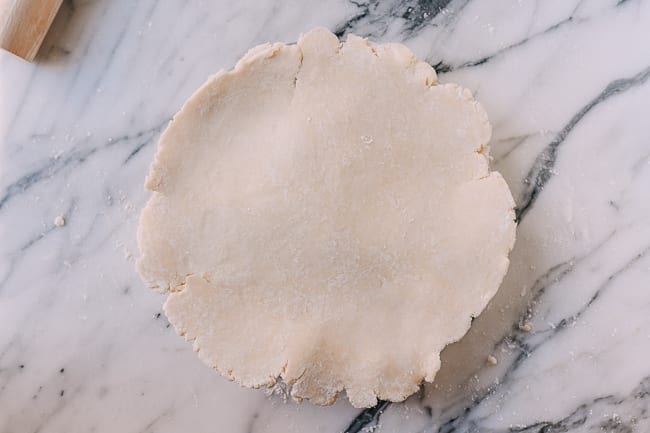
 If one of your dough discs looks larger than the other, take the larger of the two, and roll it out into an 11-12 inch (30 cm) circle.
 Fold gently in half, and transfer to the pie shell. The dough may not be perfectly round, and might break easily, and that’s ok.
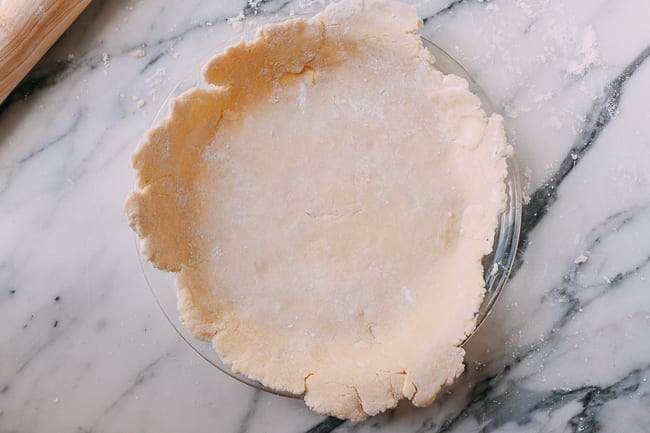 Redistribute dough, patch it, and press it back together if needed.
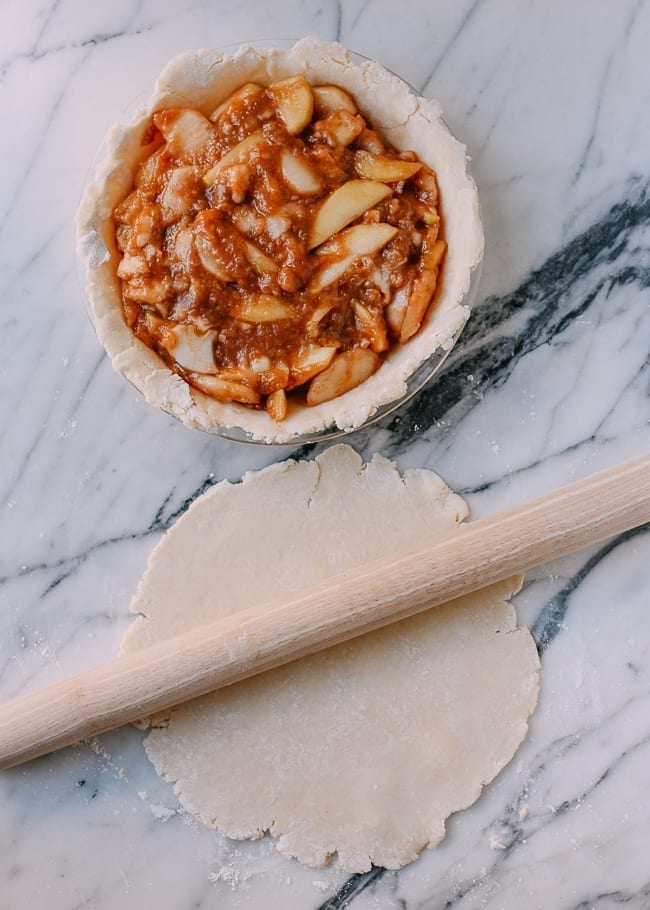
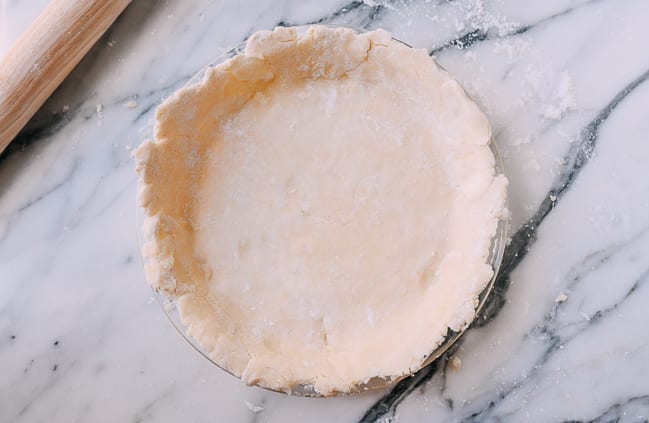 Place the pie shell in the refrigerator while you roll out the top crust. Roll the top crust into a 10-inch circle. Take the pie shell back out of the fridge, and add the cooled filling in an evenly layer.
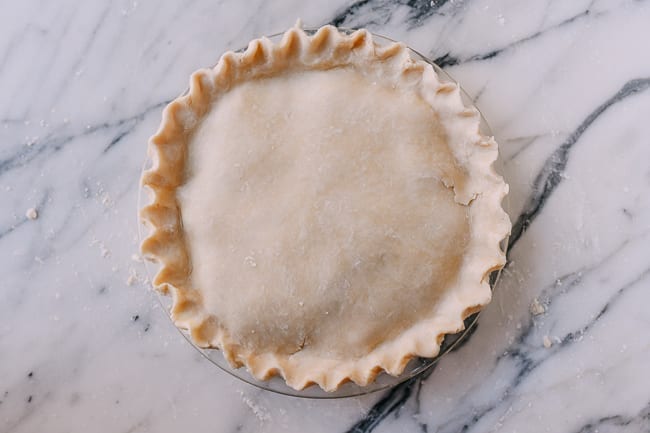
 Cover with the top crust…
 And flute the edges or crimp the edges with a fork.
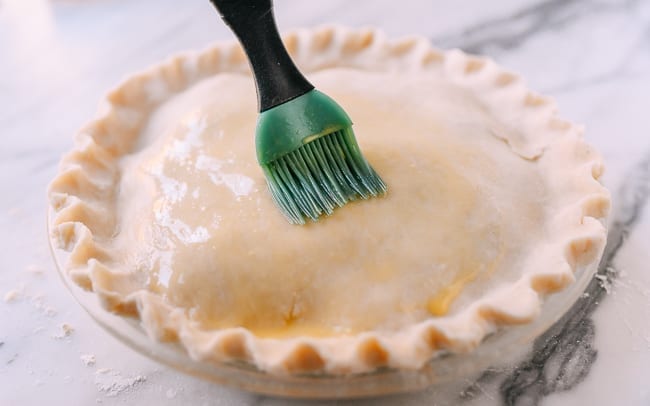
 Brush the crust with egg wash (1 egg beaten with 1 tablespoon of water).
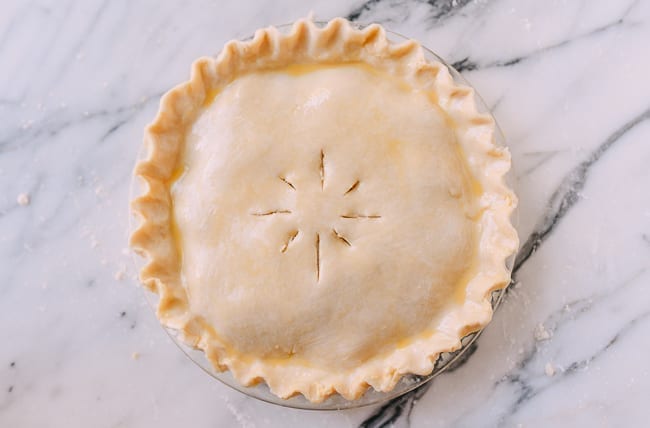
 Cut vent holes in the top.
 Place the pie on the heated baking sheet, and bake for 20 minutes. Then rotate the baking sheet 180°, reduce the heat to 375°F/190°C, and bake for an additional 30-35 minutes.
 Cool for at least 2 hours before slicing and serving.
Recipe

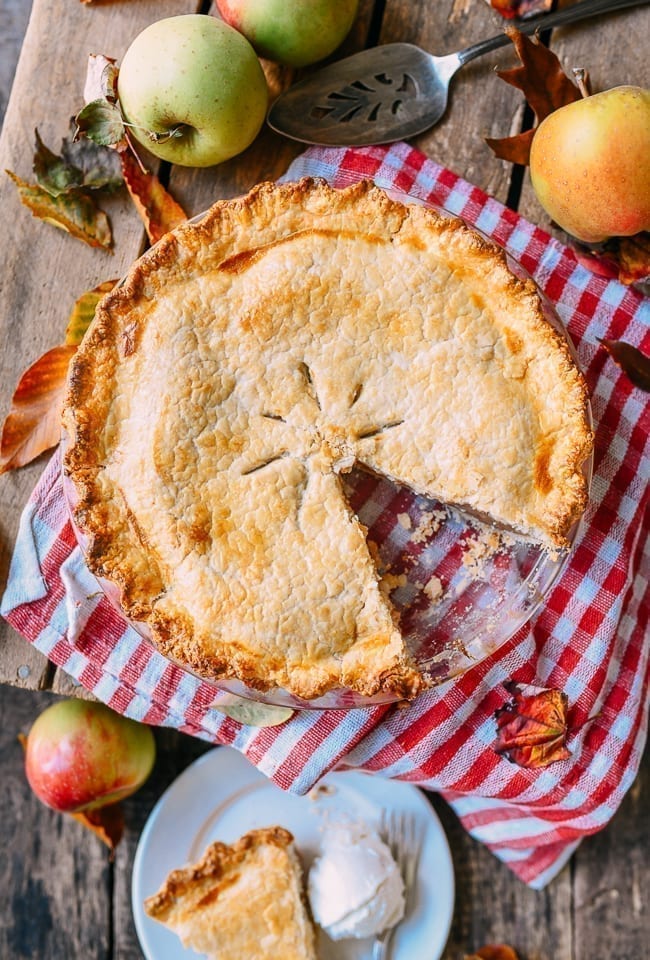
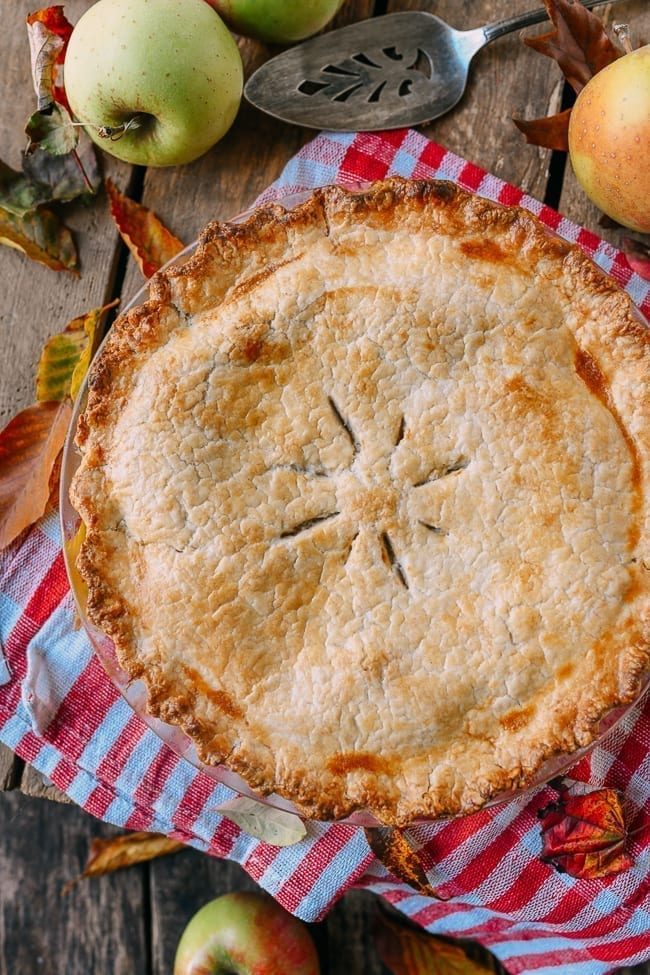
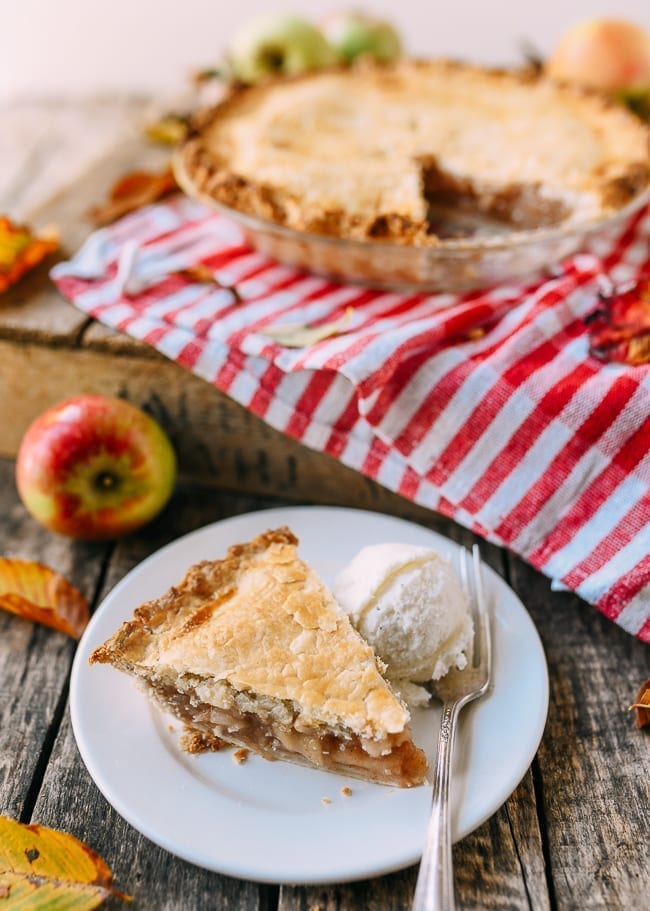
Flaky Apple Pie
This apple pie has a buttery, flaky crust (less water in the crust is key!) and a tender, not-too-sweet, and perfectly balanced filling.
Serves: 12
Ingredients
For the crust:
- 1 tablespoon sugar
- 1 teaspoon salt
- 2 tablespoons hot water
- 2 1/2 tablespoons cold water
- 8 ounces unsalted butter (8 ounces/225g = 2 sticks)
- 2 1/2 cups all purpose flour
For the filling:
- 1 tablespoon unsalted butter
- 7-8 medium apples (about 2 ½ pounds/1130g; peeled, cored, and sliced into ½-inch thick slices)
- 1 teaspoon cinnamon
- 1 tablespoon lemon juice
- 1/2 cup sugar
- 1 1/2 tablespoons cornstarch
Egg wash:
- 1 egg (beaten with 1 tablespoon water)
Instructions
Prepare the crust:
- Dissolve 1 tablespoon sugar and 1 teaspoon salt in 2 tablespoons of hot water, and then add an additional 2 ½ tablespoons of cold water. Transfer to the freezer for 20 minutes.
- Carefully grate the frozen butter using a box grater or the grating attachment on your food processor. You can also very finely chop it, taking care to minimize contact with your warm hands.
- Add 2 1/2 cups all purpose flour to a mixing bowl, along with the grated butter. Combine the butter and flour quickly with your hands for a few seconds.
- Drizzle the cold water solution evenly over the flour and butter, and work it with your hands quickly to squeeze it together into 2 balls roughly the same size. It will be a little dry and a tad challenging to ball together, but do your best. Place the dough in airtight reusable silicone bags (or wrap in plastic), and press the balls down into discs.
- Transfer the dough discs to the fridge to chill for at least 1 hour (you can also make the dough a day in advance or freeze it if you’d like to make it further in advance).
Make the filling:
- While the pie crust is resting, make the filling. Melt 1 tablespoon of butter in a large saute pan over medium high heat. Add the apples, and cook for 3 minutes, stirring to prevent sticking.
- Add the cinnamon, lemon juice, and ½ cup of sugar. Cook for 5 minutes, until the apples are somewhat softened. Turn off the heat.
- Dissolve the cornstarch in 2 tablespoons of water, and off the heat, pour it into the apple mixture. Stir to thicken. Allow to cool completely—the filling shouldn’t be warm when you add it to the pie shell!
Assemble & bake:
- Position a rack in the center of your oven and place a baking sheet on the rack. Preheat the oven to 400°F/200°C.
- Remove the dough from the fridge and allow it to sit at room temperature for about 5 minutes to soften slightly, so it’s easier to work with. If one of your dough discs looks larger than the other, take the larger of the two, and roll it out into an 11-12 inch (30 cm) circle. Fold gently in half, and transfer to the pie shell. The dough will break easily, and that’s ok. Patch it and press it back together if needed.
- Place the pie shell in the refrigerator while you roll out the top crust. Roll the top crust into a 10-inch circle. Take the pie shell back out of the fridge, and add the cooled filling in an evenly layer. Cover with the top crust, and flute the edges or crimp the edges with a fork.
- Brush the crust with egg wash (1 egg beaten with 1 tablespoon of water), and cut vent holes in the top. Place the pie on the heated baking sheet, and bake for 20 minutes. Then rotate the baking sheet 180°, reduce the heat to 375°F/190°C, and bake for an additional 30-35 minutes. Cool for at least 2 hours before slicing and serving.
Nutrition Facts
Calories: 340kcal (17%) Carbohydrates: 45g (15%) Protein: 4g (8%) Fat: 17g (26%) Saturated Fat: 10g (50%) Cholesterol: 57mg (19%) Sodium: 203mg (8%) Potassium: 151mg (4%) Fiber: 3g (12%) Sugar: 20g (22%) Vitamin A: 579IU (12%) Vitamin C: 5mg (6%) Calcium: 19mg (2%) Iron: 1mg (6%)