Making brioche is one of those things that you probably just want to leave to the professionals. But after having successfully made Milk Bread, Whole Wheat Bread, Multigrain Bread, and English Muffins (three kinds––also see Multigrain English Muffins & Pumpkin English Muffins!), I wanted to up my bread-making game. I have to admit, this homemade brioche recipe was pretty intimidating at first.
After all, it’s French. What could be more intimidating than the masters of bread and pastry? That said, it is very doable!
What is Brioche?
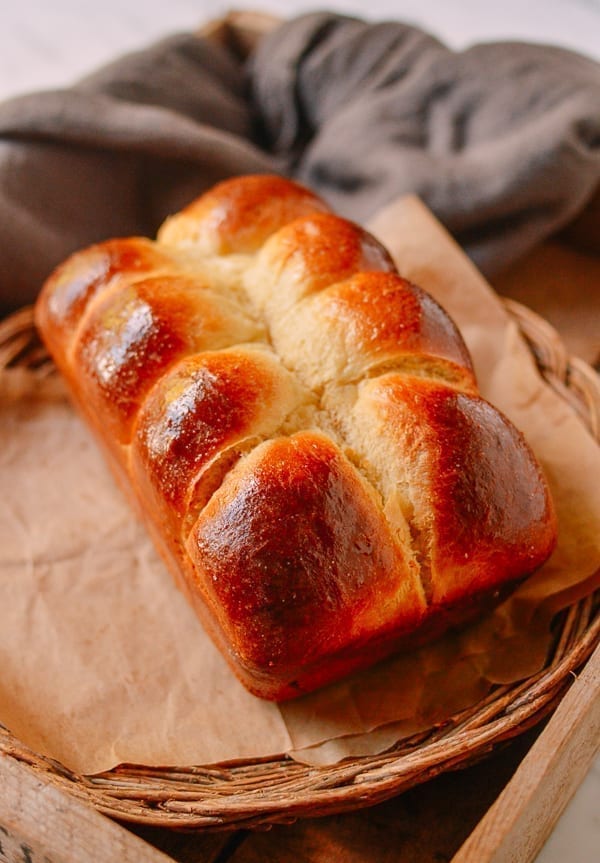
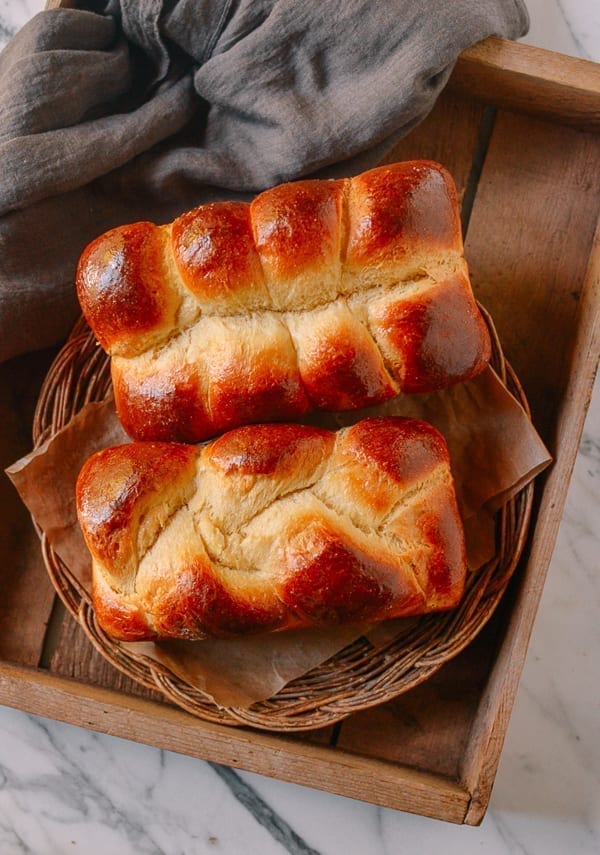
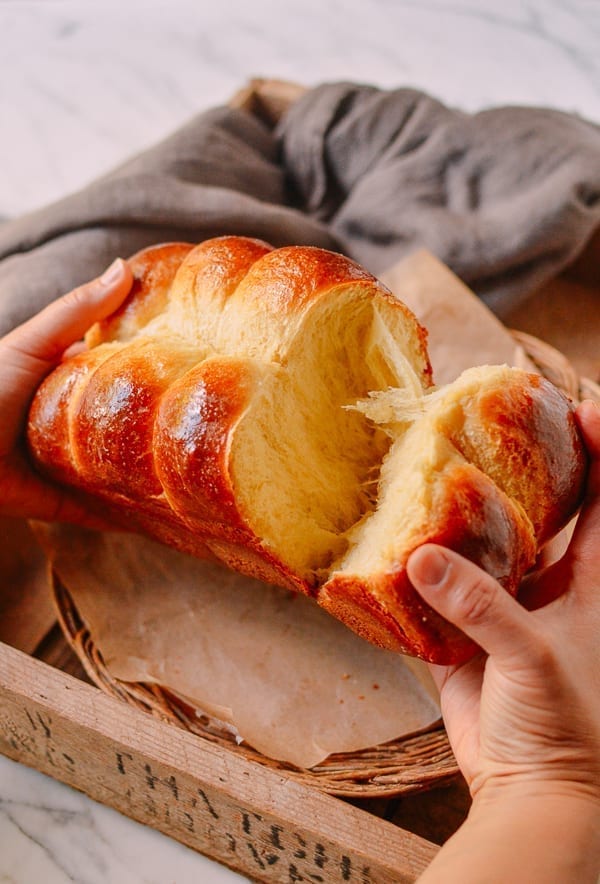
Brioche is a type of French bread made from a dough enriched with butter and eggs, giving it a tender, moist crumb and dark golden crust. Brioche comes in all shapes and sizes––dinner buns, hamburger buns, loaves, plain or with savory/sweet fillings.
Pretty much everyone agrees that brioche is Very Fancy. Put something between a brioche bun and it’s instantly much fancier (and expensive!). A loaf costs anywhere from $7 to $12. Our local supermarket sells 6 hamburger buns for $8 (compared to a regular hamburger bun, which costs less than half of that).
But only after making this bread do you realize why brioche is so darn expensive––it’s a lot of rich ingredients, and it takes work!
Making Brioche: What You Should Know
To pull off homemade brioche, there is much more behind the scenes work, and the ingredients are a little pricier as well. I won’t sugar coat the situation for you:
- Brioche takes two days, because an overnight cold proofing is required.
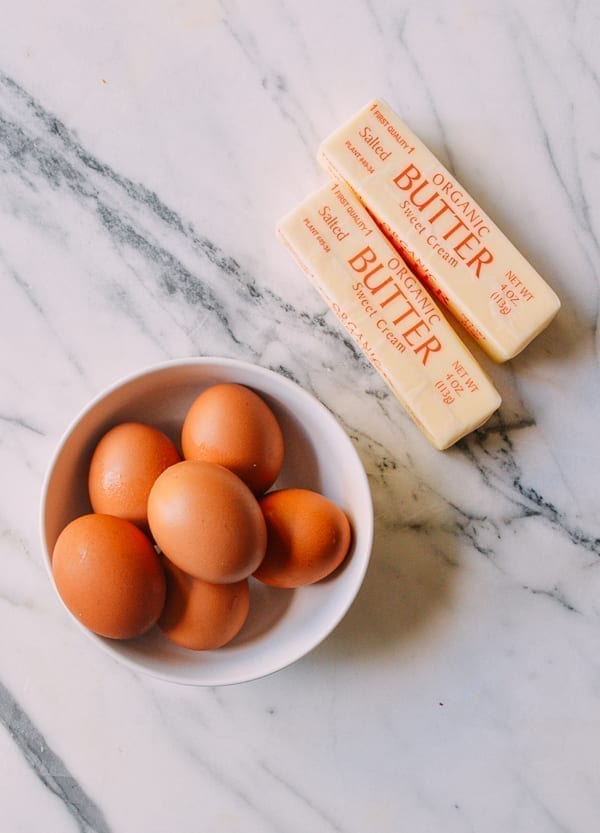
- This bread requires 1 cup of butter and 6 eggs (unheard of, right?)
- The dough is pretty wet and sticky throughout the whole process.
- This bread requires lots of patience and a good amount of time to make the dough.
- There are no shortcuts or quick steps. In order to for this bread to turn out right, you have to follow each step diligently. I’ve also included weight measurements for each ingredient for bakers outside of the U.S!
I know I may have scared you off, but that said, while this bread does take time, it’s not difficult to make.
Plus, compared to some other breads like baguettes (just ask Kaitlin, who unsuccessfully attempted baguettes with pale, limp results every time), this homemade brioche recipe is easier to pull off.
I generally don’t have much patience, but I find this homemade brioche is such a rewarding achievement that I don’t mind it. I’ve already made it a few times, and I’ve earned my bragging rights.
If you do give this brioche recipe a try, leave me a comment, and I’ll give you two big thumbs up for a job well done while you’re snacking on golden bread slathered with butter.
Homemade Brioche: Recipe Instructions
Day 1
Take out 6 eggs and 1 cup / 230g butter a few hours before you begin to bring them to room temperature. Prepare all other ingredients before starting.
In the bowl of an electric mixer fitted with a paddle attachment, mix together 1 cup flour (130g), 1 tablespoon active dry yeast (9g), ¼ cup granulated sugar (50g), and 1½ teaspoons salt (8g), before adding ½ cup (120 ml) warm water (at about 120 degrees F/49 degrees C). Turn the mixer on at medium speed for a couple of minutes until well-combined.
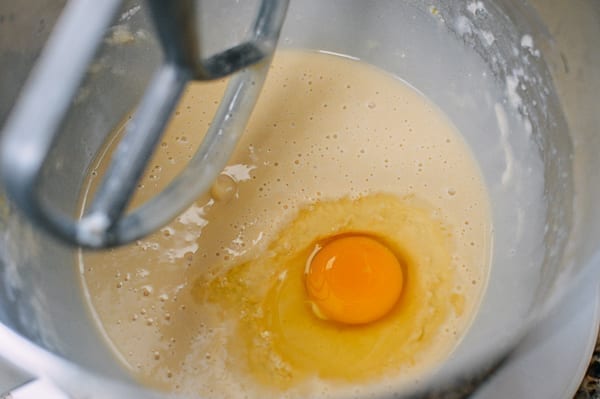
Now add in 1 egg at a time. Only add the next egg when the previous egg is well incorporated.
Set the mixer to low. Add in 2 cups of flour (260g), a ¼ cup at a time, and let the mixer go until the dough is well combined.
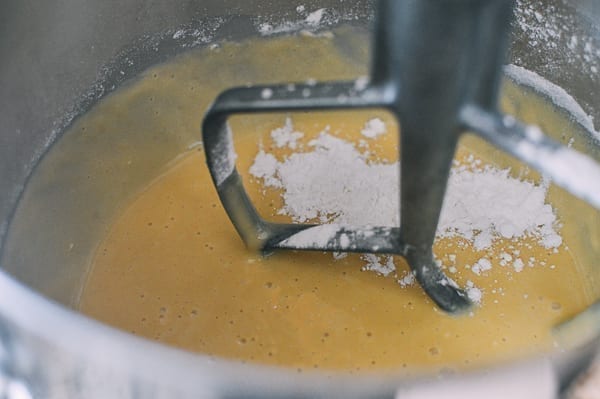
Turn the mixer off, and cut the 2 sticks of softened butter into small cubes/chunks. With the mixer on medium, add the butter in 6 separate batches, waiting until the butter is well incorporated after each batch before adding more.

Set mixer to low. Now add in 1 3/4 cups of flour (230 grams), a ¼ cup at a time until the dough is well-combined. This dough will be very sticky (closer to a very thick batter) when it’s done.

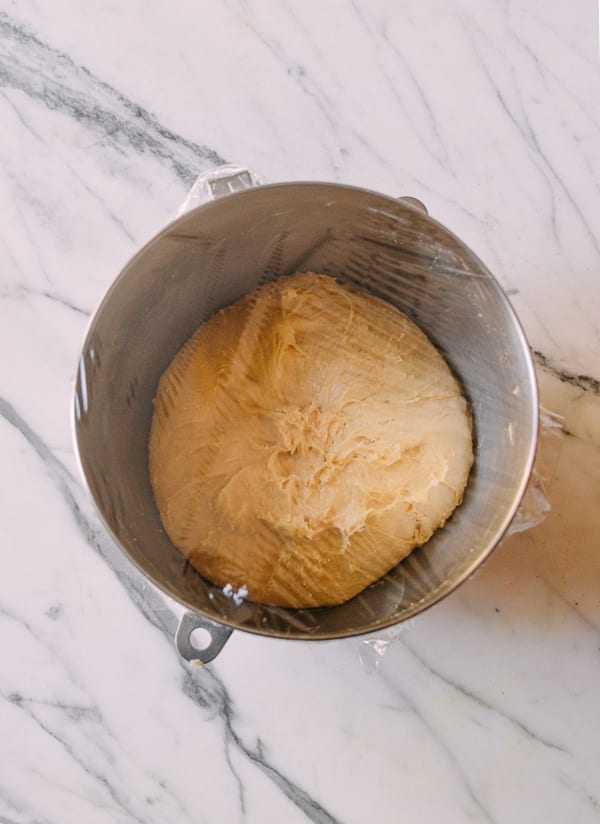
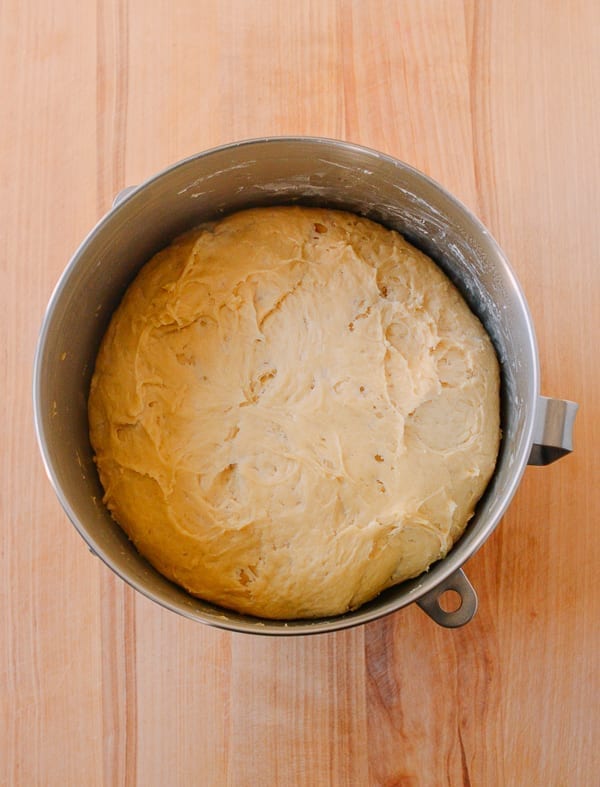
Use a rubber spatula to clean the dough off the mixing paddle, and scrape the sides of the mixing bowl. Cover the dough with a plate or plastic wrap and let it proof at room temperature (about 70 degrees F/21 degrees C) for 3 hours, until it doubles in size.
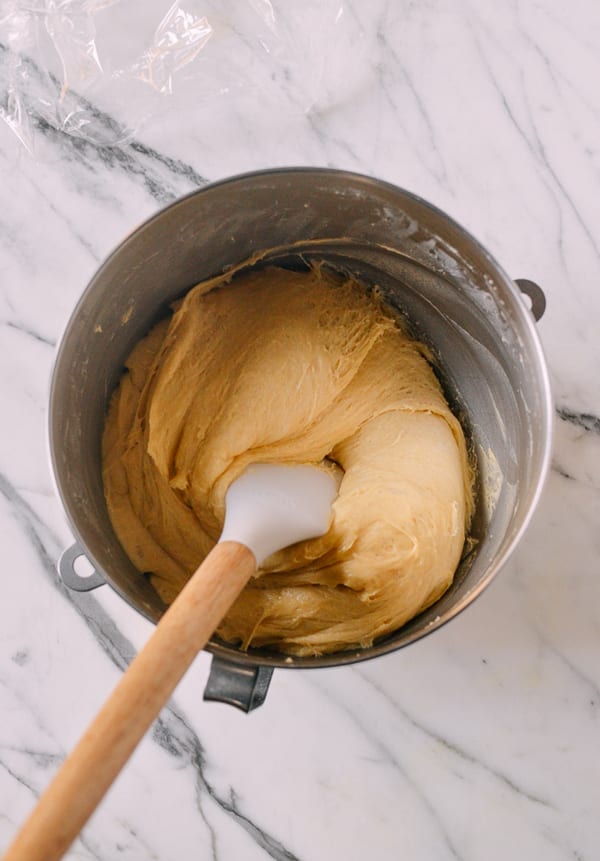
After 3 hours have elapsed, punch and deflate the dough completely with a rubber spatula.
Cover the dough with a plate again, and refrigerate it overnight until 3 hours before you’re ready to bake the next day (it will take time to shape and proof the dough again before baking).
Day 2
Remove the dough from the refrigerator.
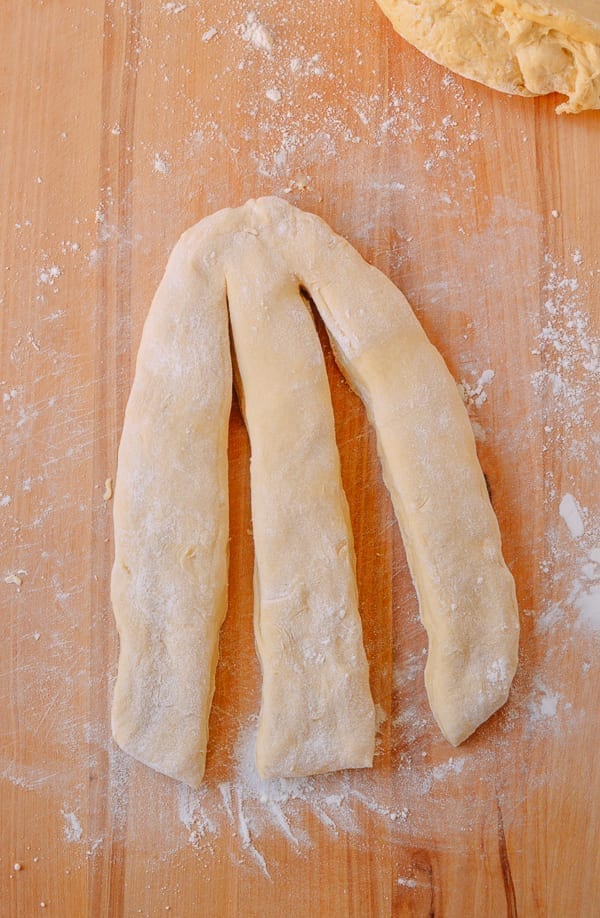
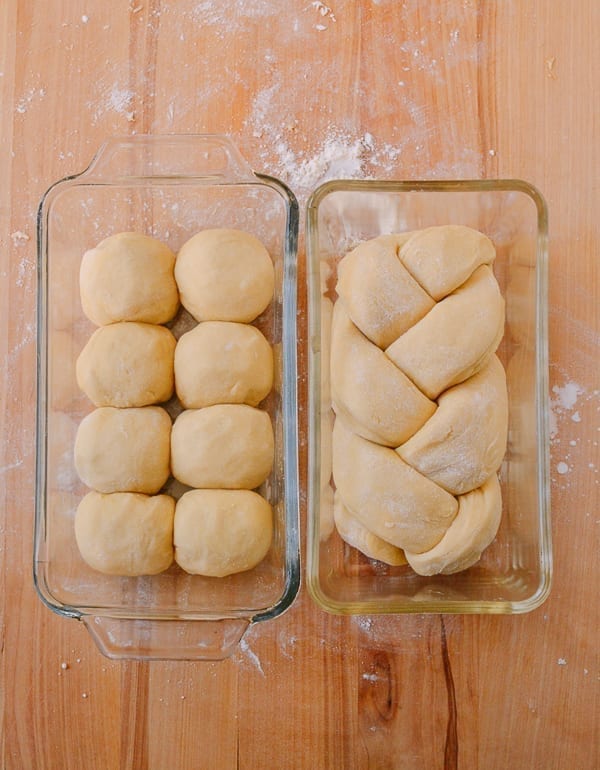
Divide it into two equal pieces. Shape them on a lightly floured clean surface, and place each into its own loaf pan (loaf pan size: 9″ x 5″). The chilled dough is a bit stiffer to work with, so you can use a rolling pin to help shape it into the desired width and length. If you do this, make sure to roll the dough lengthwise like a cigar when you’re done to ensure a rounded top to your loaf. Whatever you do, the dough should fit snugly in the loaf pan.
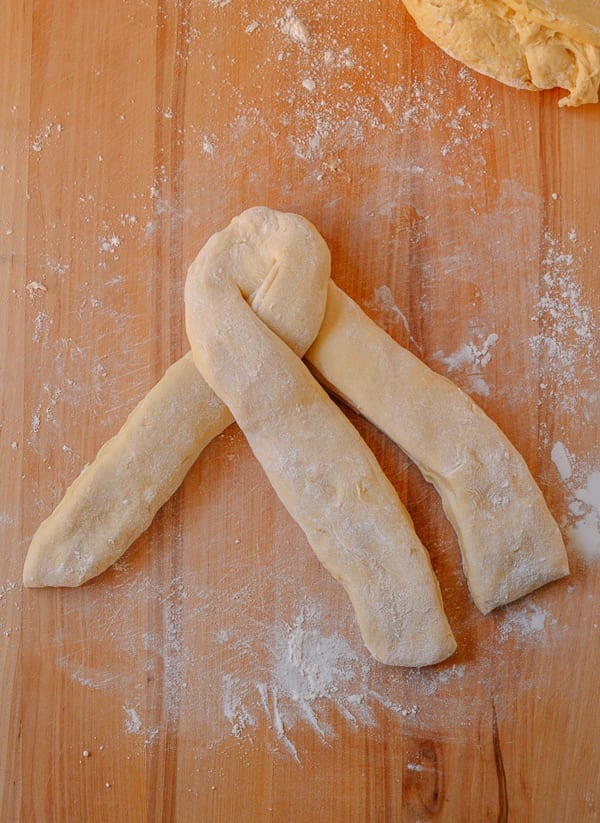
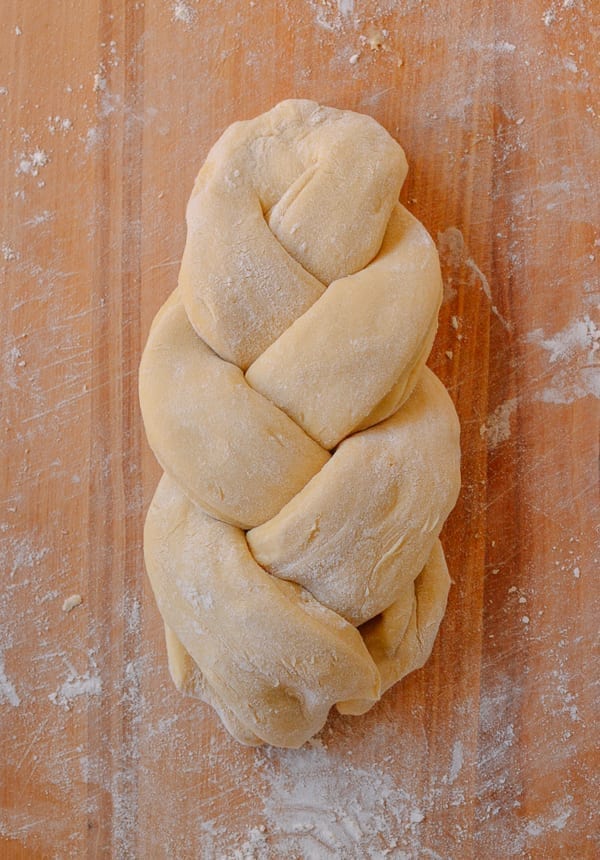
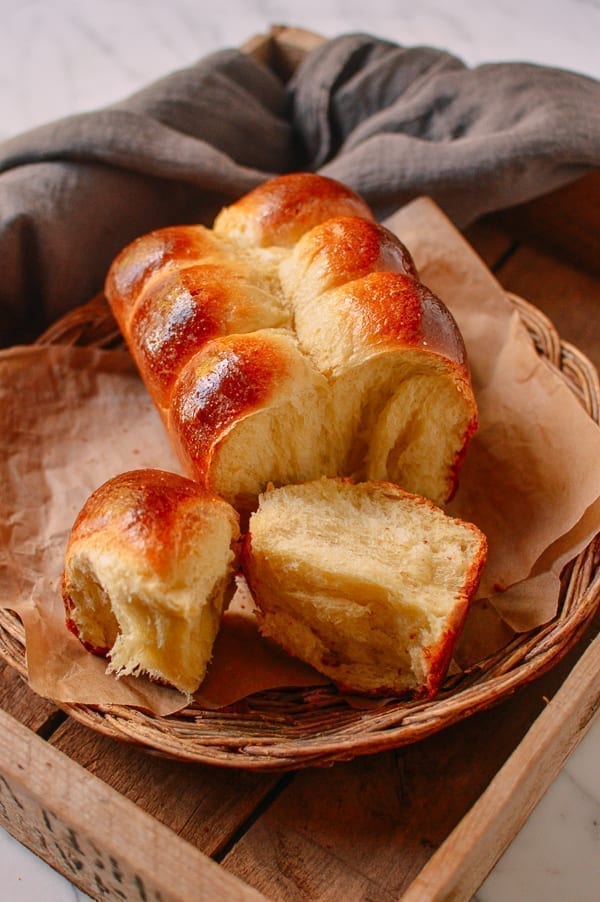
Now, you can create plain loaves as I’ve described above, or you could create a braid or individual buns, as pictured. Totally up to you, the baker!
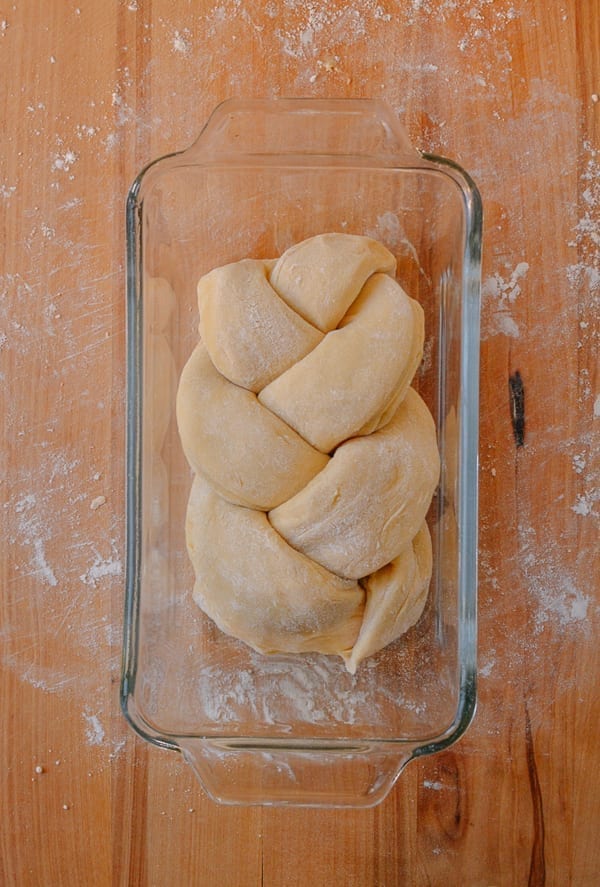
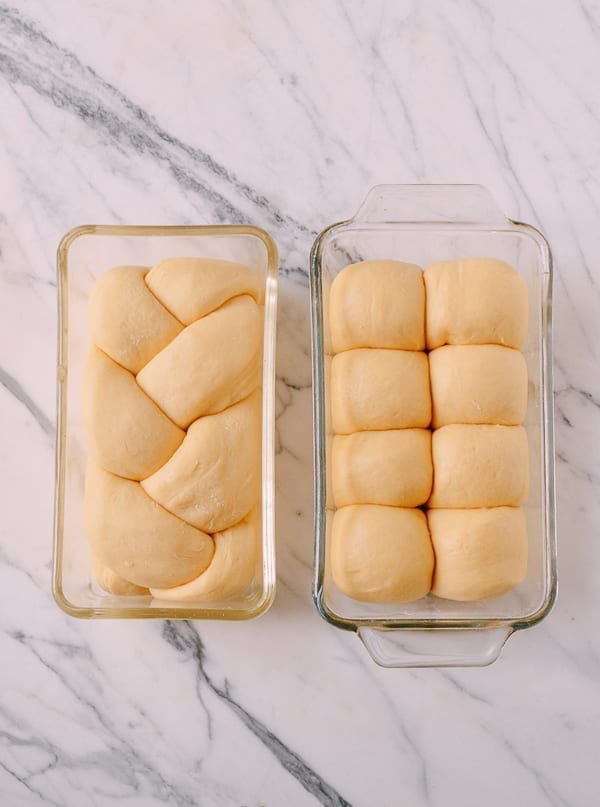
Cover each loaf pan tightly with clear plastic wrap, and let proof at room temperature for about 2½ to 3 hours, until doubled in size.
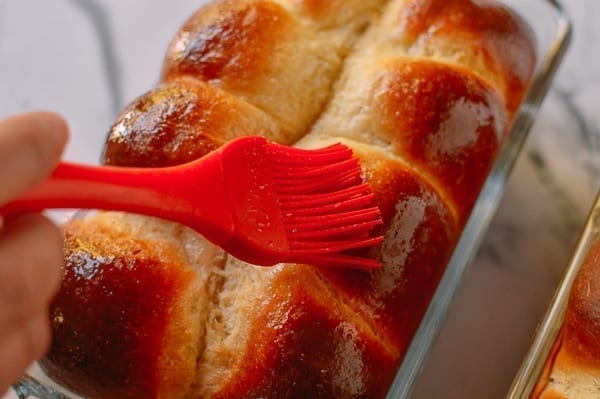
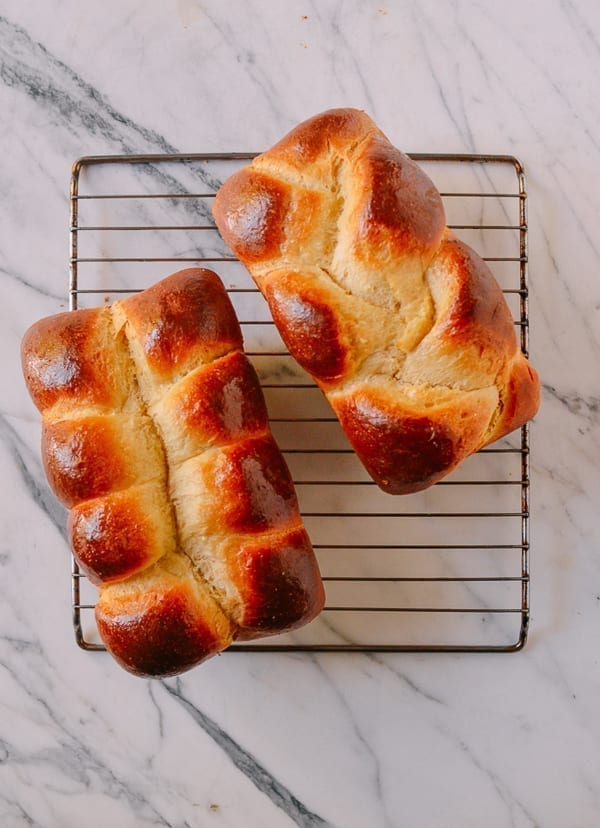
Preheat the oven to 350 degrees F / 180 degrees C while the dough is proofing. Bake for 37 to 40 minutes in the center of the oven. Tent the loaves with foil if the crust is getting too dark. While it’s baking, prepare the sugar water by mixing 2 teaspoons sugar with 1 tablespoon water until the sugar is completely dissolved. When the bread is done, remove from the oven, and immediately brush the tops of your homemade brioche with sugar water to give it that shiny finish.
Let the bread sit in the loaf pan for 5 minutes to cool before transferring the loaves from the pans to a cooling rack.
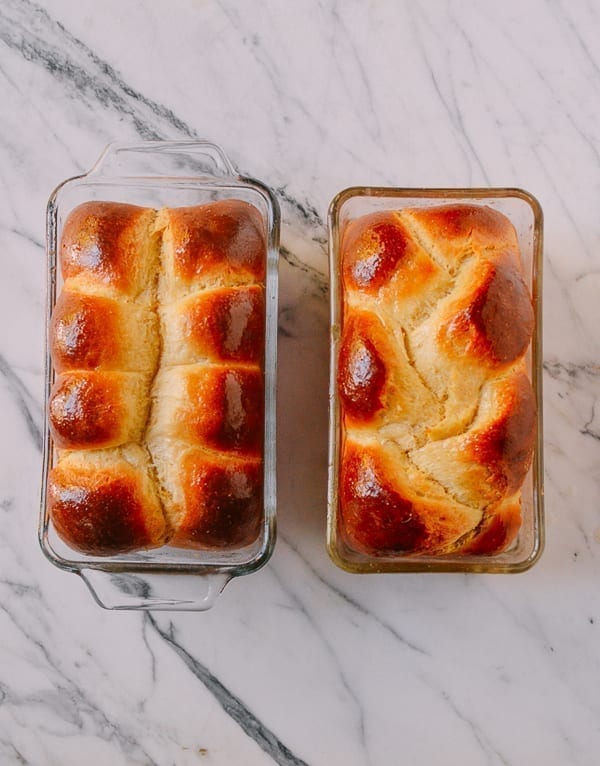
This cooling step is important so the bread does not fall apart.
Once the brioche has cooled completely, you can store it in a tight sealed container or zip-lock bag to keep it fresh.
This homemade brioche is also heavenly when served slightly warm with softened butter. Leftover brioche also makes excellent French toast!
Looking for more authentic recipes? Subscribe to our email list and be sure to follow us on Pinterest, Facebook, Instagram, and Youtube!
Recipe

Judy’s Homemade Brioche Recipe
Ingredients
- 6 eggs (at room temperature)
- 1 cup unsalted butter (2 sticks/½ pound/230g, at room temperature)
- 4 ¾ cups all-purpose flour (620g, divided)
- 1 tablespoon active dry yeast (9g)
- ¼ cup granulated sugar (50g)
- 1½ teaspoons salt (8g)
- ½ cup warm water (120 ml, about 120 degrees F/49 degrees C)
- 2 teaspoons sugar (10g, dissolved in 1 tablespoon/15 ml water)
Instructions
Day 1:
- Take out 6 eggs and 1 cup / 230g butter a few hours before you begin to bring them to room temperature. Prepare all other ingredients before starting.
- In the bowl of an electric mixer fitted with a paddle attachment, mix together 1 cup flour (130g), 1 tablespoon active dry yeast (9g), ¼ cup granulated sugar (50g), and 1½ teaspoons salt (8g), before adding ½ cup (120 ml) warm water (at about 120 degrees F/49 degrees C). Turn the mixer on at medium speed for a couple of minutes until well-combined.
- Now add in 1 egg at a time. Only add the next egg when the previous egg is well incorporated.
- Set the mixer to low. Add in 2 cups of flour (260g), a ¼ cup at a time, and let the mixer go until the dough is well combined.
- Turn the mixer off, and cut the 2 sticks of softened butter into small cubes/chunks. With the mixer on medium, add the butter in 6 separate batches, waiting until the butter is well incorporated after each batch before adding more.
- Set mixer to low. Now add in 1 3/4 cups of flour (230 grams), a ¼ cup at a time until the dough is well-combined. This dough will be very sticky (closer to a very thick batter) when it’s done.
- Use a rubber spatula to clean the dough off the mixing paddle, and scrape the sides of the mixing bowl. Cover the dough with a plate or plastic wrap and let it proof at room temperature (about 70 degrees F/21 degrees C) for 3 hours, until it doubles in size.
- After 3 hours have elapsed, punch and deflate the dough completely with a rubber spatula. Cover the dough with a plate again, and refrigerate it overnight until 3 hours before you’re ready to bake the next day (it will take time to shape and proof the dough again before baking).
Day 2:
- Remove the dough from the refrigerator. Divide it into two equal pieces. Shape them on a lightly floured clean surface, and place each into its own loaf pan (loaf pan size: 9" x 5"). The chilled dough is a bit stiffer to work with, so you can use a rolling pin to help shape it into the desired width and length. If you do this, make sure to roll the dough lengthwise like a cigar when you’re done to ensure a rounded top to your loaf. Whatever you do, the dough should fit snugly in the loaf pan.
- Now, you can create plain loaves as I’ve described above, or you could create a braid or individual buns, as pictured. Totally up to you, the baker!
- Cover each loaf pan tightly with clear plastic wrap, and let proof at room temperature for about 2½ to 3 hours, until doubled in size.
- Preheat the oven to 350 degrees F / 180 degrees C while the dough is proofing. Bake for 37 to 40 minutes in the center of the oven. Tent the loaves with foil if the crust is getting too dark. While it’s baking, prepare the sugar water by mixing 2 teaspoons sugar with 1 tablespoon water until the sugar is completely dissolved. When the bread is done, remove from the oven, and immediately brush the tops of the bread with sugar water to give it that shiny finish.
- Let the bread sit in the loaf pan for 5 minutes to cool before transferring the loaves from the pans to a cooling rack. This cooling step is important so the bread does not fall apart.
- Once the bread has cooled completely, you can store it in a tight sealed container or zip-lock bag to keep it fresh. This bread is also heavenly when served slightly warm with softened butter.