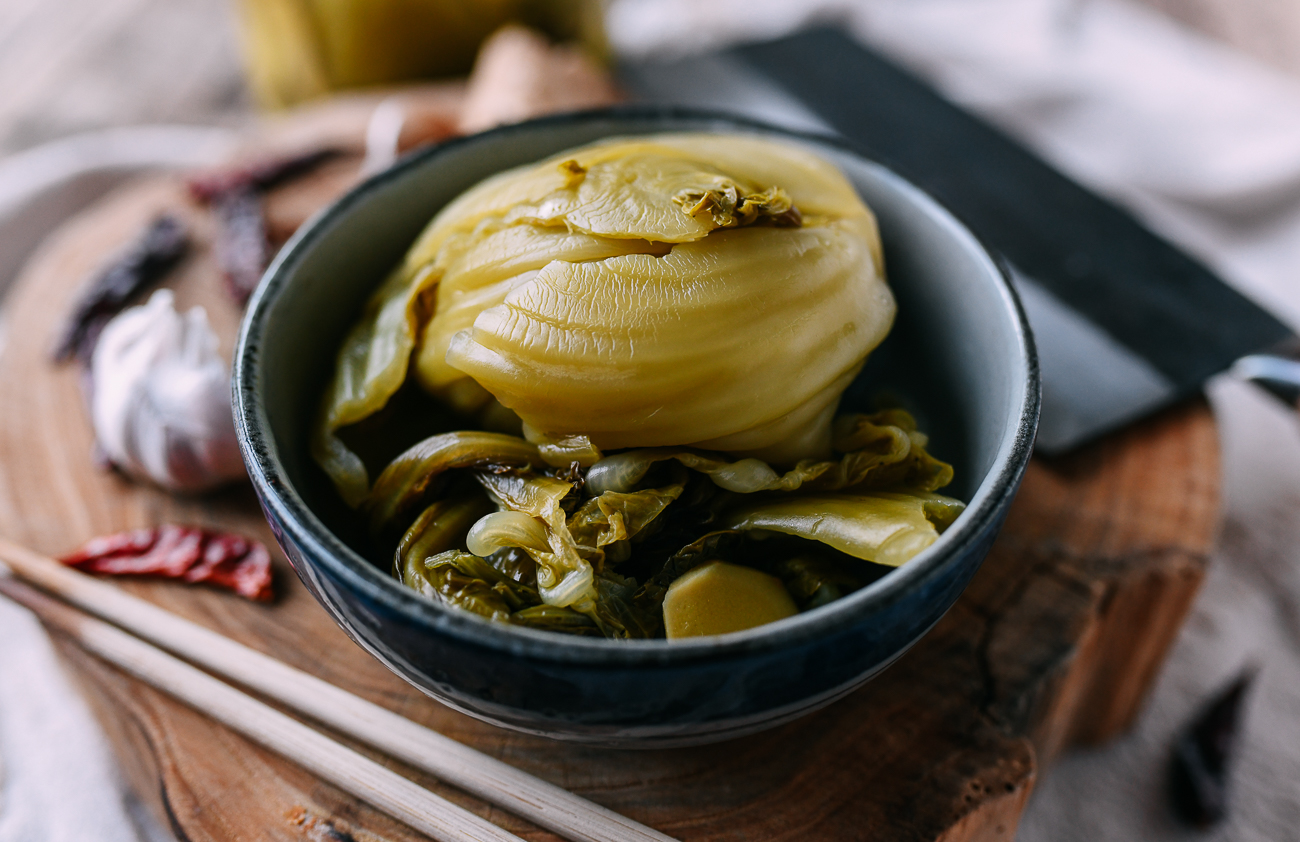
Making haam choy (AKA ham choy, depending on how you spell it), or Chinese sour pickled mustard greens, has been a family tradition for decades.
I still have fond memories of my dear mother preparing gai choy (mustard greens) and squeezing it into the large gallon mayonnaise jars my father brought home from the restaurants and resorts he worked in.
Haam choy is a favorite Hakka ingredient in many stir-fry dishes and soups. It seemed like we always had a jug of it in the refrigerator. Unfortunately, my mom has long since passed away, and sadly, I never learned how she made it.
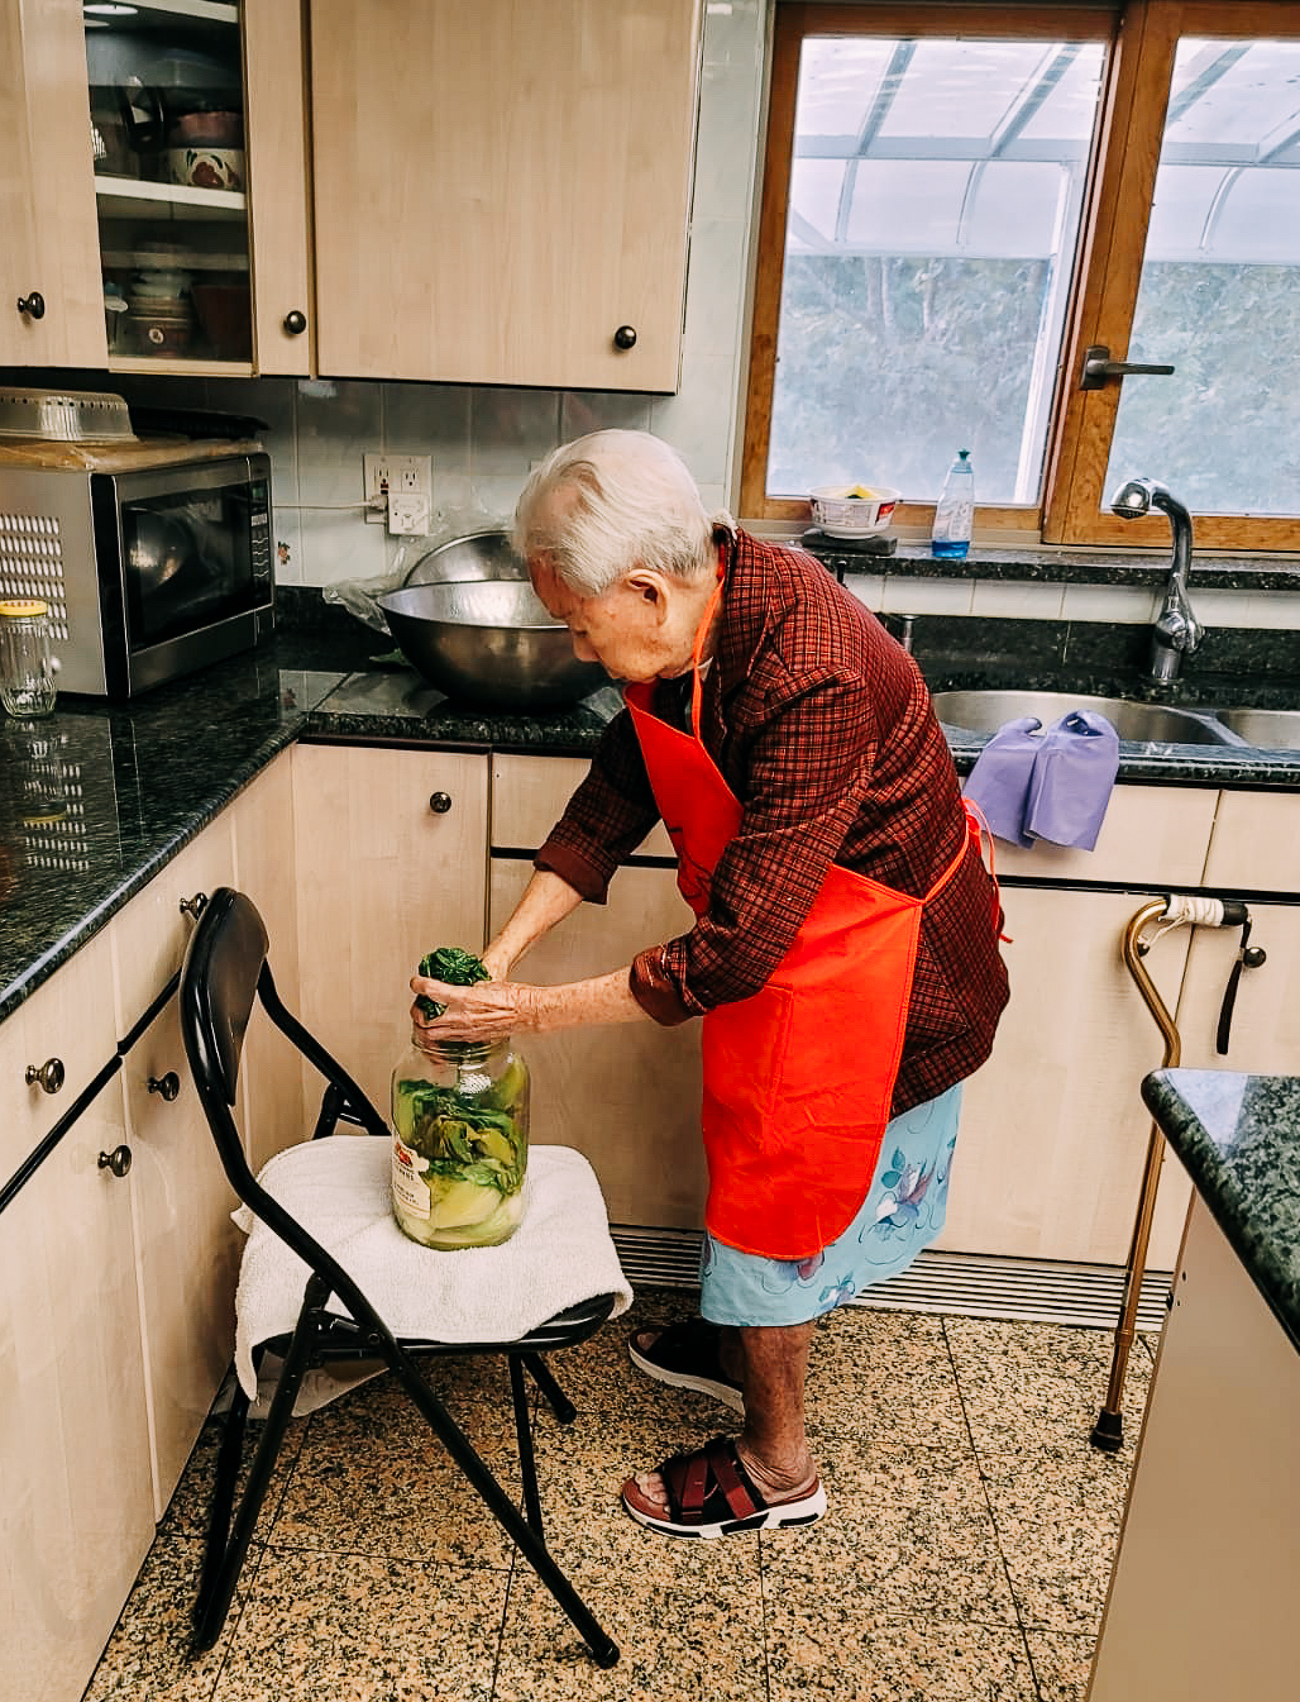
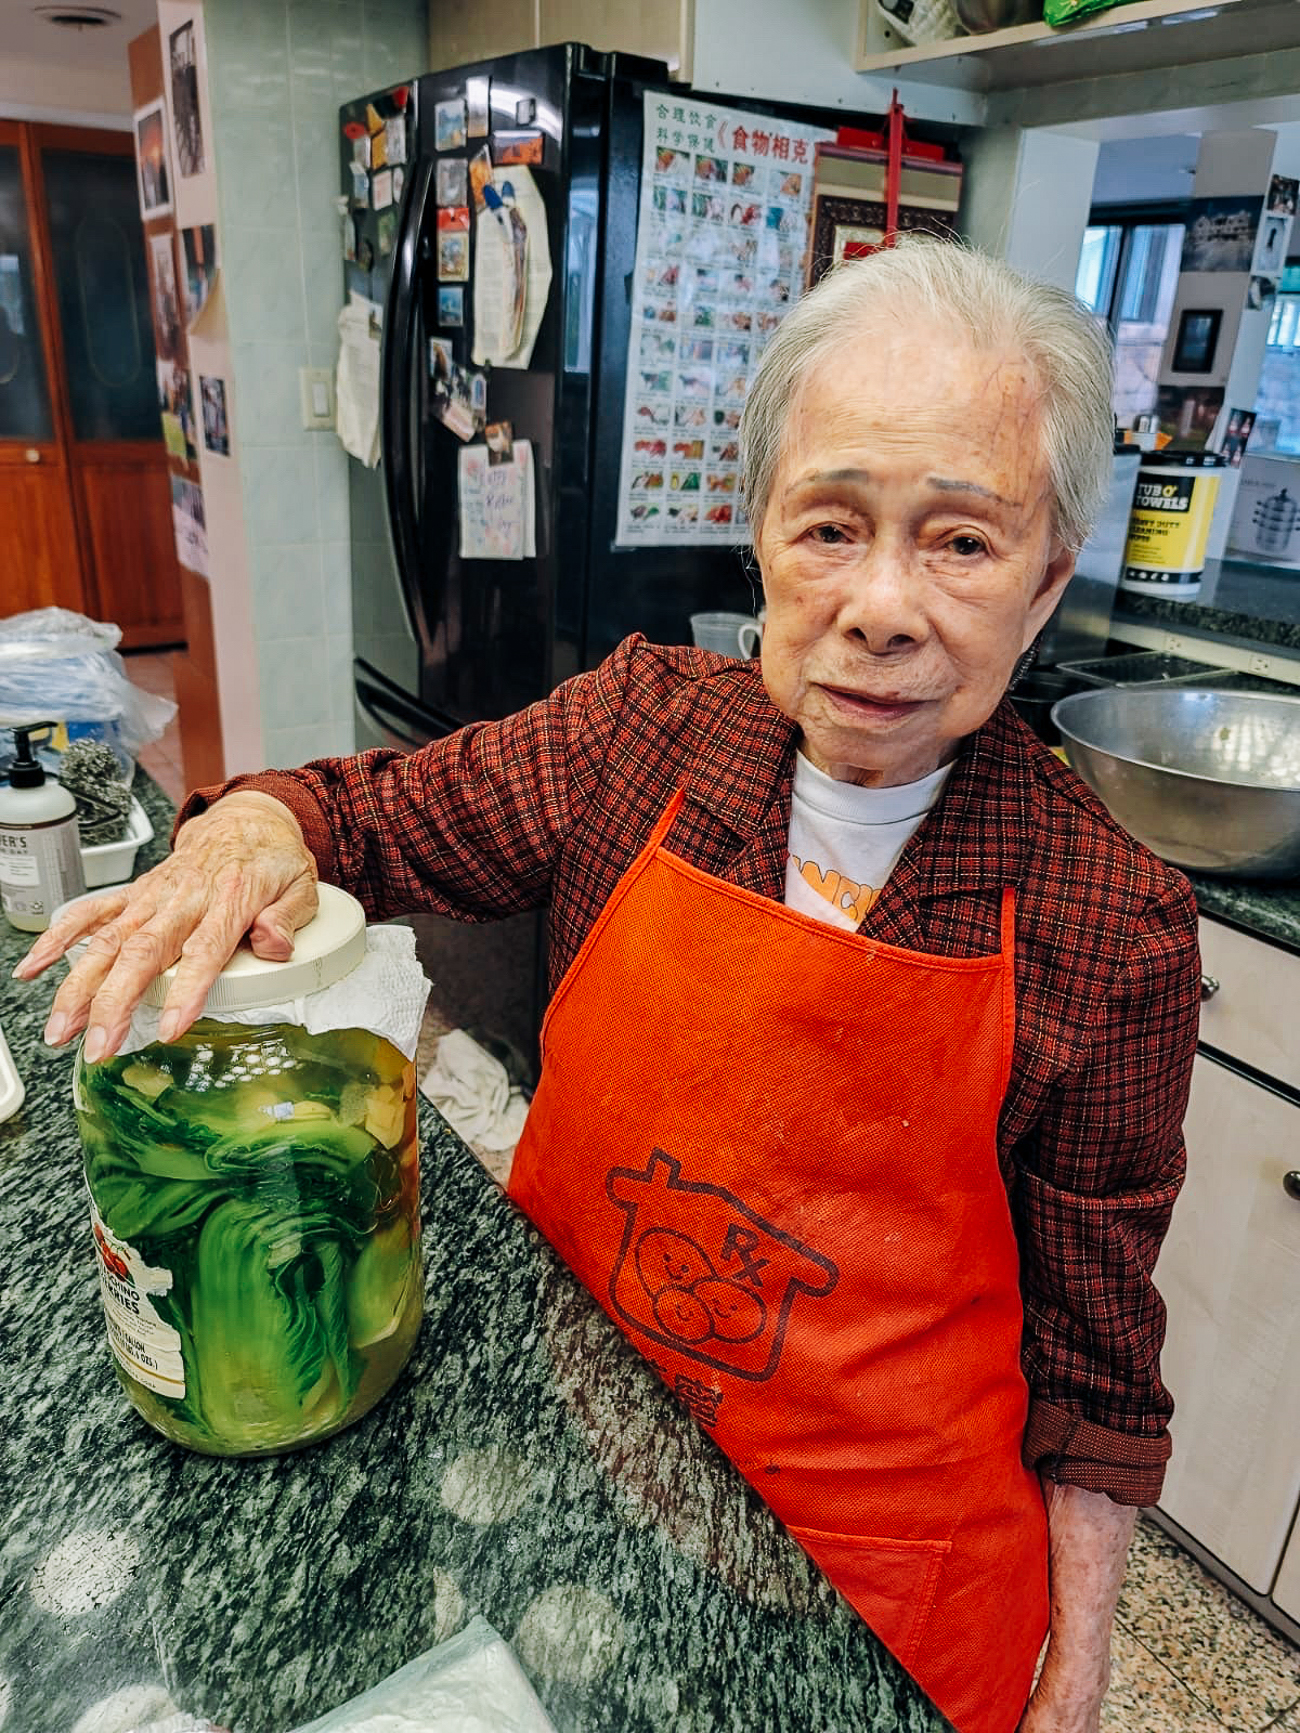
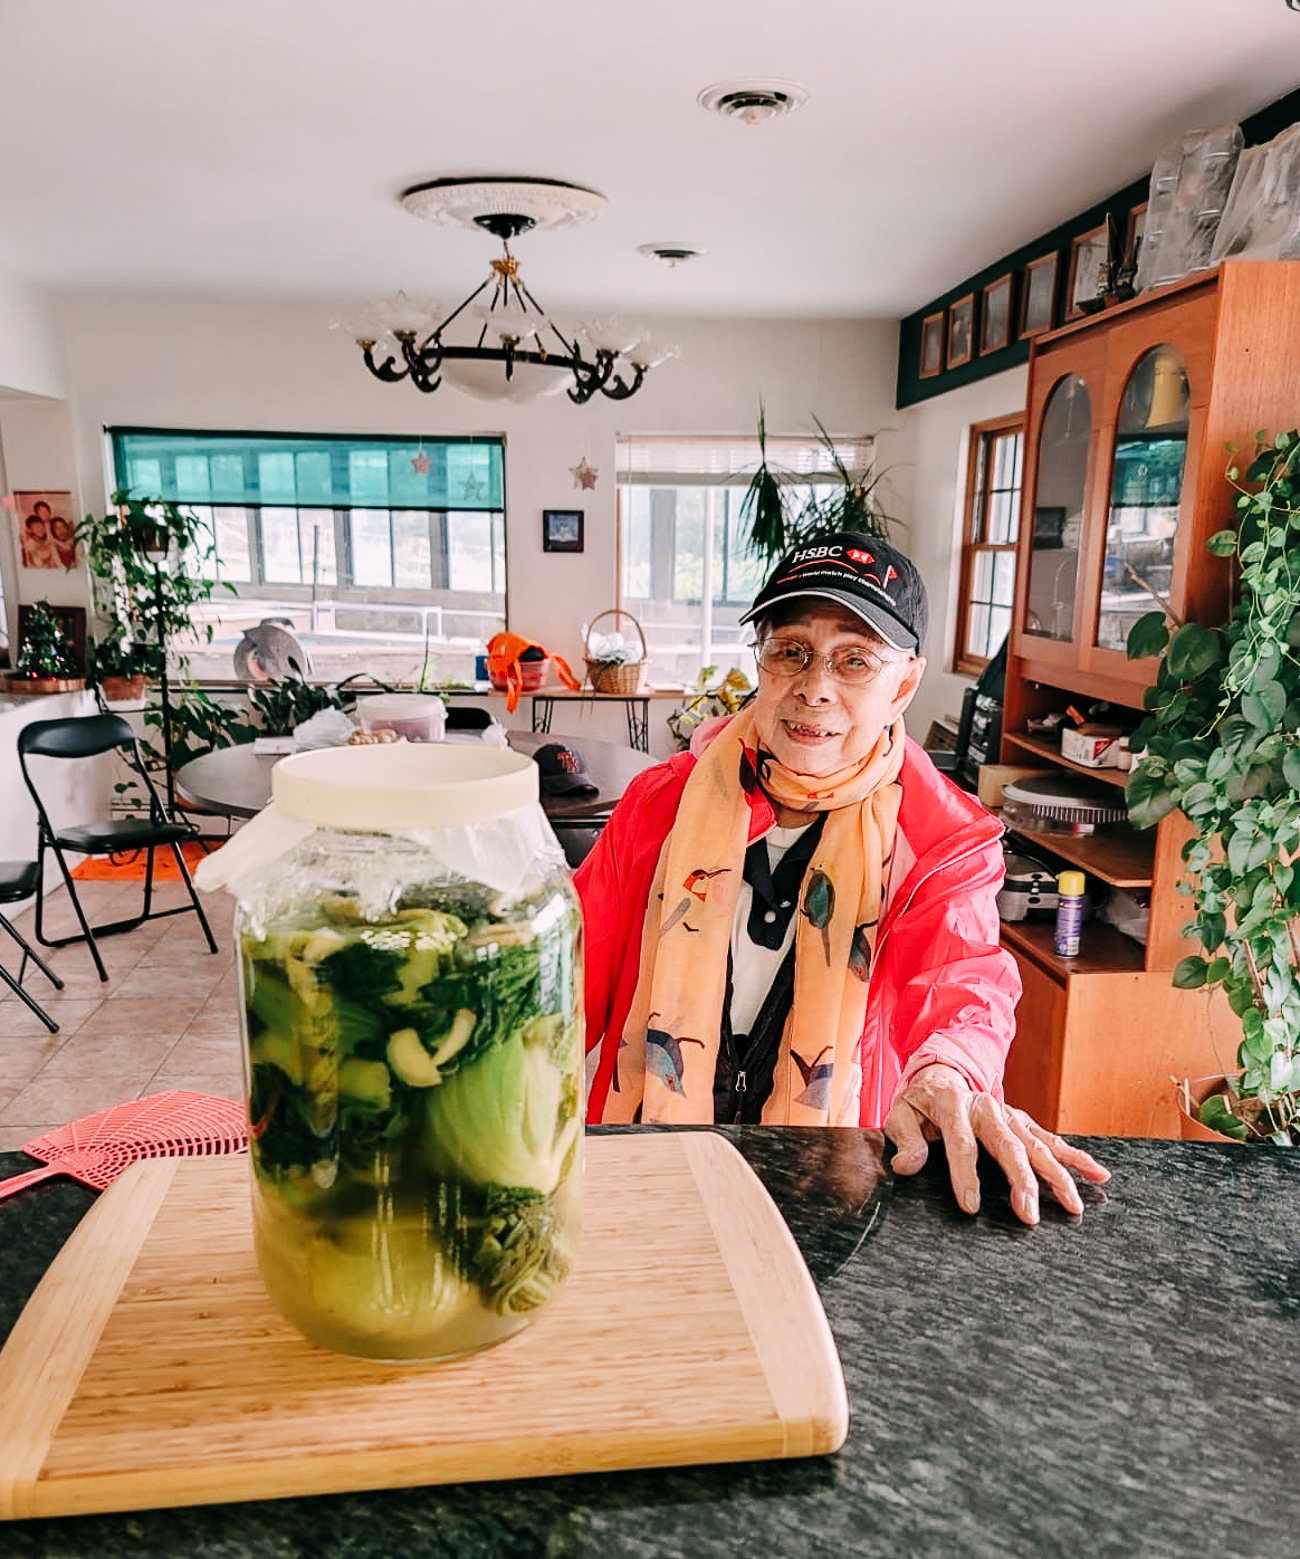
One early morning on our extended family chat thread, my cousin Cathy shared some photos of my grandma making—you guessed it—haam choy. (She is 101 years old, and still makes it herself!)

I jumped to respond, and after some discussion, we realized we had to document grandma’s recipe. Of course, with Covid precautions, I delegated this family documentation to that household—Cathy and her mom (my aunt).
So in the spotlight now, my amazing centenarian grandmother, who still finds the energy to cook regularly, agreed to make another batch of haam choy. Watch her make it in our recipe video, filmed by Cathy!
With my aunt Katrina and cousin Cathy’s help, we have succeeded in documenting a treasured family recipe, and in future, many other recipes that feature these pickled mustard greens.
What Are Chinese Pickled Mustard Greens?
“Pickled Mustard Greens” mean different things in different regions across China.
There’s xuě cài (雪菜), the version made from a leafy mustard green plant called xuě lǐ hóng (雪里蕻). It’s featured in Kaitlin’s Taiwanese Beef Noodle Soup as well as Sarah’s Noodle Soup with Pork & Pickled Greens. Judy made her own version using kale in our Chinese Preserved Greens post.
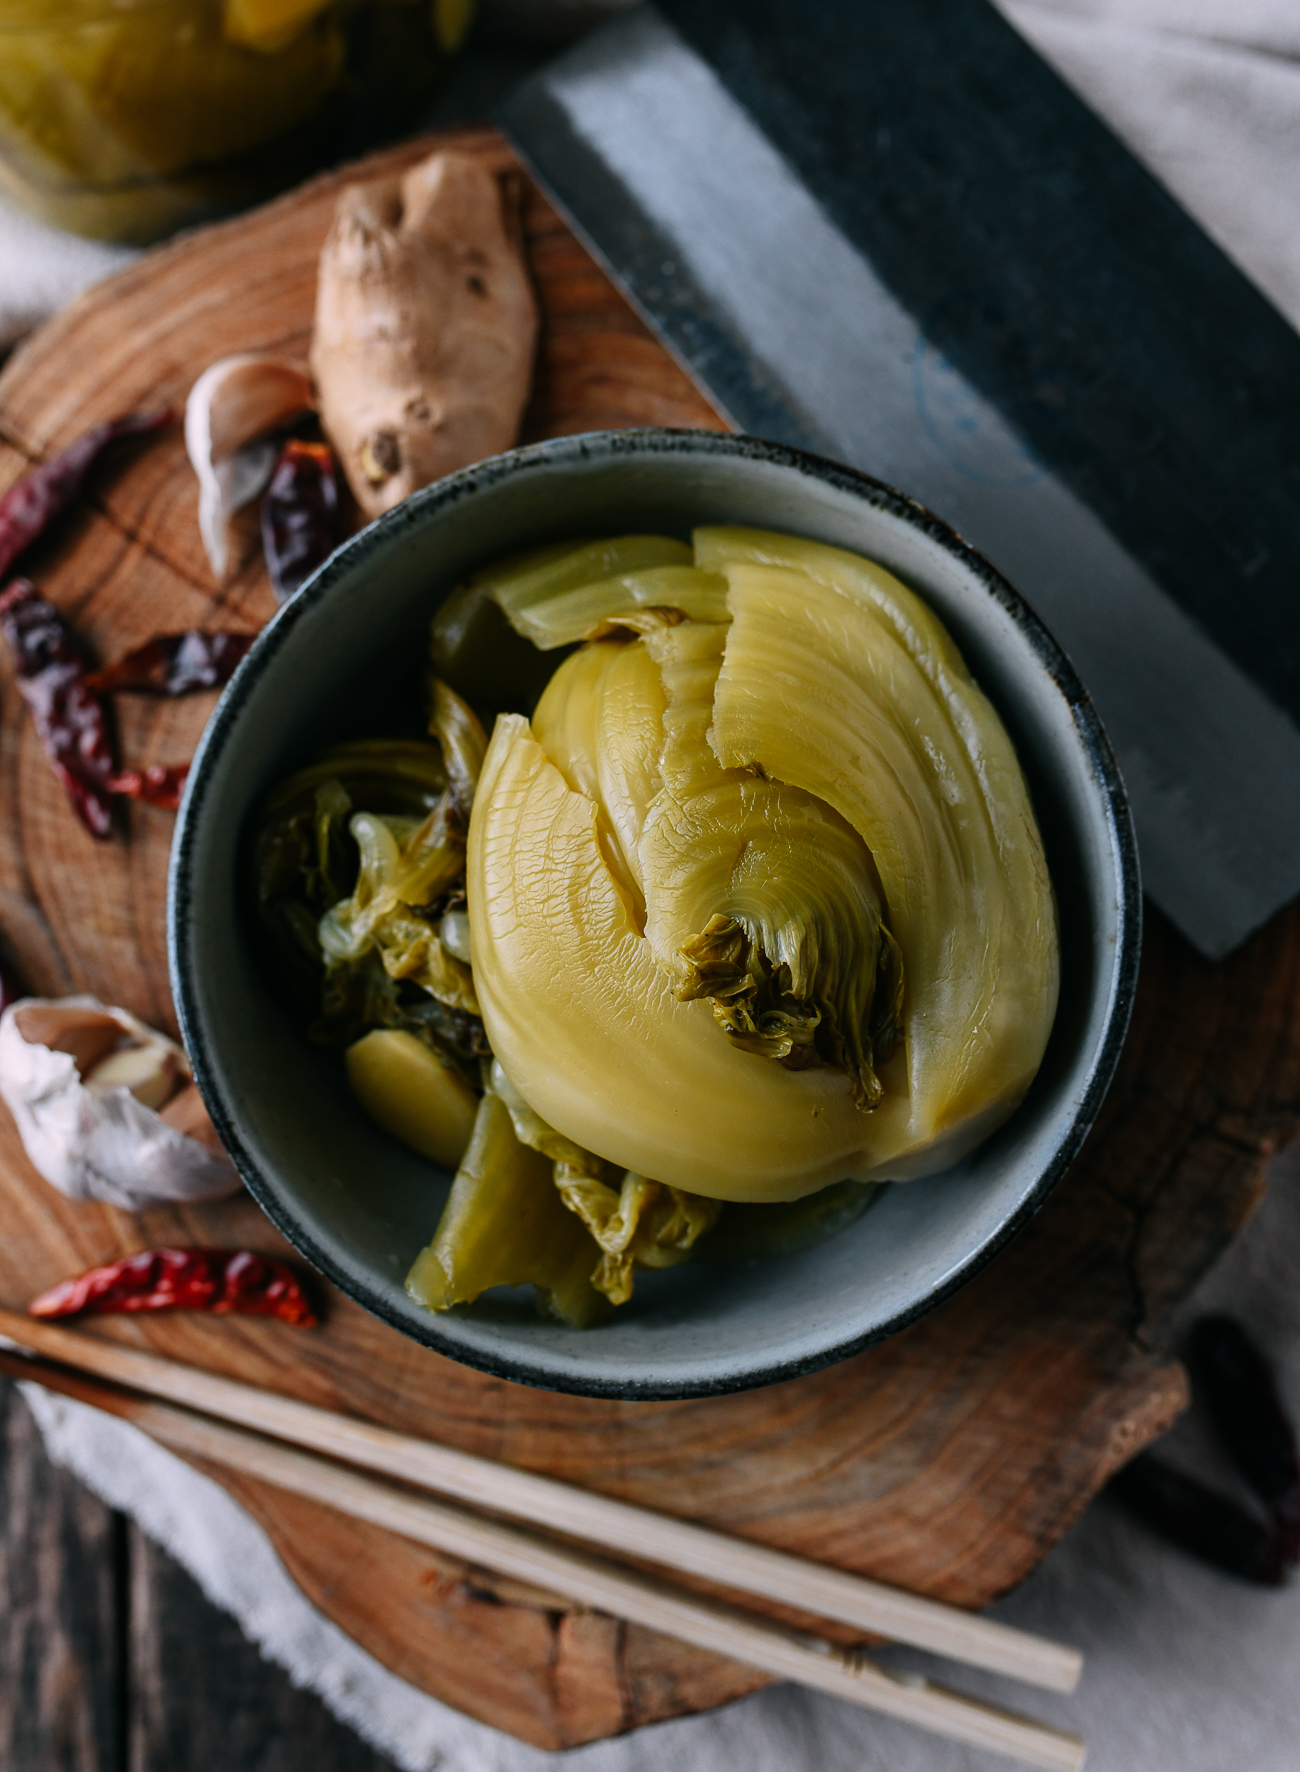
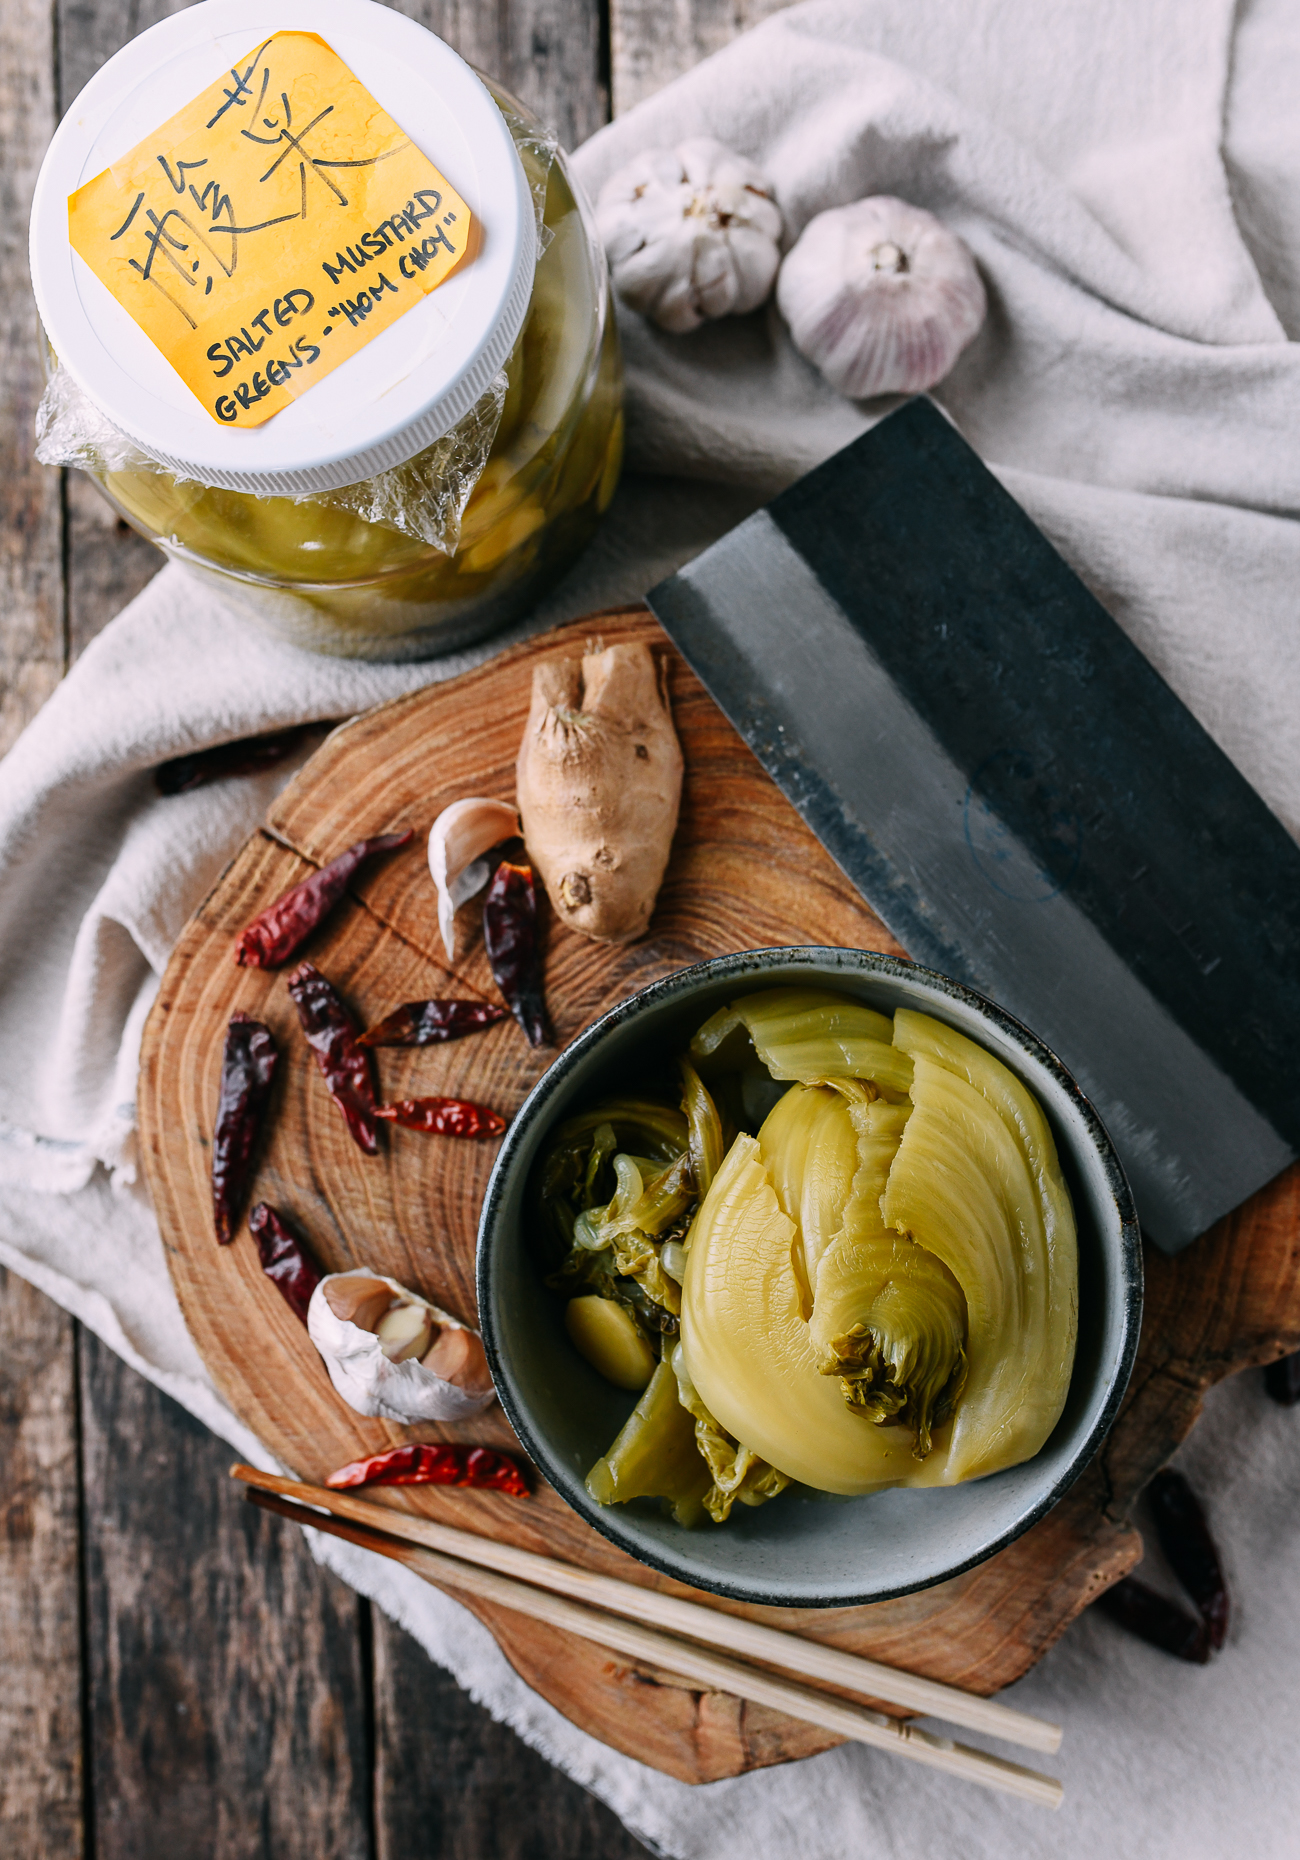
In Southern China, though, the most common type of pickled vegetable is this version that we call haam choy. You may see it spelled ham choy, though it is pronounced, “hahm.”
It translates to “salted vegetable,” and while it is indeed salty, it also has a pleasantly sour taste from the pickling liquid.
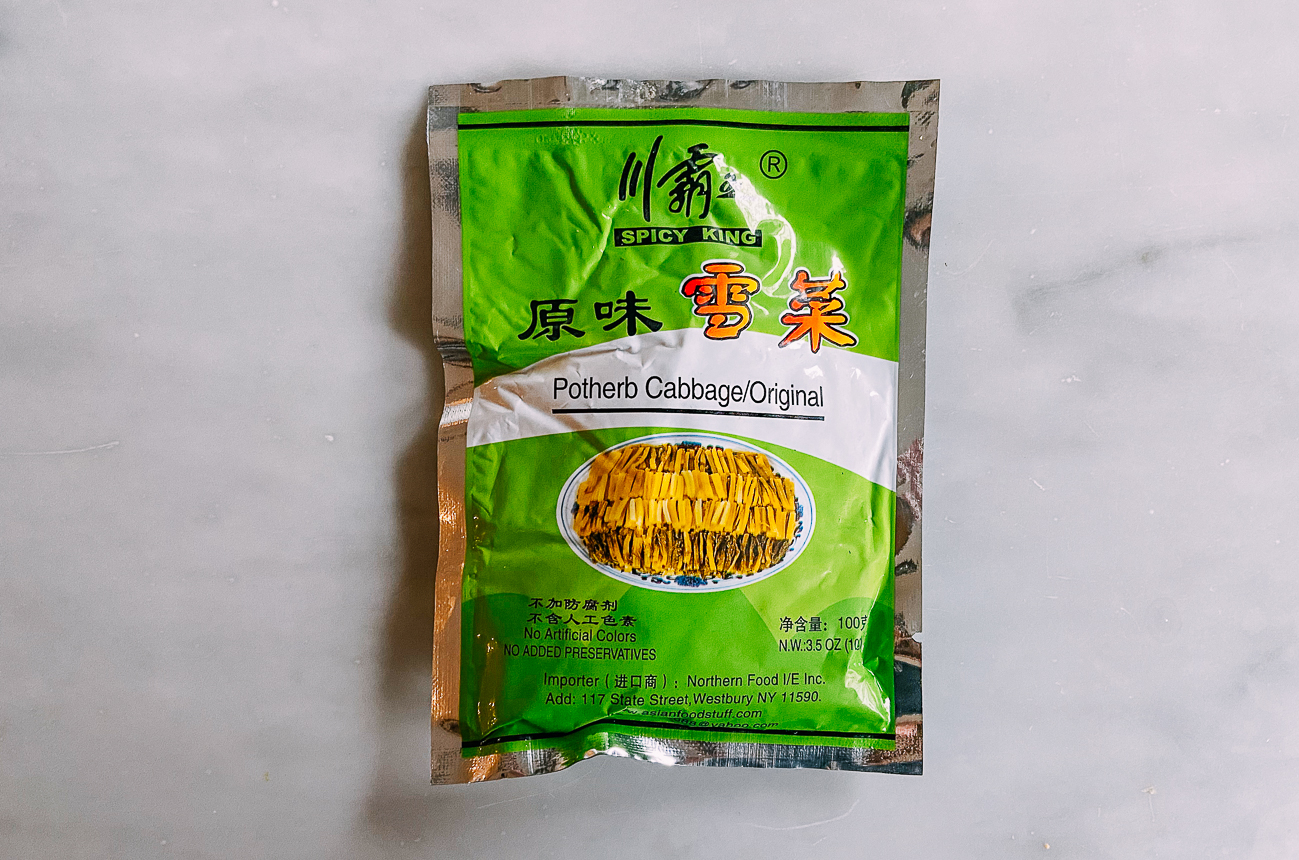
You can purchase haam choy, sometimes also called “sour cabbage,” in vacuum sealed packages like the one pictured below.
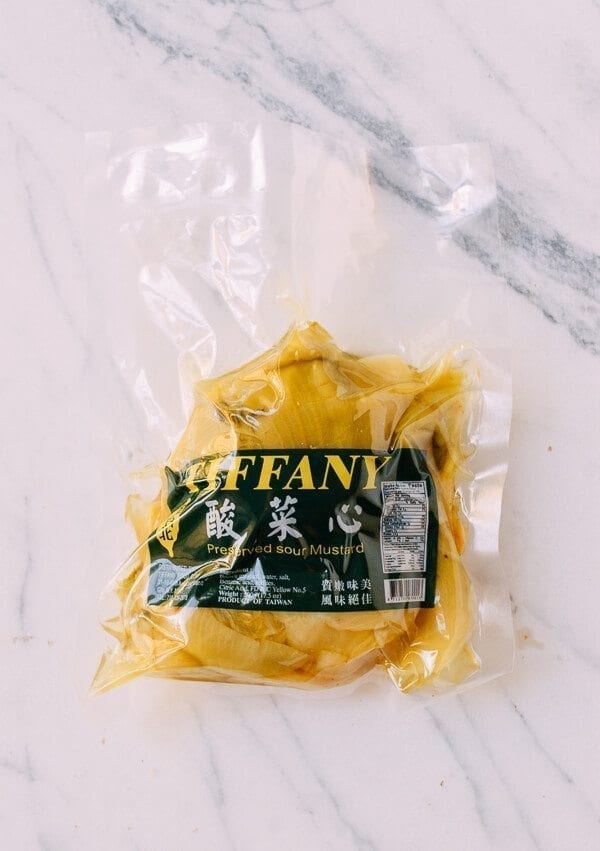
Once you learn how to make this version at home, though, I don’t think you’ll ever go back to buying it from a store!
Selecting Chinese Mustard Greens for Pickling
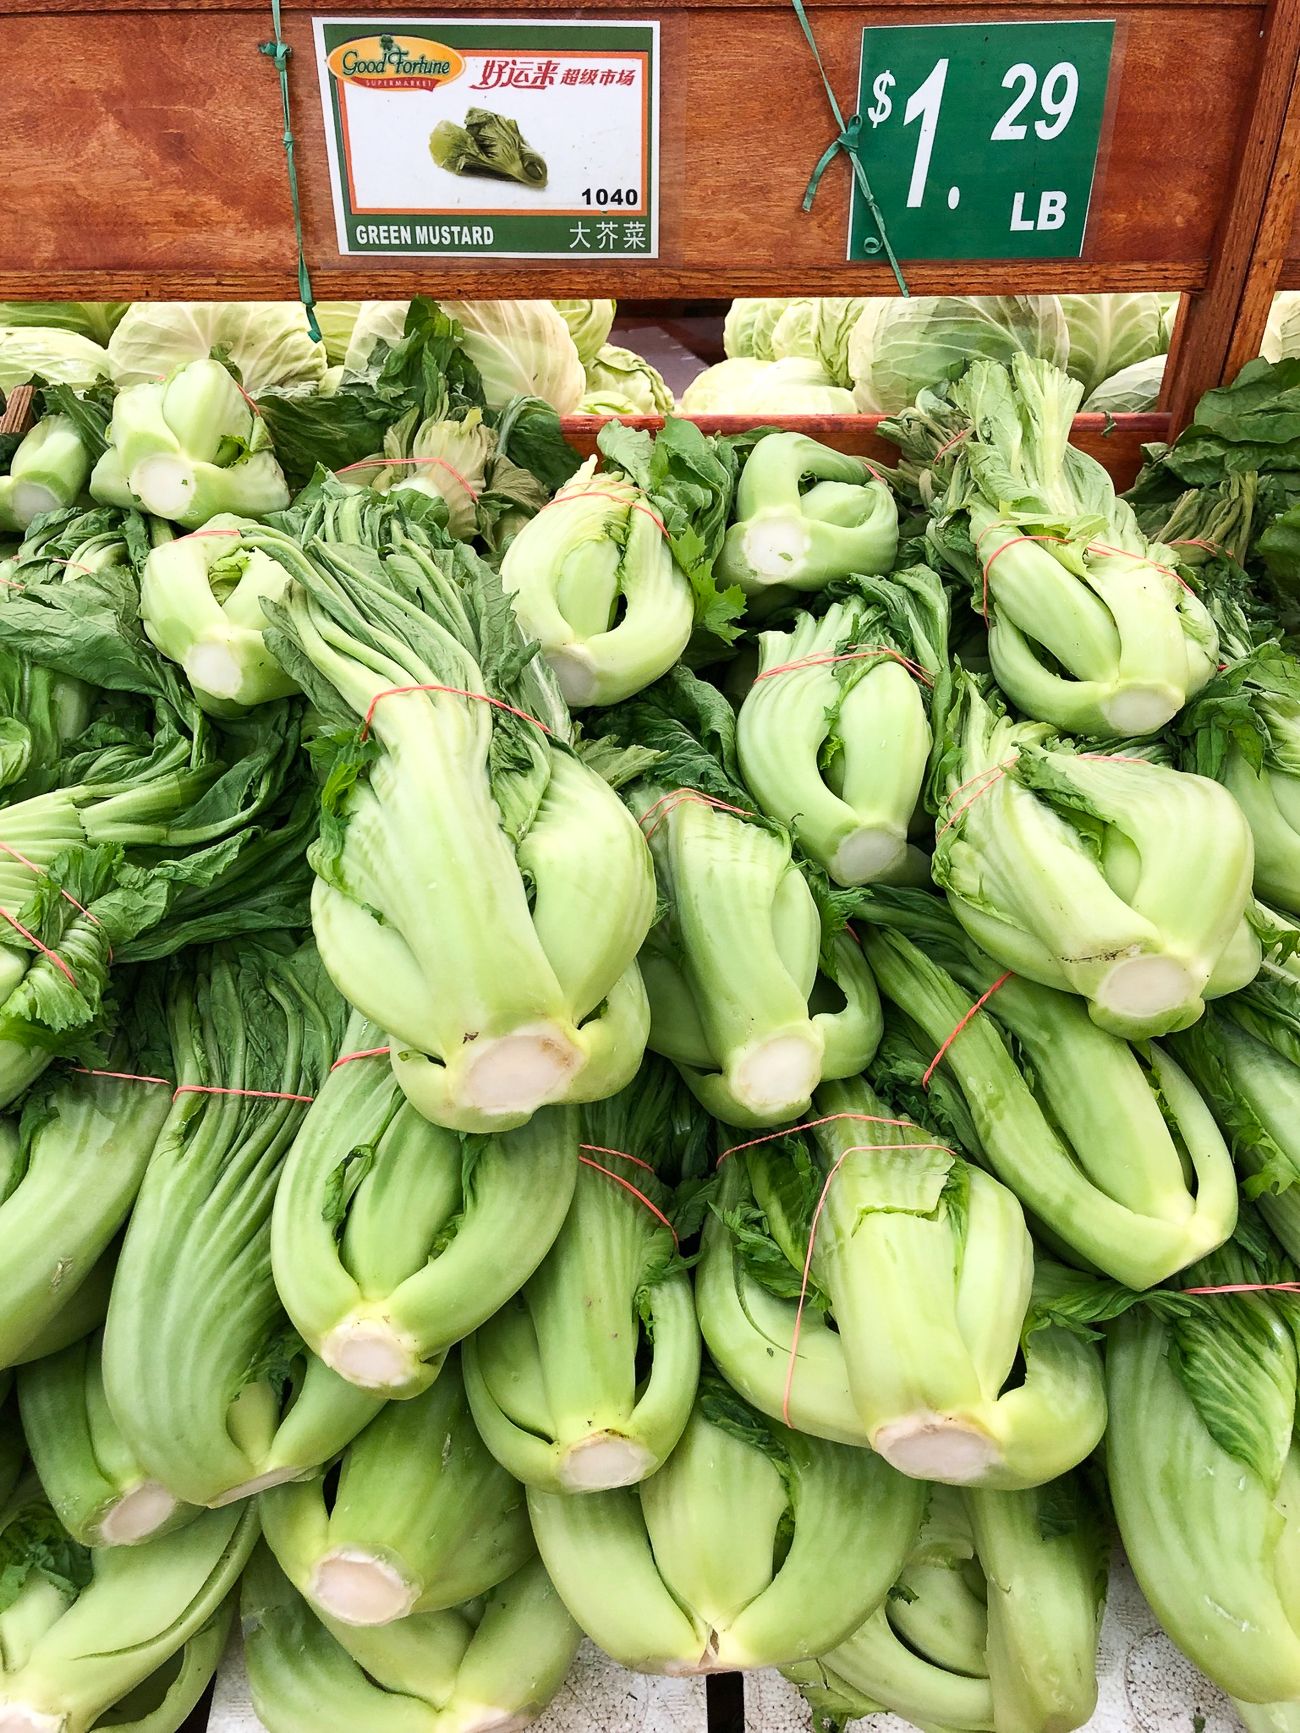
There are many different types of mustard greens available, but it’s important to choose the correct type to make this recipe. For haam choy, buy dai gai choy, which translates to “large mustard greens.”
This term refers to both the large petiole mustard green and head mustard. One is long, while the other is stubbier, but they both have very meaty stalks, which is what you’re after for pickling.
I used head mustard for this recipe:
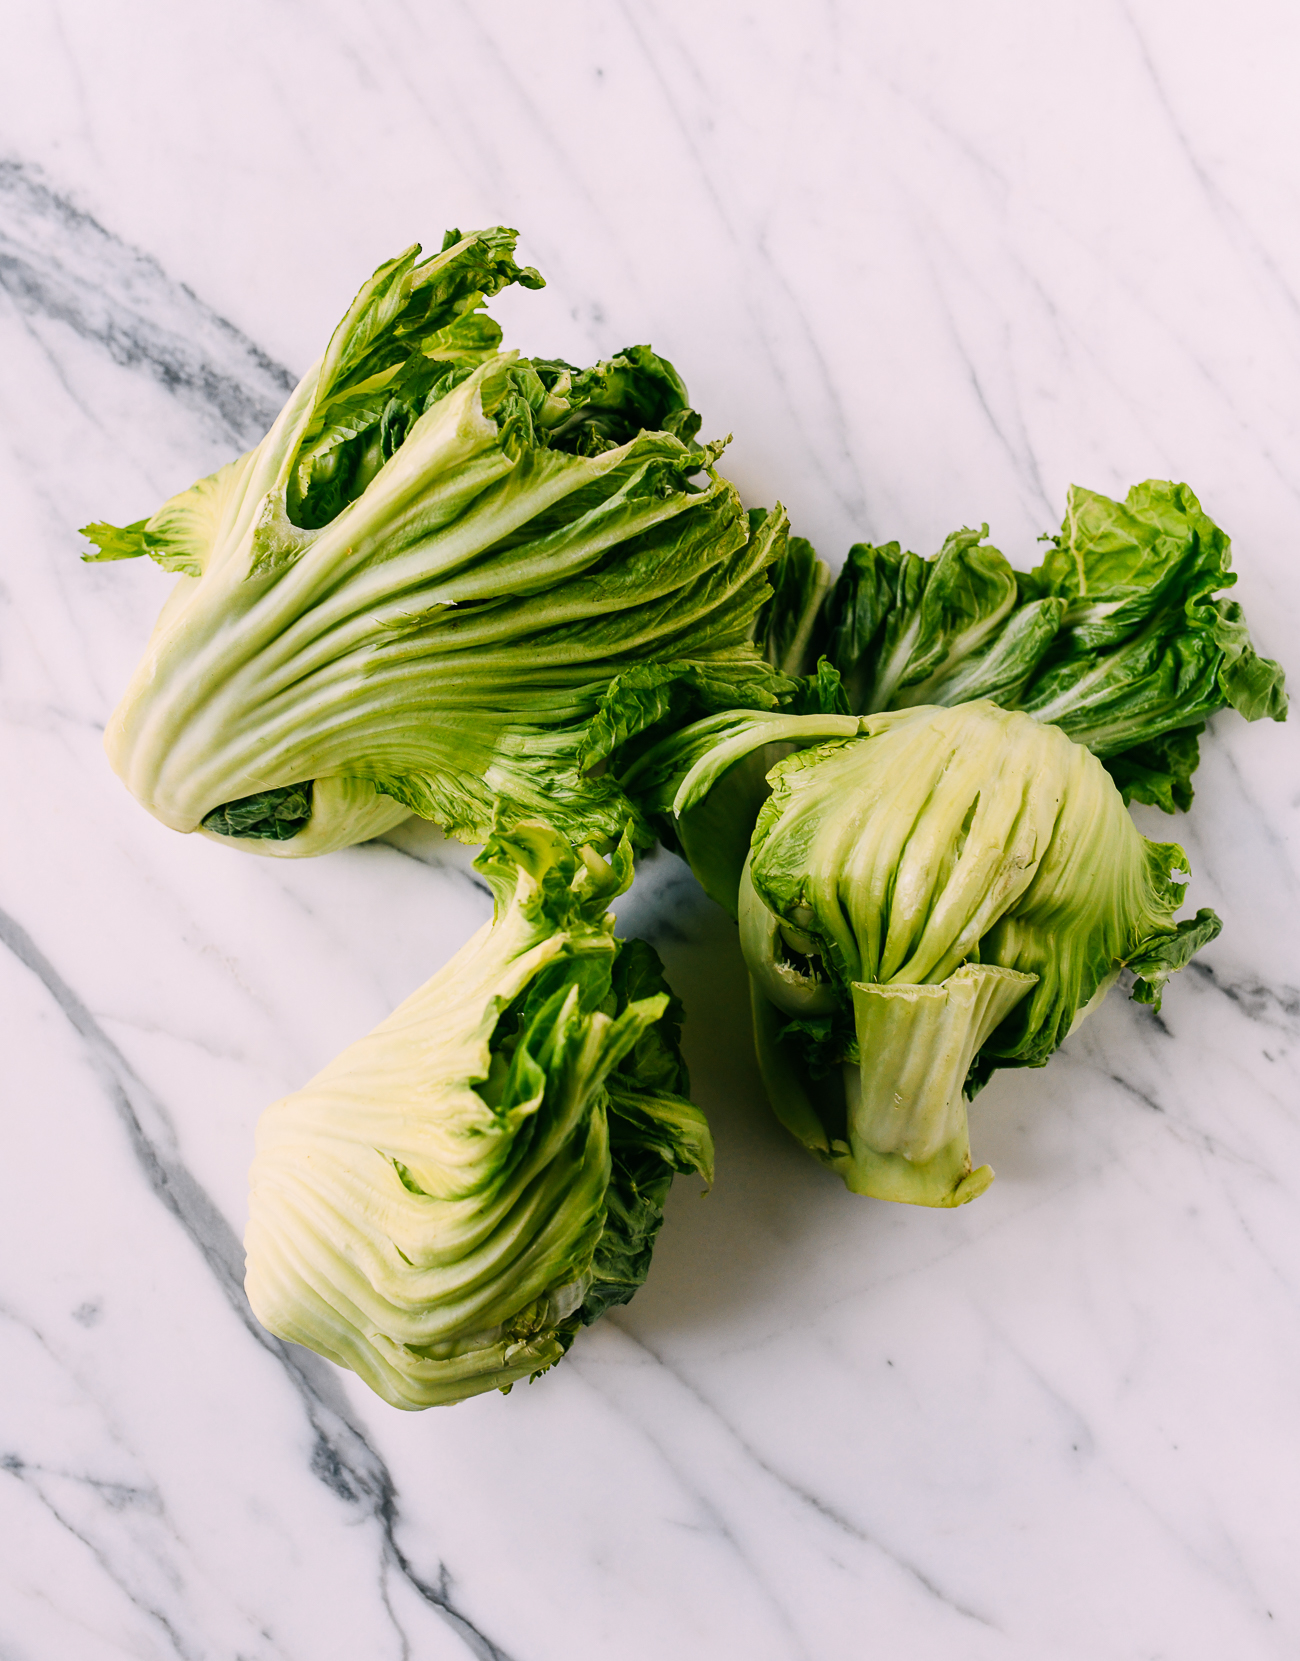
But as you can see in the video, my grandma used these bigger, longer greens:
Read more about the different types in our detailed mustard greens article.
Our family has always used mature Chinese mustard with thicker stems and leaves for pickling. Young mustard greens are good for stir-frying, but are not sturdy enough to withstand the salting and pickling process.
The mustard green stalks and stems are arguably tastier than the tender leaves, with a crunchier texture and more flavor absorption. That said, ideally you want both.
We used 3 ½ pounds (1.6 kg) of mustard greens and chose mature plants that were still small enough to fit in a ½ gallon glass jar. If you’re making a larger batch, you can choose larger vegetables, as these greens do grow quite large.
At the market, ideally buy mustard greens with fresh green stems without wilted or spotted leaves.
Fermented Chinese Mustard Greens In Other Cuisines
Vietnamese dua cai chua is similar to this Chinese pickled mustard green. It’s made from the same large-stemmed gai choy. Some recipes call for the addition of onion and red chili peppers.
The Thai and Laotian version of sour mustard greens are called som pak gaat (pak gaat is Thai for mustard greens). They are fermented in a rice brine. These versions are similar to the leafy version of Chinese pickled mustard greens, in that they are fermented rather than strictly “pickled.”
There’s a difference between pickling and fermentation. Fermentation involves encouraging yeast/bacteria growth without the addition of acidic ingredients. Pickling, on the other hand, involves preserving food using an acid like vinegar.
This recipe falls into the pickling category. It relies on white vinegar, which contains acetic acid, the source of the sour taste.
Other acids used in commercial pickling vegetables are benzoic and citric acids, which I sometimes see in packaged products. They also add sulfites to prevent mold growth, though we won’t be using preservatives in our homemade version!
How Long Does the Pickling Process Take?
In short, about 10 days. The mustard greens must be prepped and then salted for 24 hours. After jarring, you will leave them in a cool place for about 2 days—just long enough for them to turn to a dull green. Then you refrigerate them for 7 days, and they’re ready to eat!
They will keep in the refrigerator in a sealed container with the pickling liquid for up to 2 months, as long as you always use clean utensils to handle them. Also keep the rim and top of the jar clean with each use.

How To Use Chinese Pickled Mustard Greens
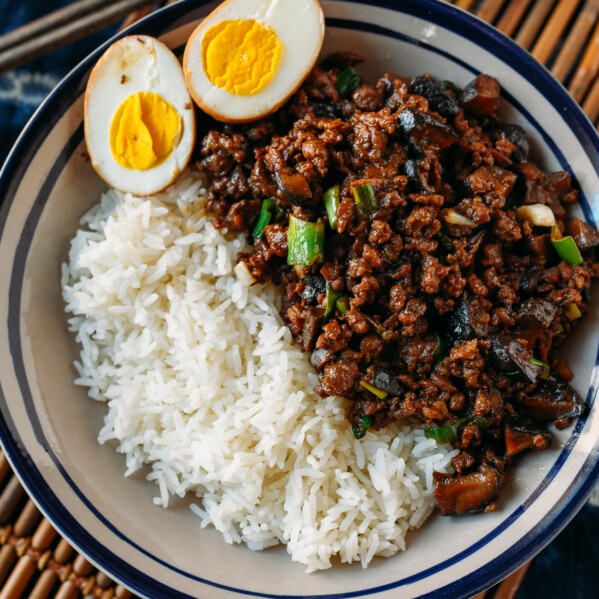
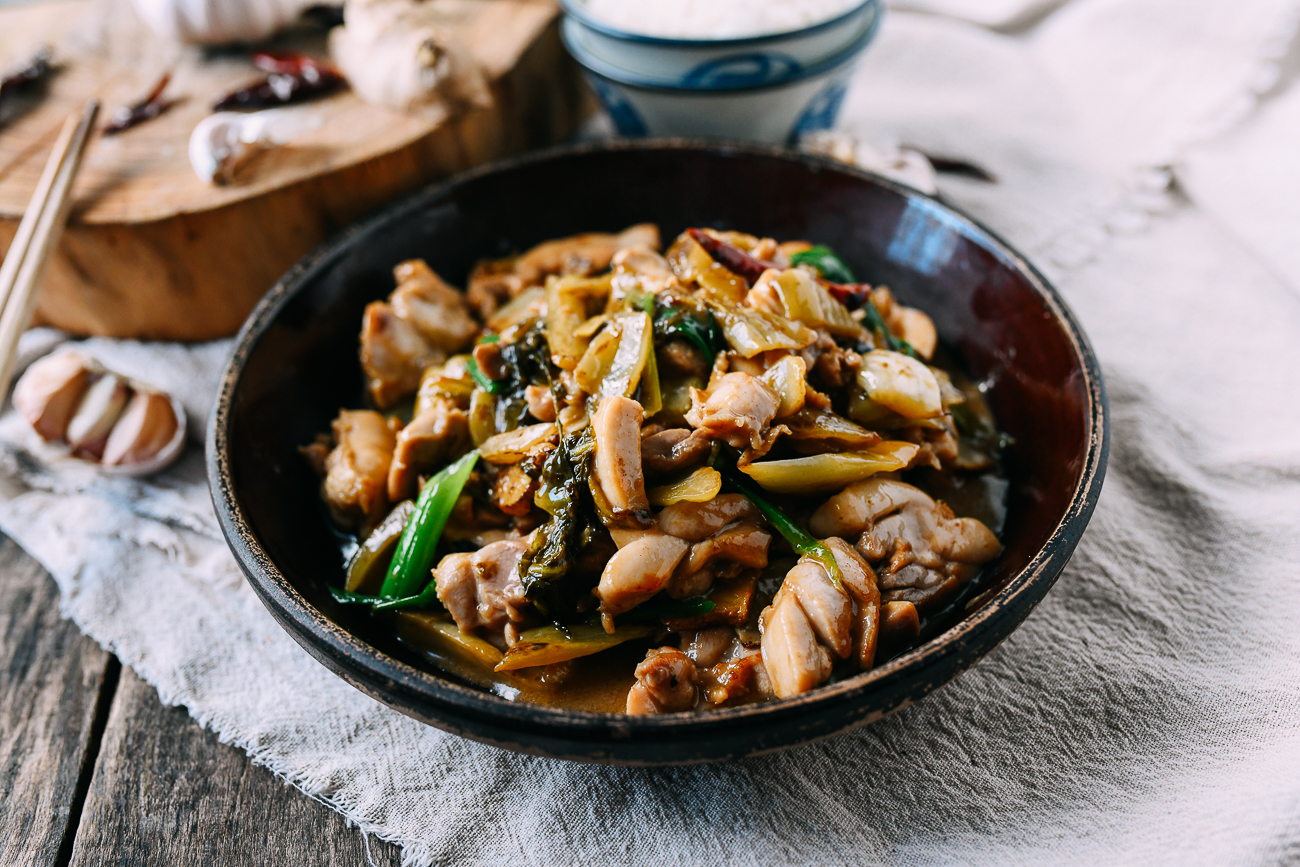
You’ll see Chinese pickled mustard greens in a variety of Cantonese stir-fried dishes. The favorite in our family is stir-fried chicken with haam choy. It’s a simple home-cooked dish, and one of my grandma’s favorites.
Another popular favorite is Squid with Pickled Mustard Greens. Definitely check out that post, because it comes with a funny story.
Okay, let’s talk about how to make these pickled mustard greens!
Pickled Mustard Greens (Haam Choy): Recipe Instructions
In addition to the ingredients (mustard greens, ginger, salt, sugar, and white vinegar), you’ll need a ½ gallon tempered glass jar that you can thoroughly clean and disinfect.
Trim and wash:
Trim the tough base off of the mustard greens, along with any yellow or brown portions of the leaves.
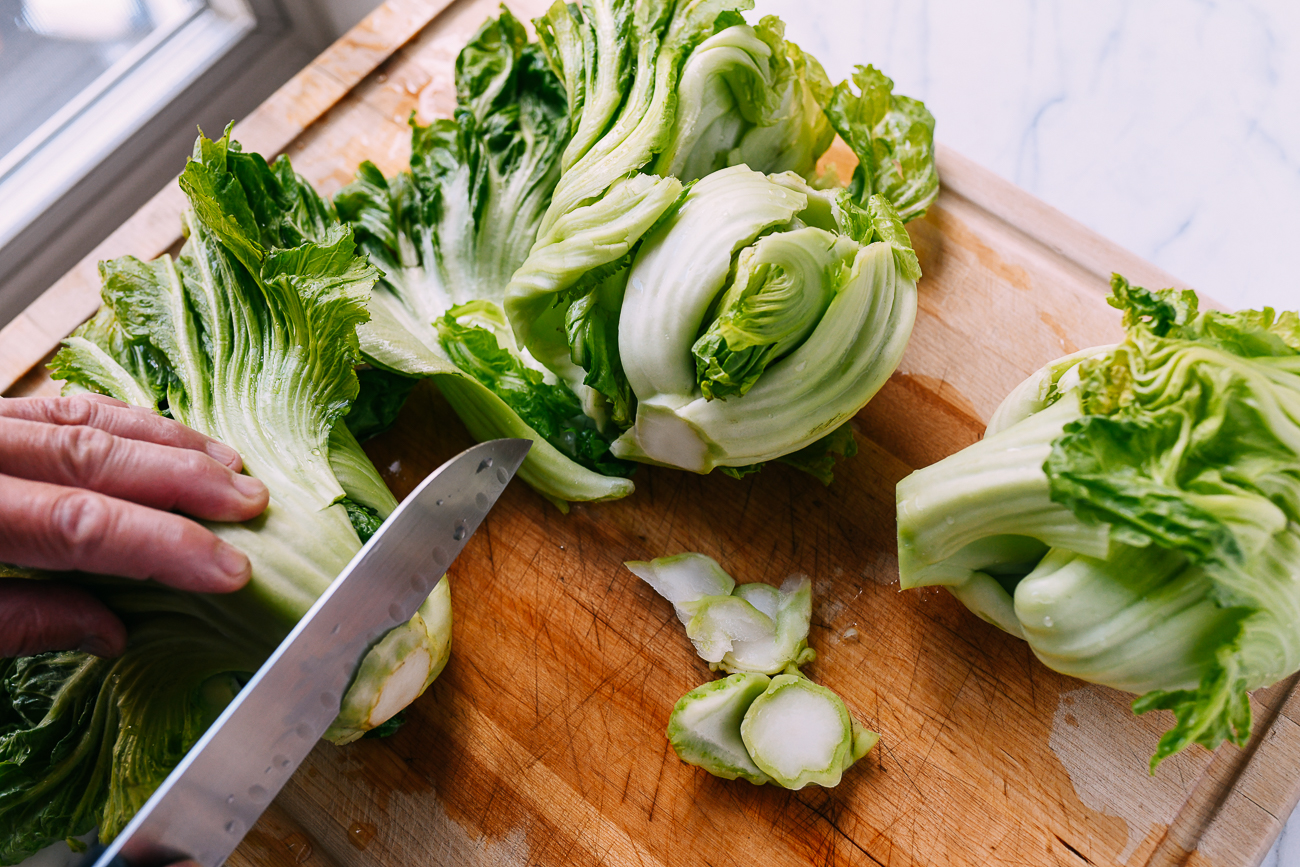
Clean them thoroughly to remove any dirt or sand. This step is very important.
Soak them in a large bowl of water for 10 minutes, shaking and agitating the vegetables to loosen the grit. Lift the vegetables out of the dirty water and rinse. Rinse the bowl, fill with fresh water, and repeat this process two more times.
Blanch:
In a large pot, add 10 cups (2.4 liters) of water. Bring to a boil, and turn the heat down to medium low. Stir in 1 ½ tablespoons (26g) of salt, until dissolved.
If making a larger batch, increase these amounts proportionally. The servings scaling feature in our recipe card at the bottom of the post will do it automatically!
Place the mustard greens into the simmering water 1 or 2 at a time, so they’re completely submerged. Blanch for 30 seconds, rotating them to evenly heat them on all sides.
Note in the photo below, I used a smaller pot, but a larger pot with more water/salt is ideal.
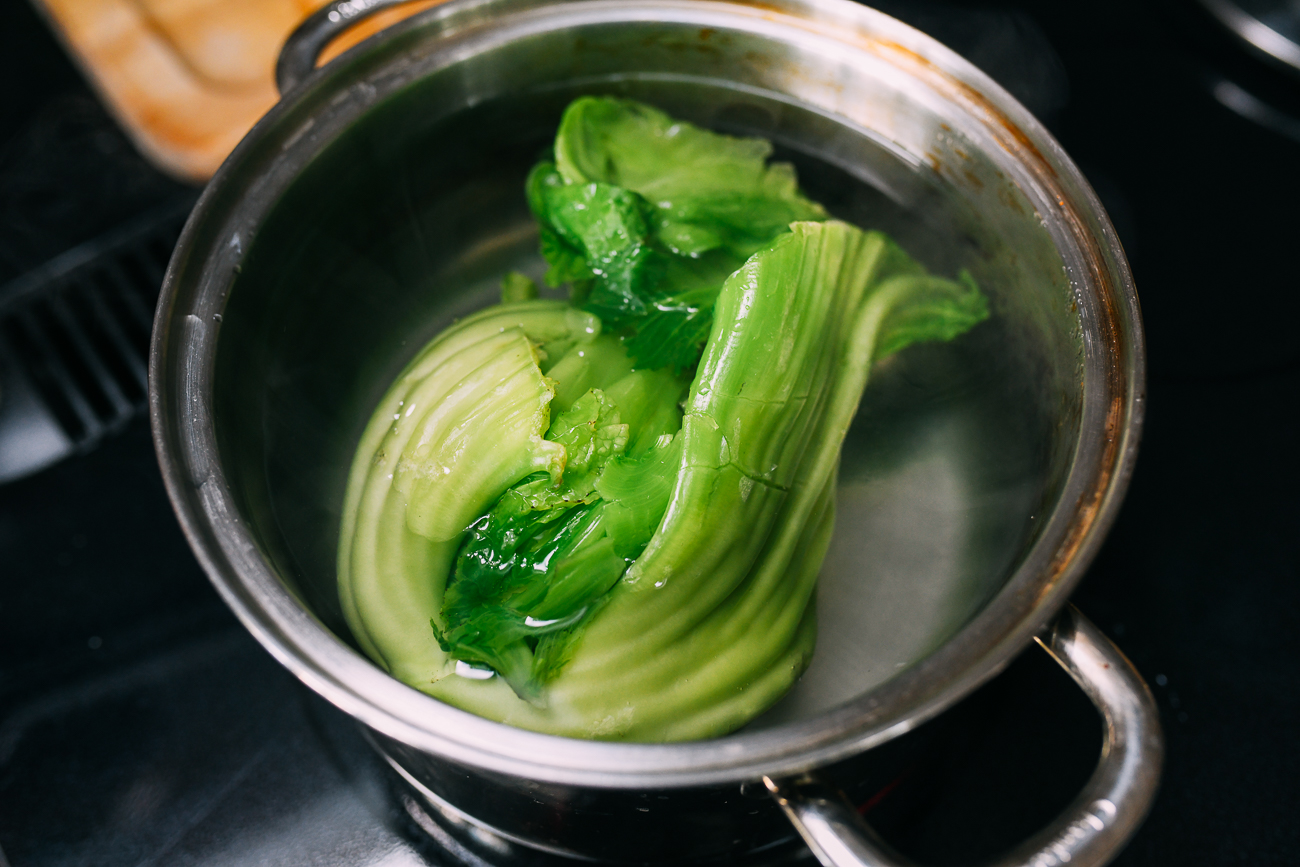
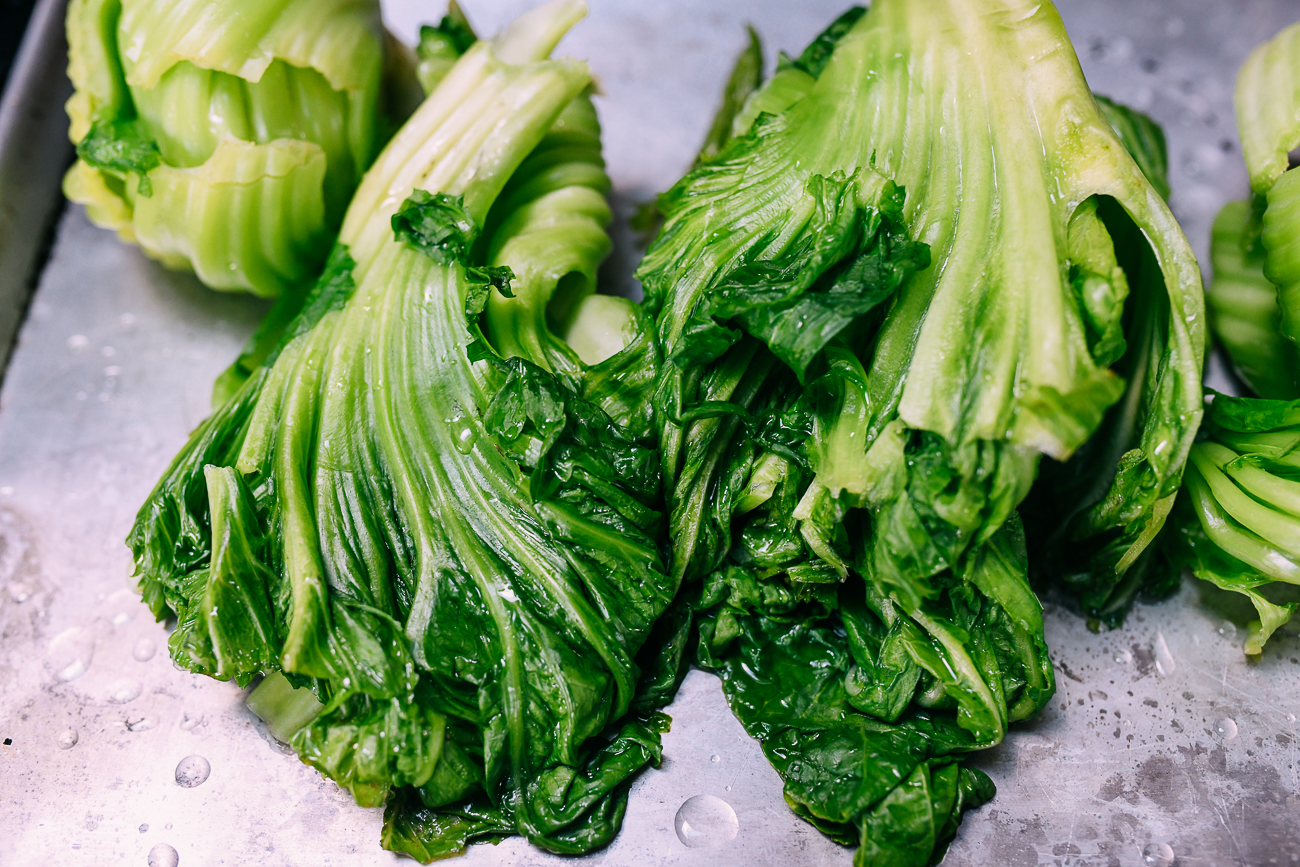
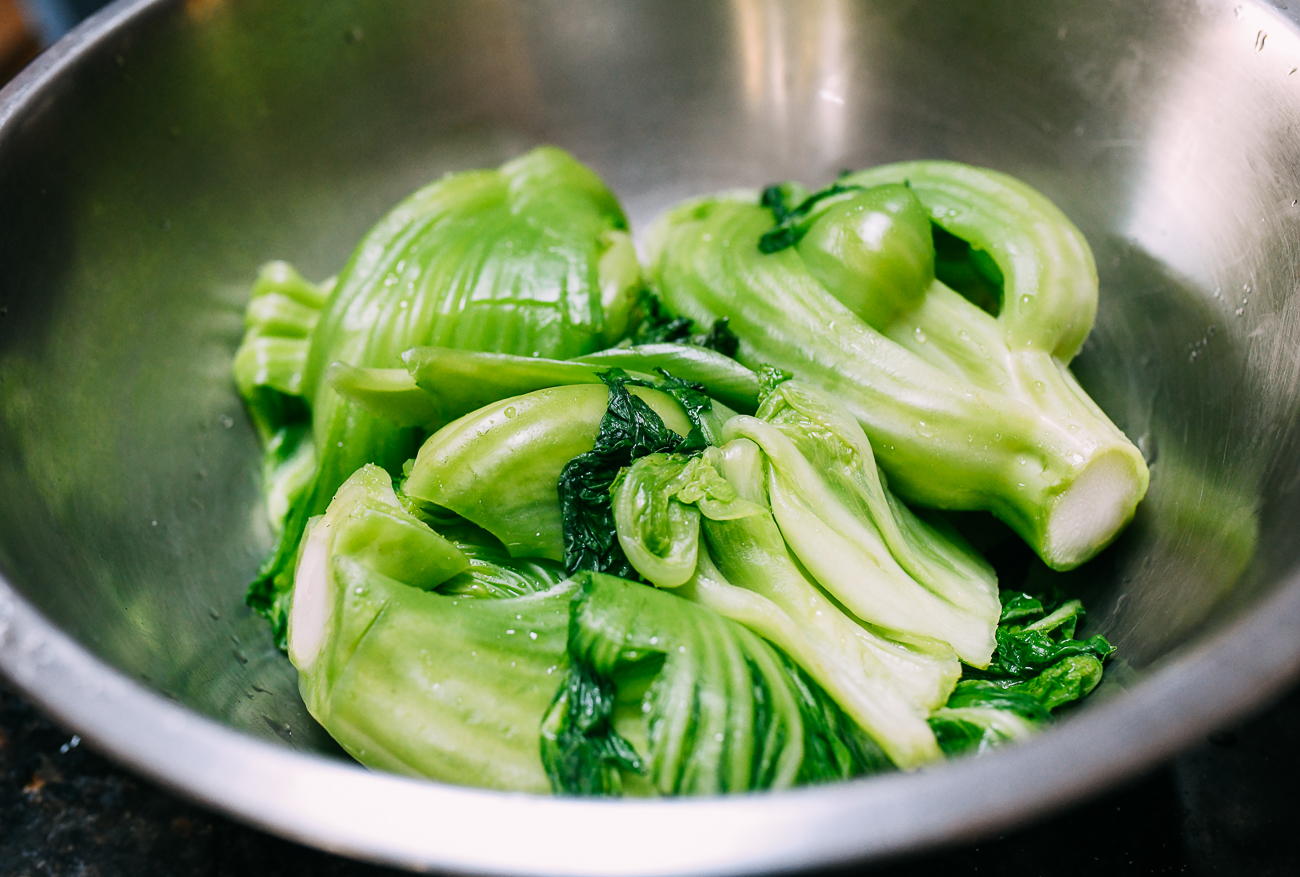
Lift the mustard greens out of the water and transfer to a clean sheet pan to cool.
Next, put the sliced ginger into the blanching water and bring the water back to a simmer.
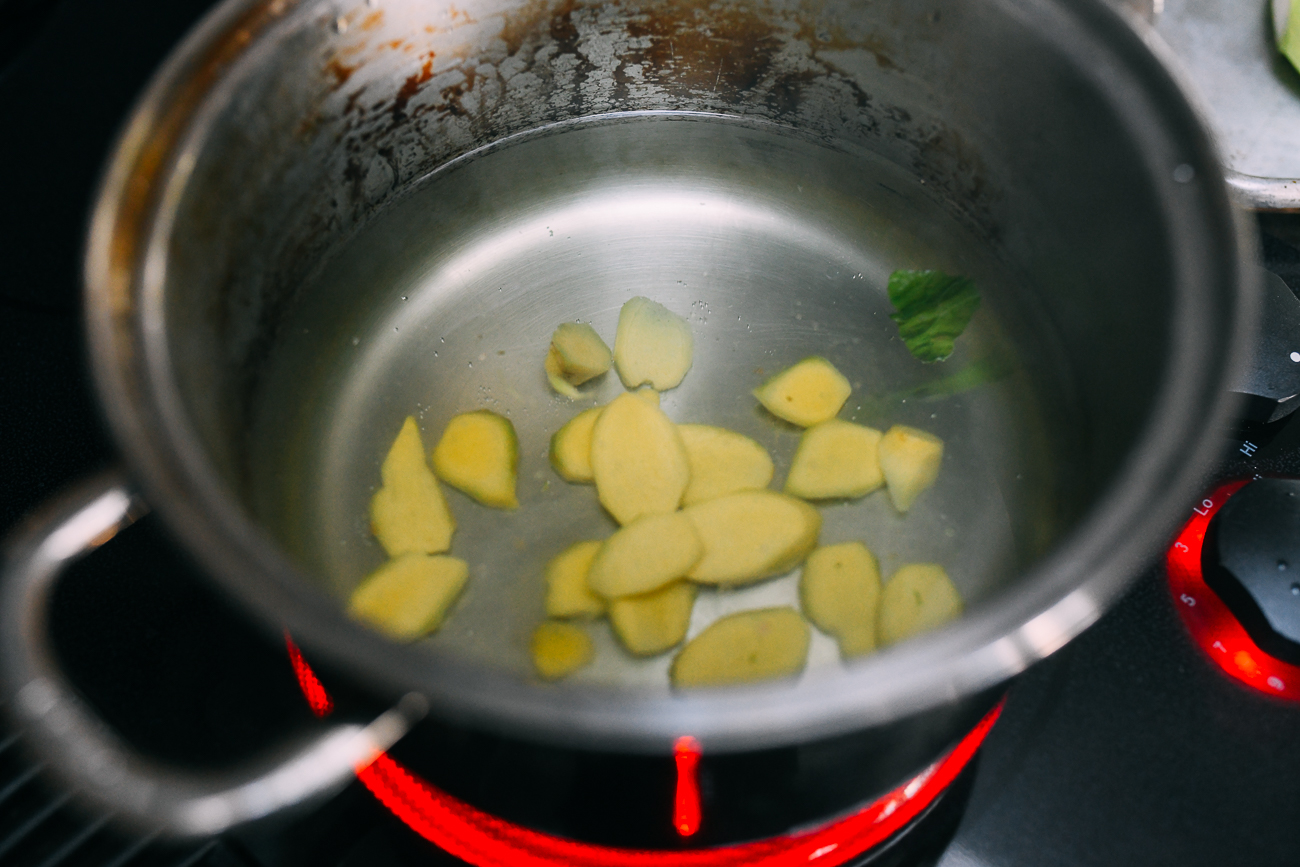
Once simmering, turn off the heat, and allow the liquid to cool to room temperature.
Salt the mustard greens:
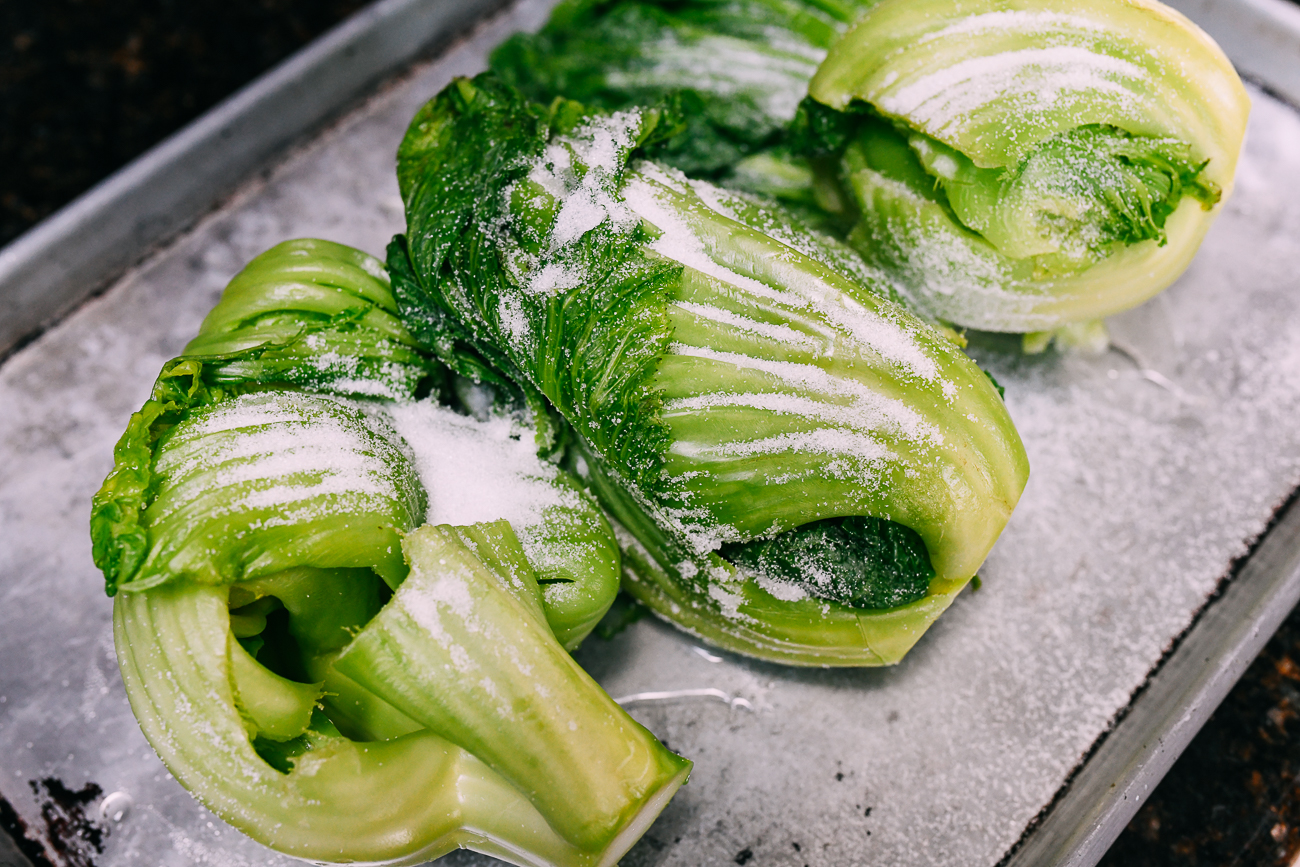
Once the vegetables are cool enough to handle, pour off any excess water from your sheet pan. Rub salt (2 ¼ teaspoons/13g per pound of mustard greens) all over the greens.
A Quick Note on Salt!
In the video, my aunt says that any salt will work for this recipe (“Any salt is fine! Come on!”), and my grandmother uses iodized salt for the various steps. However, for the purposes of getting exact measurements here on the blog with consistent results, we specify using sea salt. You can use iodized salt, but it is saltier than sea salt, so you may have to adjust the recipe and use a bit less.
Get into the inner stems and rub the salt evenly across each stem/leaf until it has dissolved.
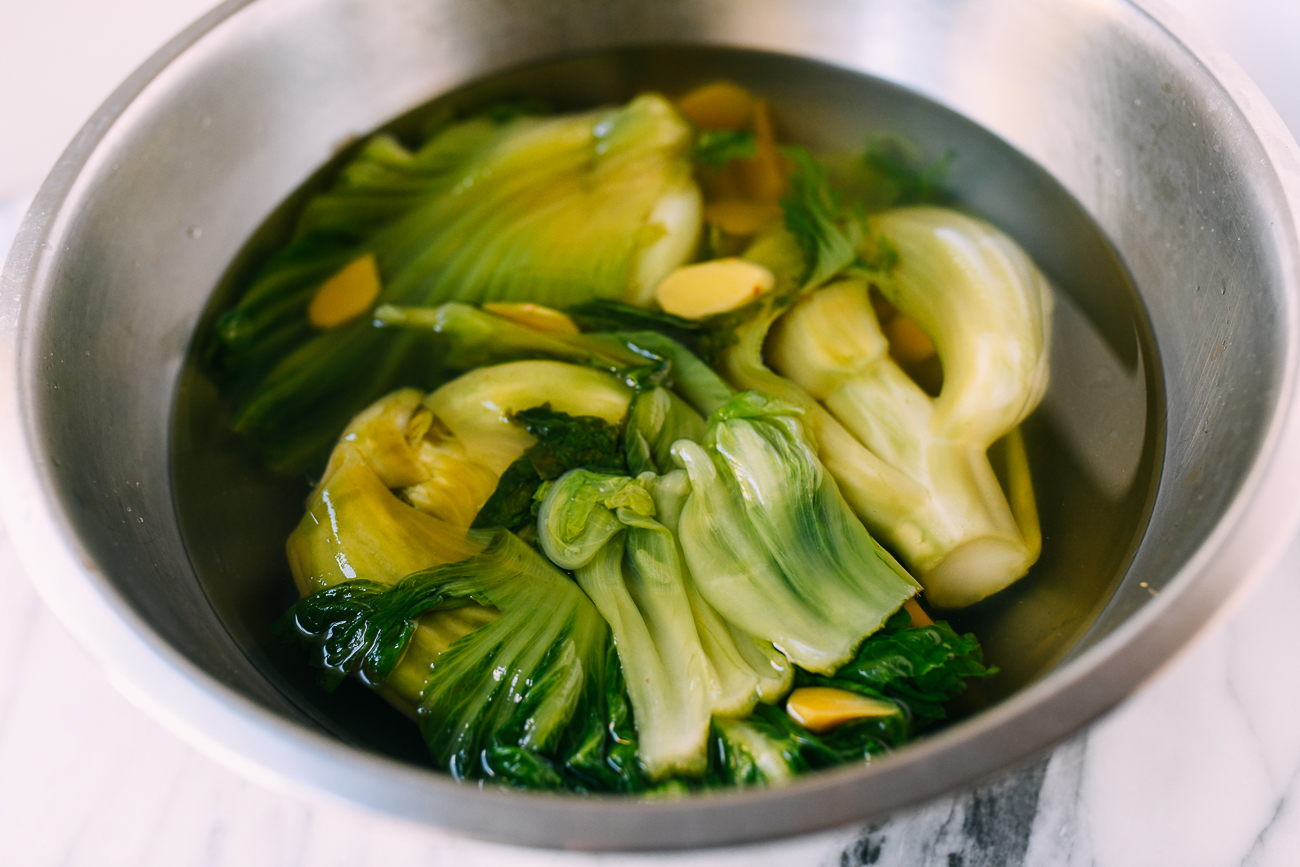
Place into a non-reactive bowl—stainless steel, enamel, ceramic, or glass work.
Pour the ginger-infused blanching liquid over the vegetables.
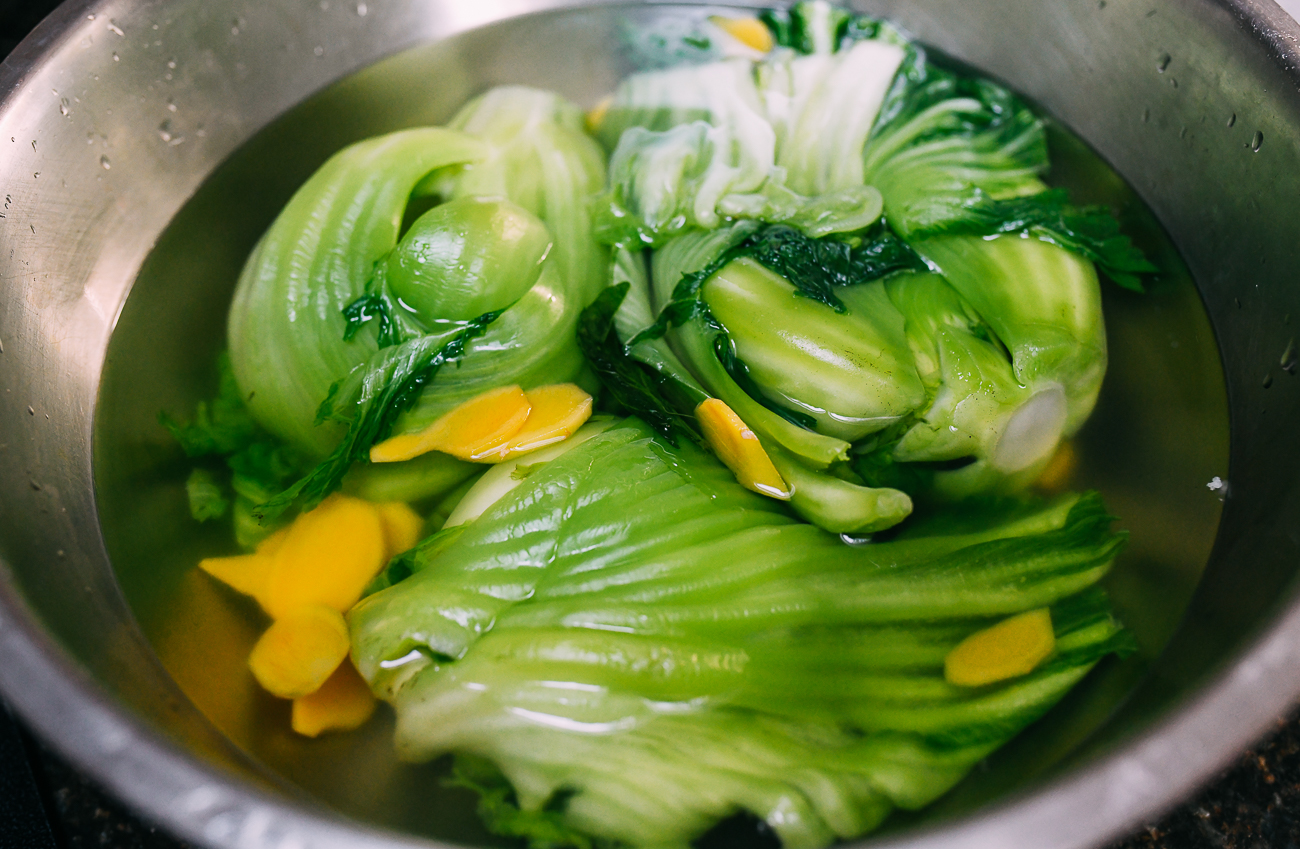
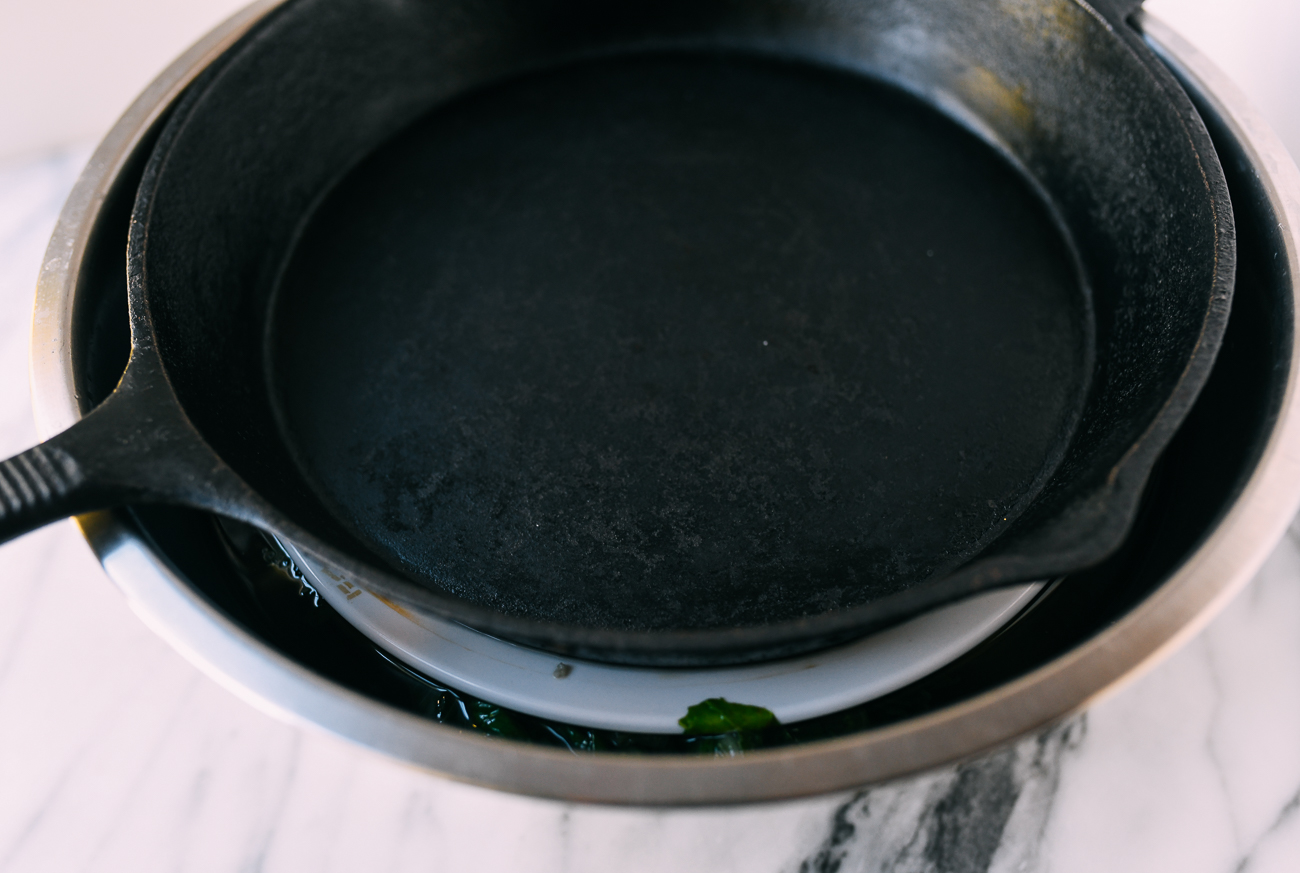
Place a large plate on top of the vegetables with a heavy pot on top to press them down and keep them submerged. Allow the greens to sit in the salted water for 24 hours at room temperature, covered with a clean towel or paper.
Prepare & fill the pickling jar:
Disinfect the jar by first washing it thoroughly. Wash your hands, and rinse the jar with boiling water. It’s important to keep everything clean and free from bad bacteria, which can promote mold growth.
Remove the weight from the bowl of greens.
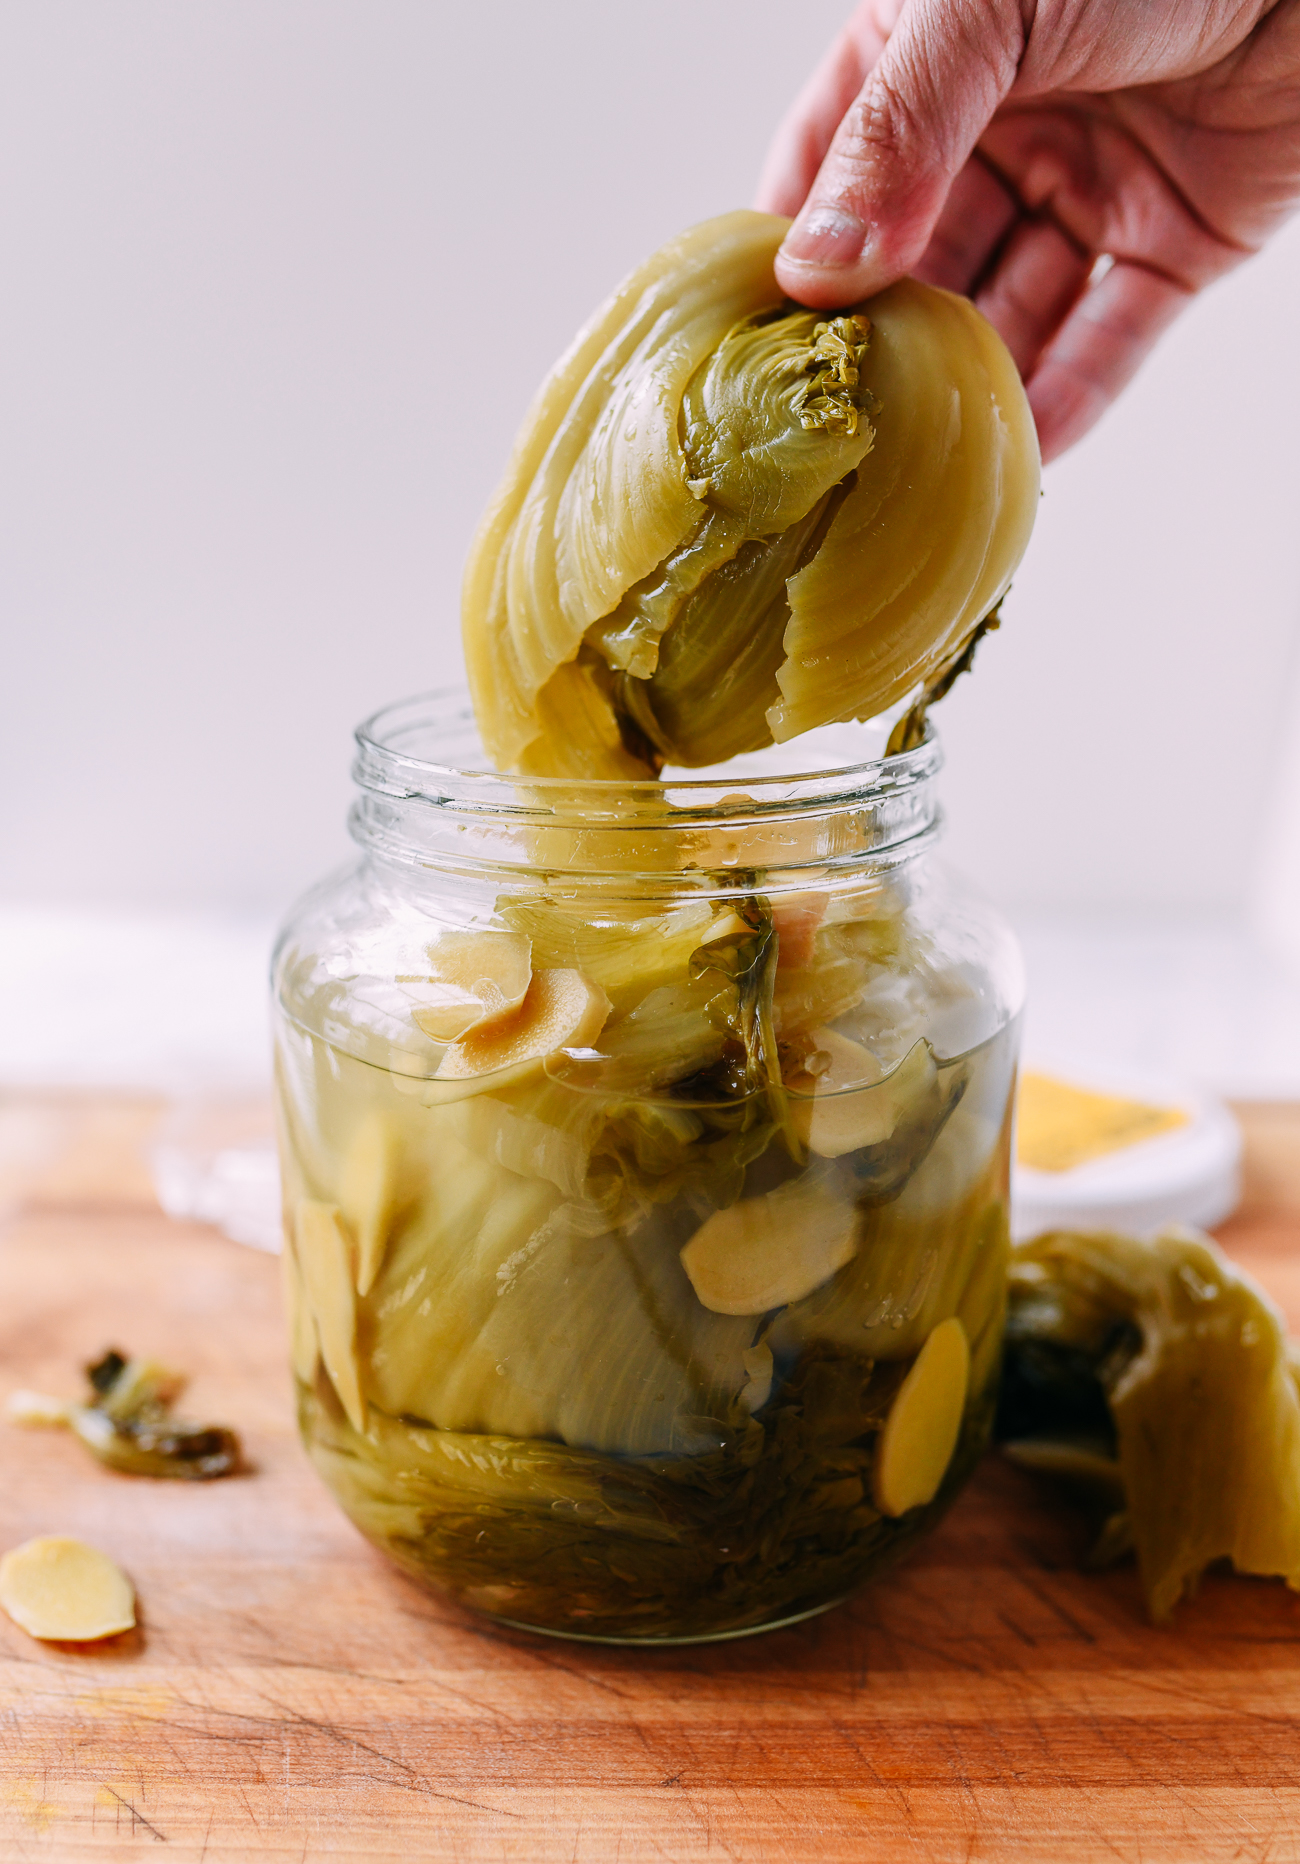
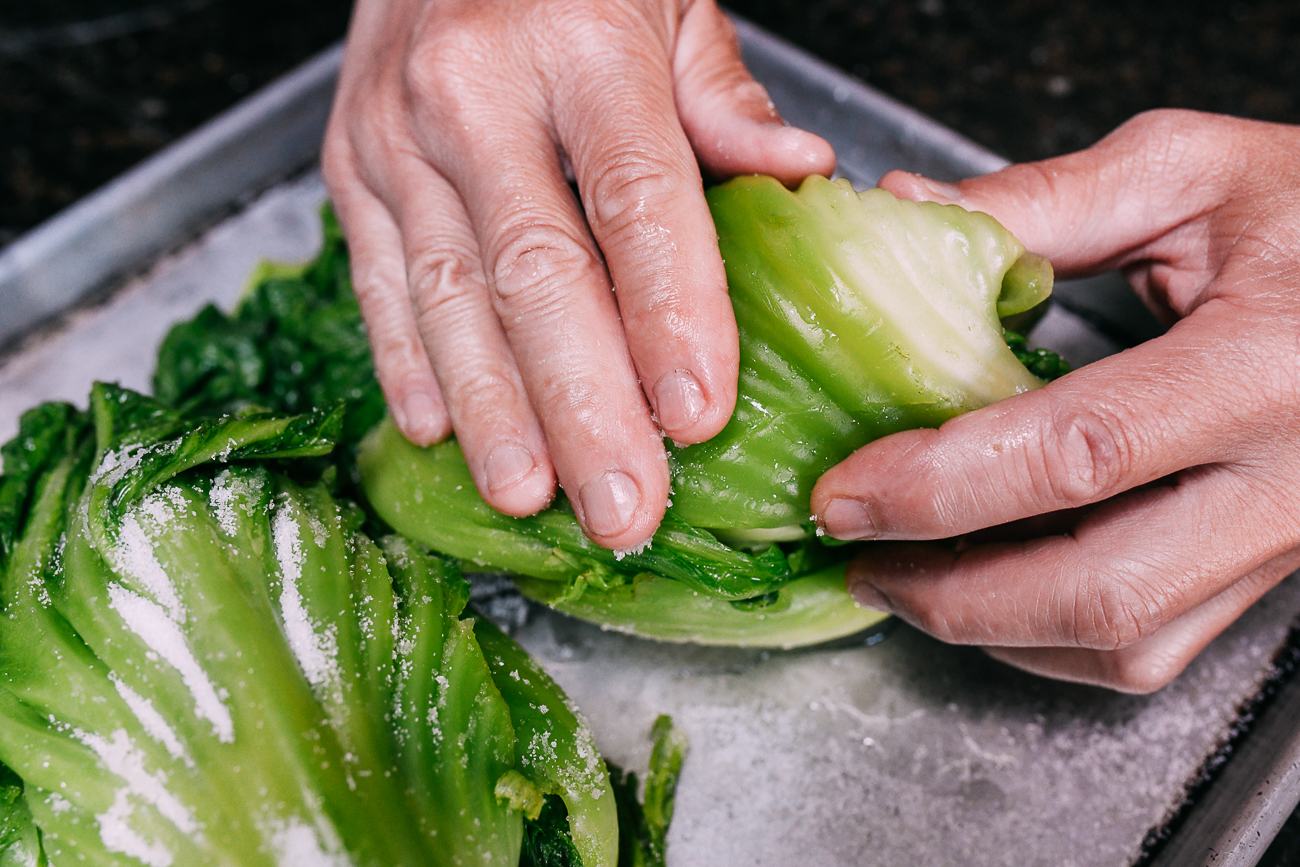
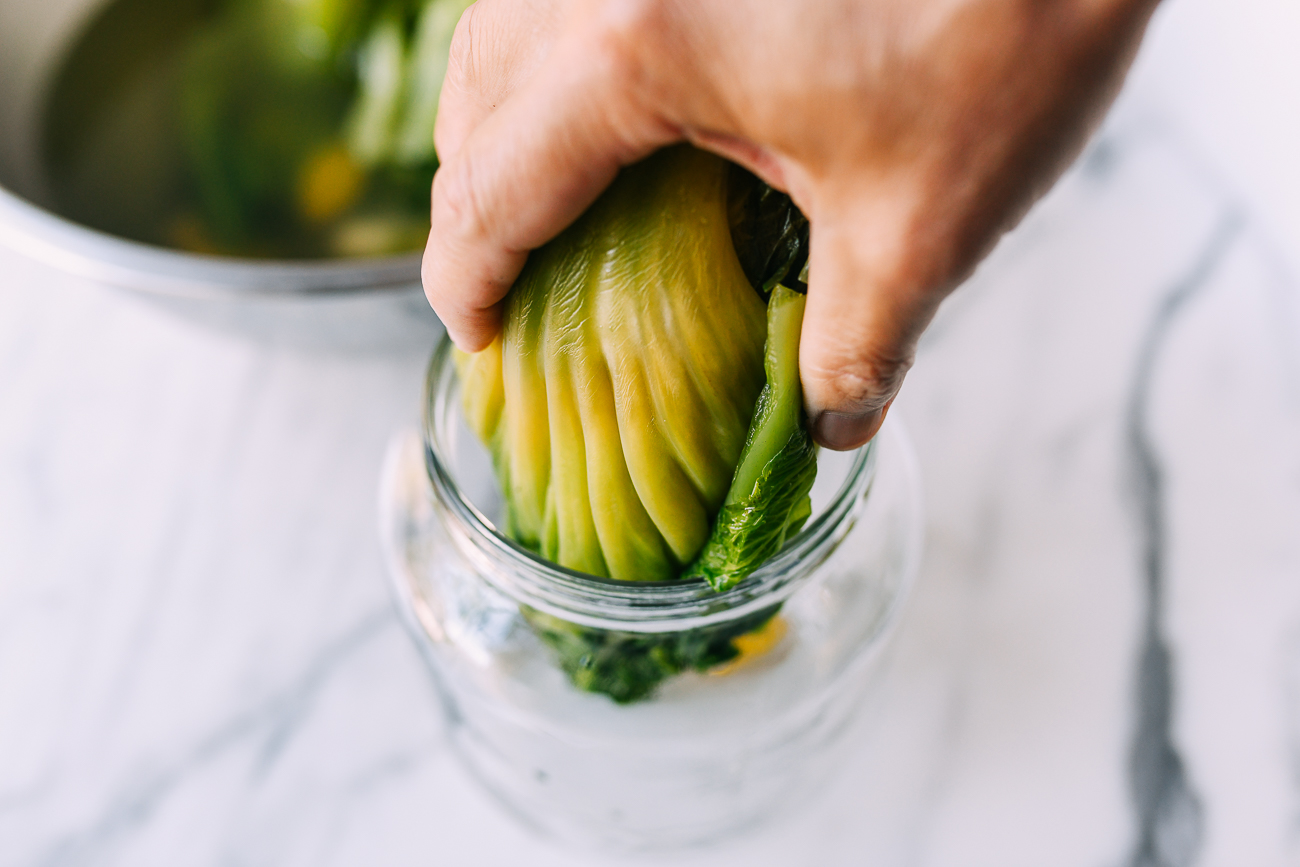
With clean hands or tongs, lift the mustard greens out of the brine solution and let any excess liquid drain for a few seconds.
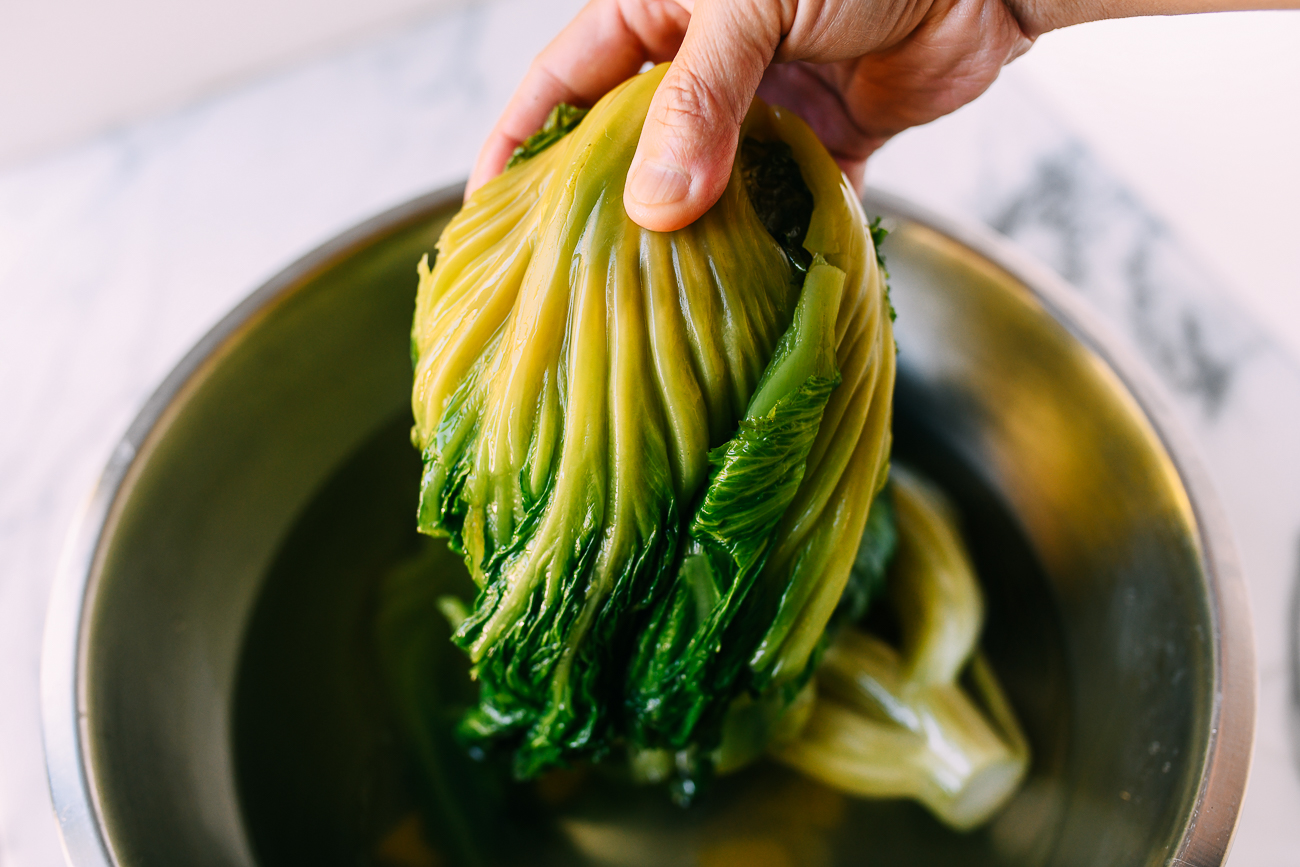
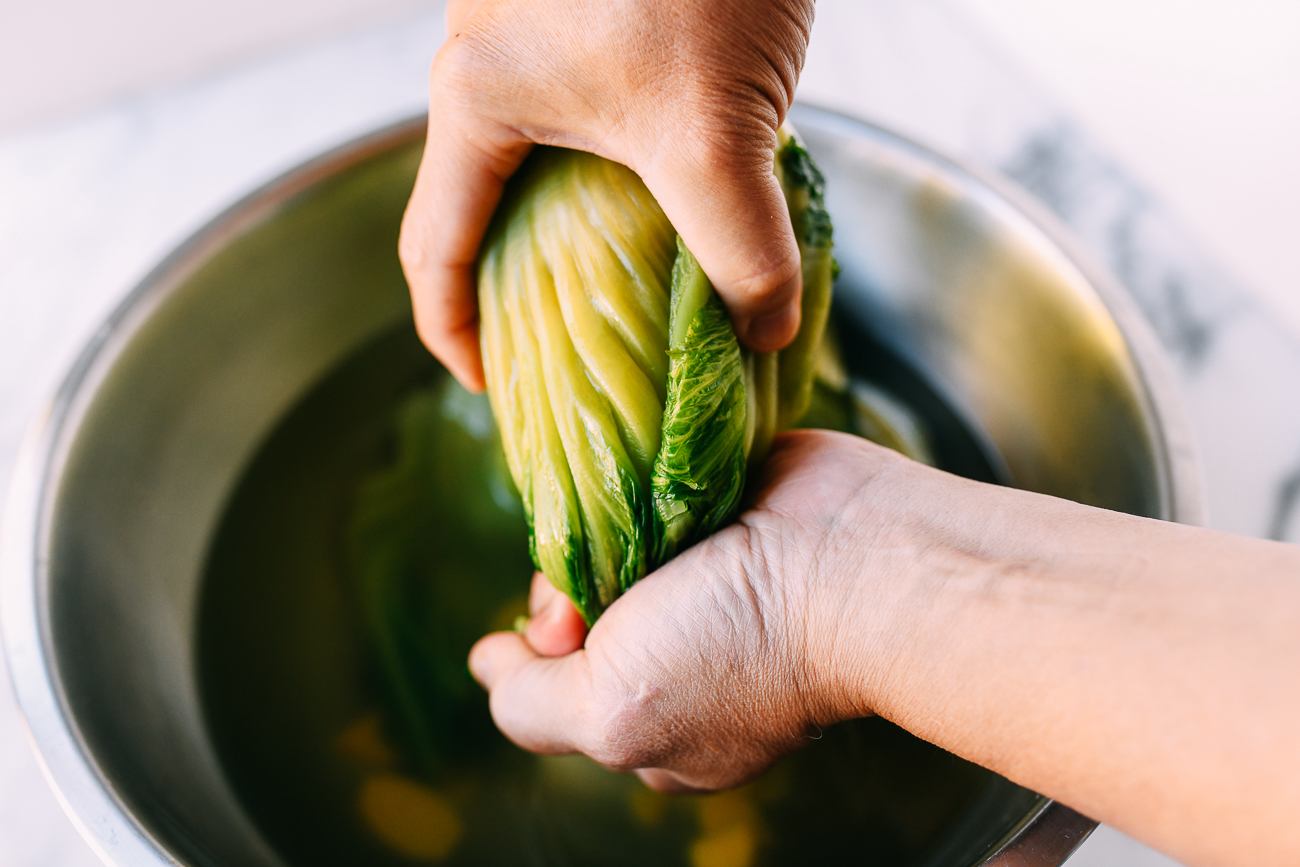
Squeeze the vegetables tightly. This removes spaces where air bubbles can form, and also makes them more compact.
Here you can see grandma doing the same thing:
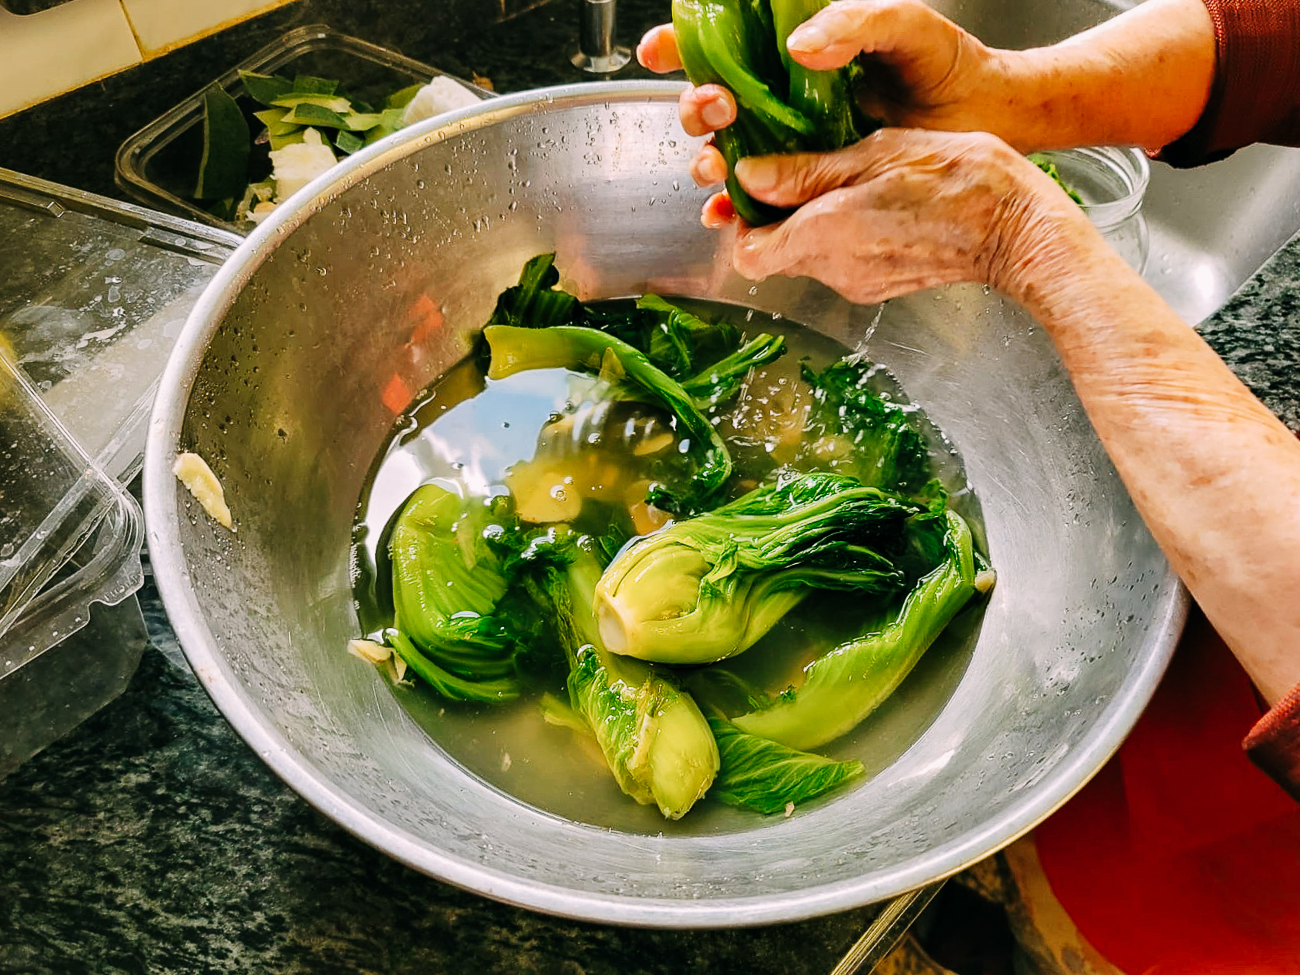
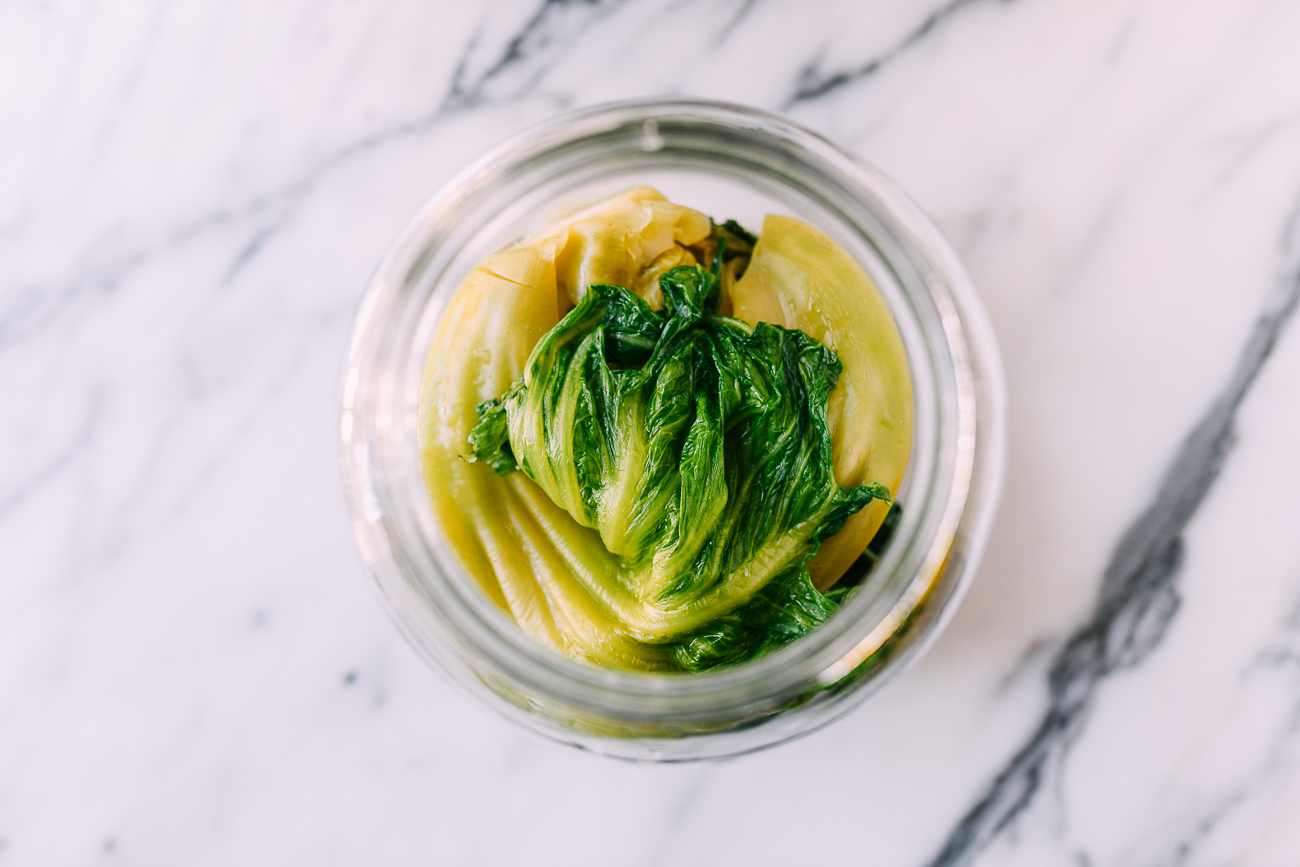
Place them into the jar along with the ginger slices. Do your best to squeeze the vegetables into the jar and distribute the ginger evenly. Reserve the brine, as you will be adding it to the jar momentarily.
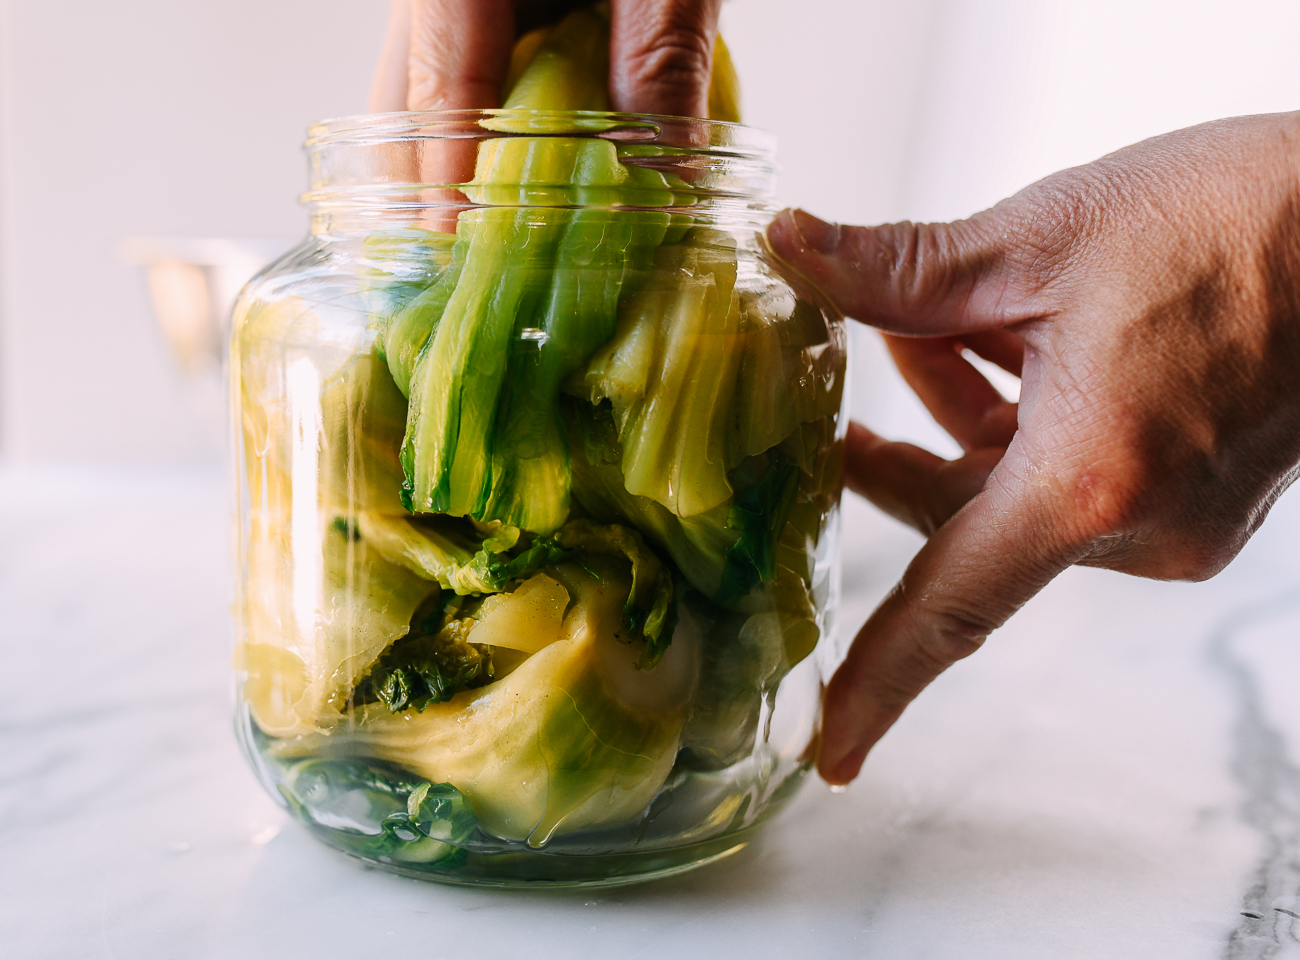
Continue stacking the greens on top of each other, pressing them down tightly into the jar.
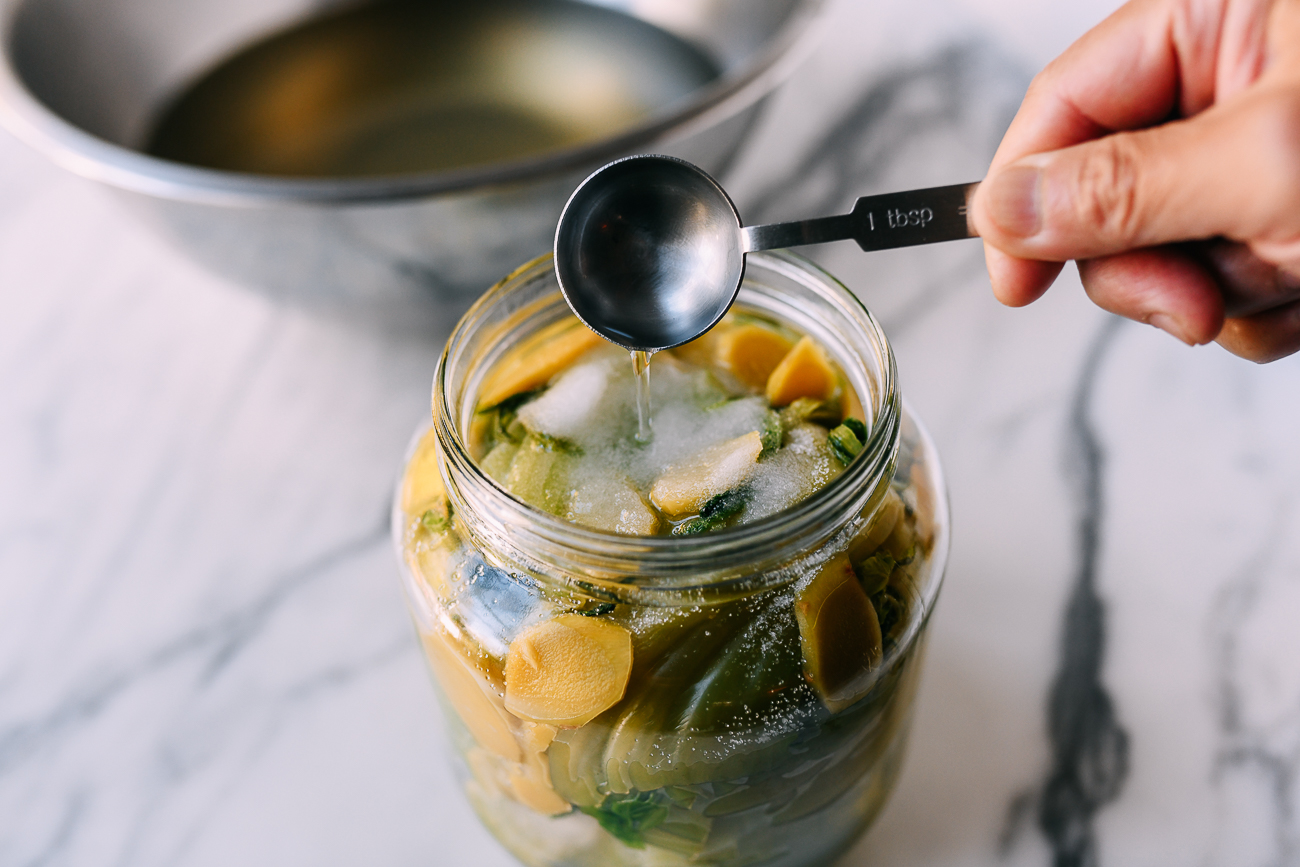
Measure 1 teaspoon (6g) salt and ¾ teaspoon (3g) sugar per pound of greens, and sprinkle on top of the vegetables in the jar.
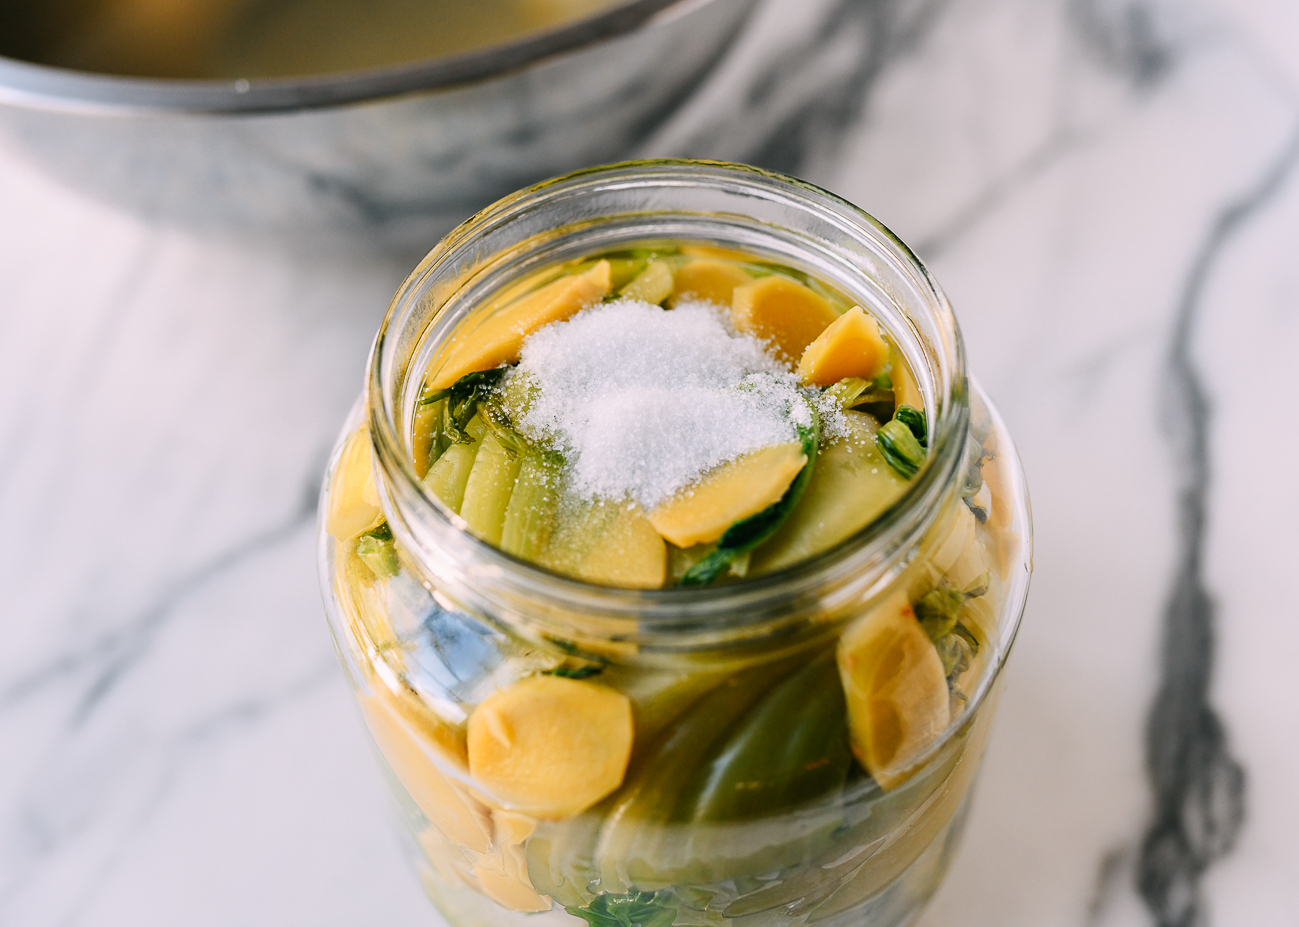
Measure out 2 tablespoons (30 ml) white vinegar per pound of vegetables, and pour it over the salt and sugar in the jar.
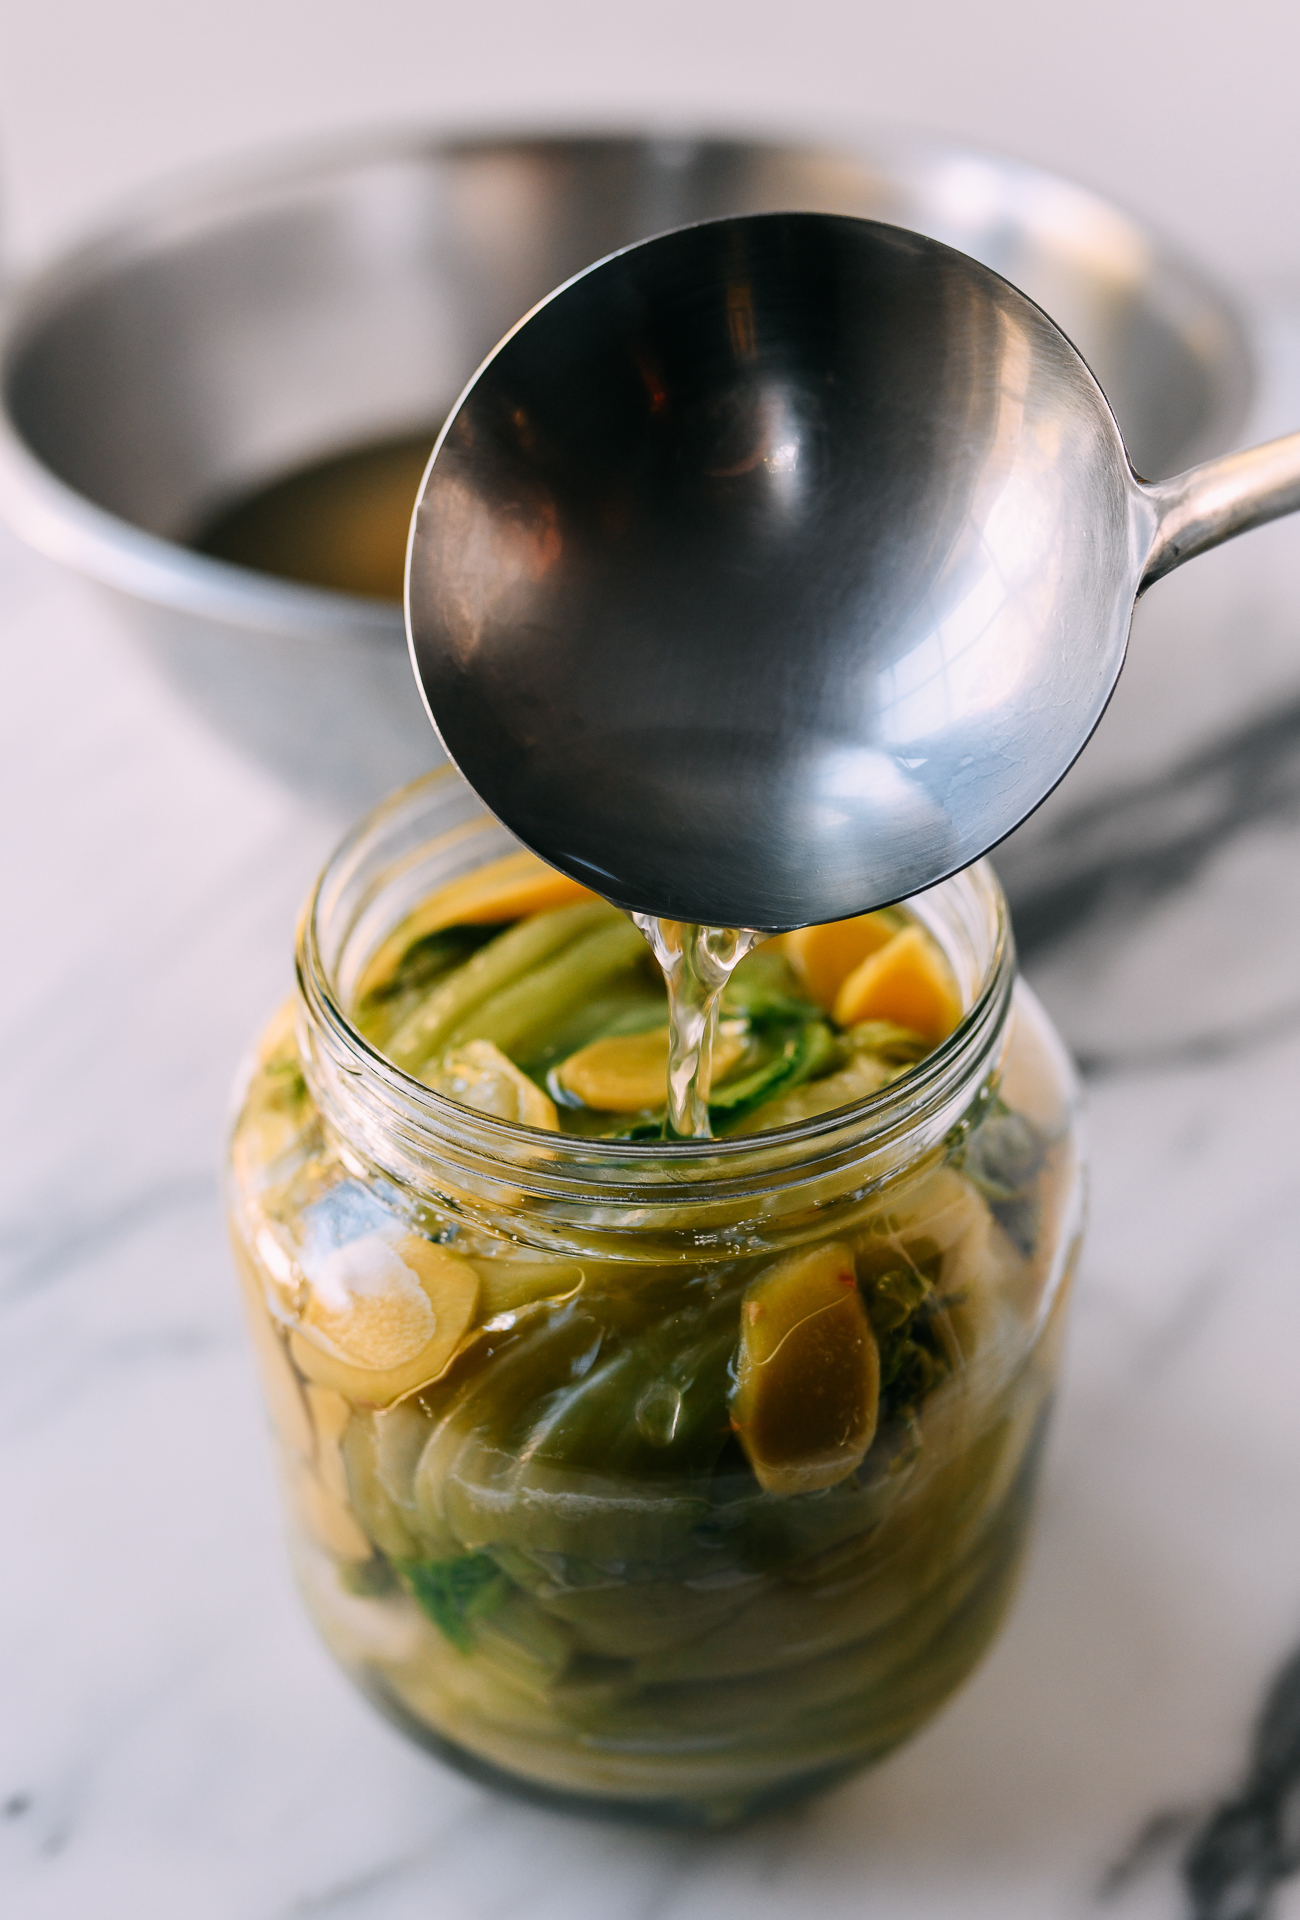
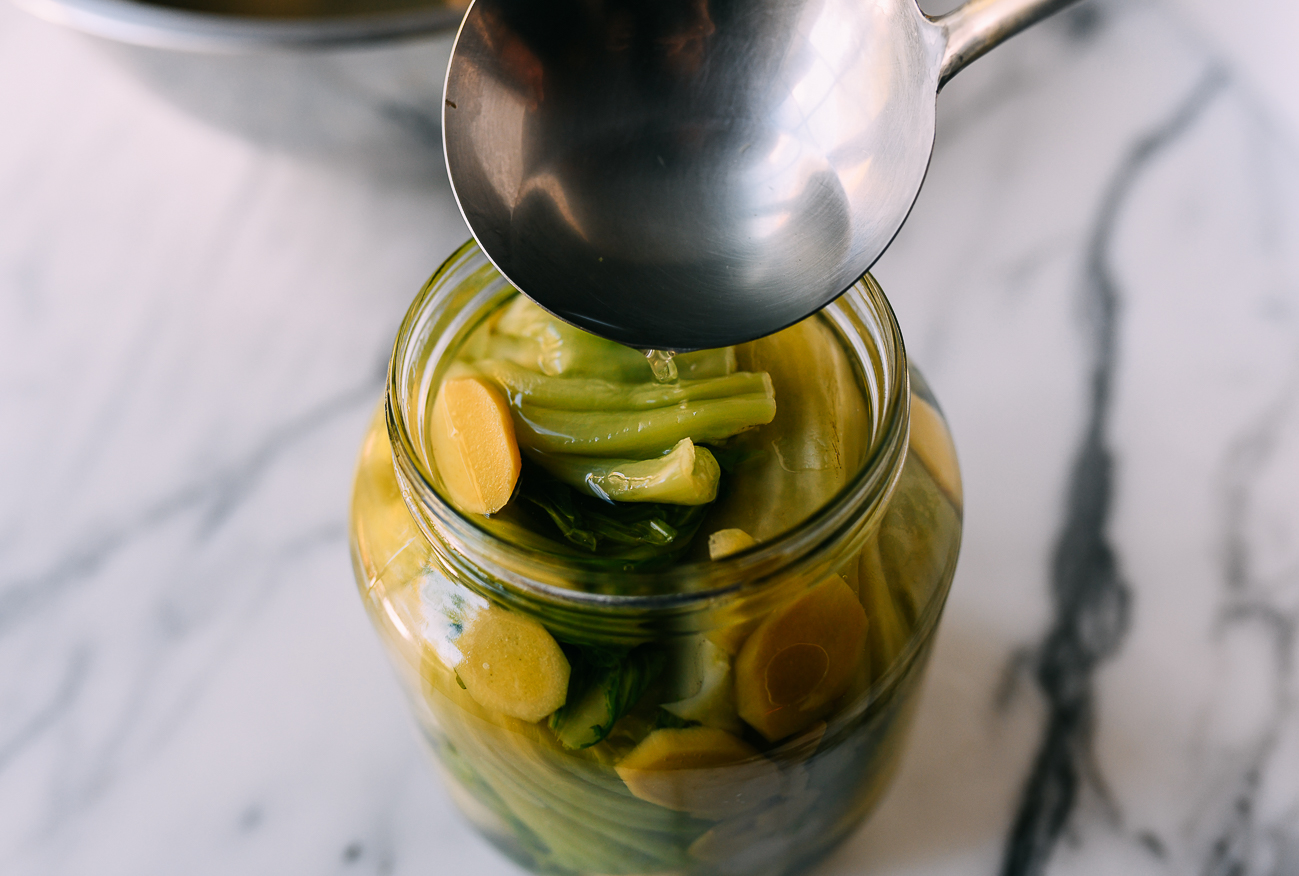
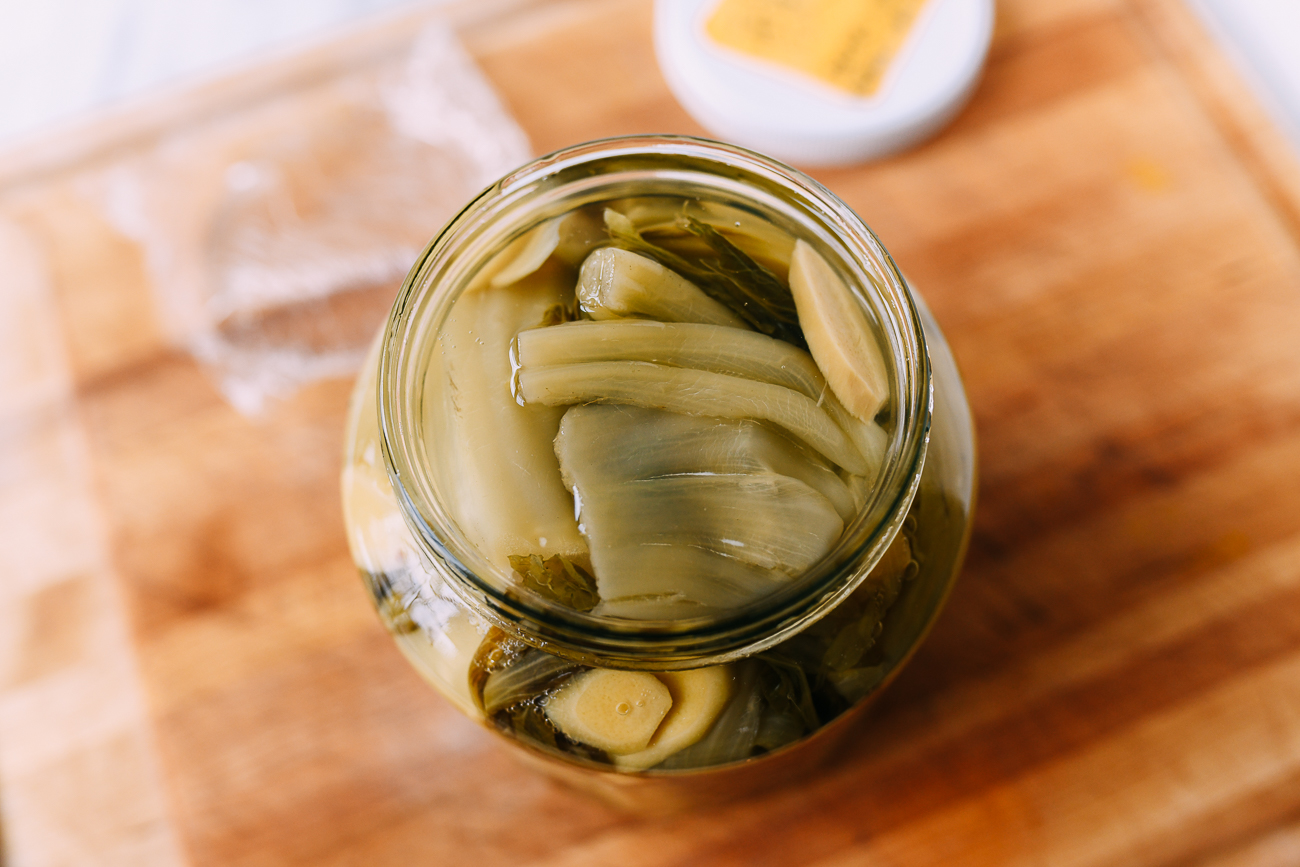
Next, use a clean ladle to carefully transfer the brine into the jar until it is almost full.
Check for air pockets near the bottom of the jar. Use a chopstick to move the mustard greens around to release any air bubbles.
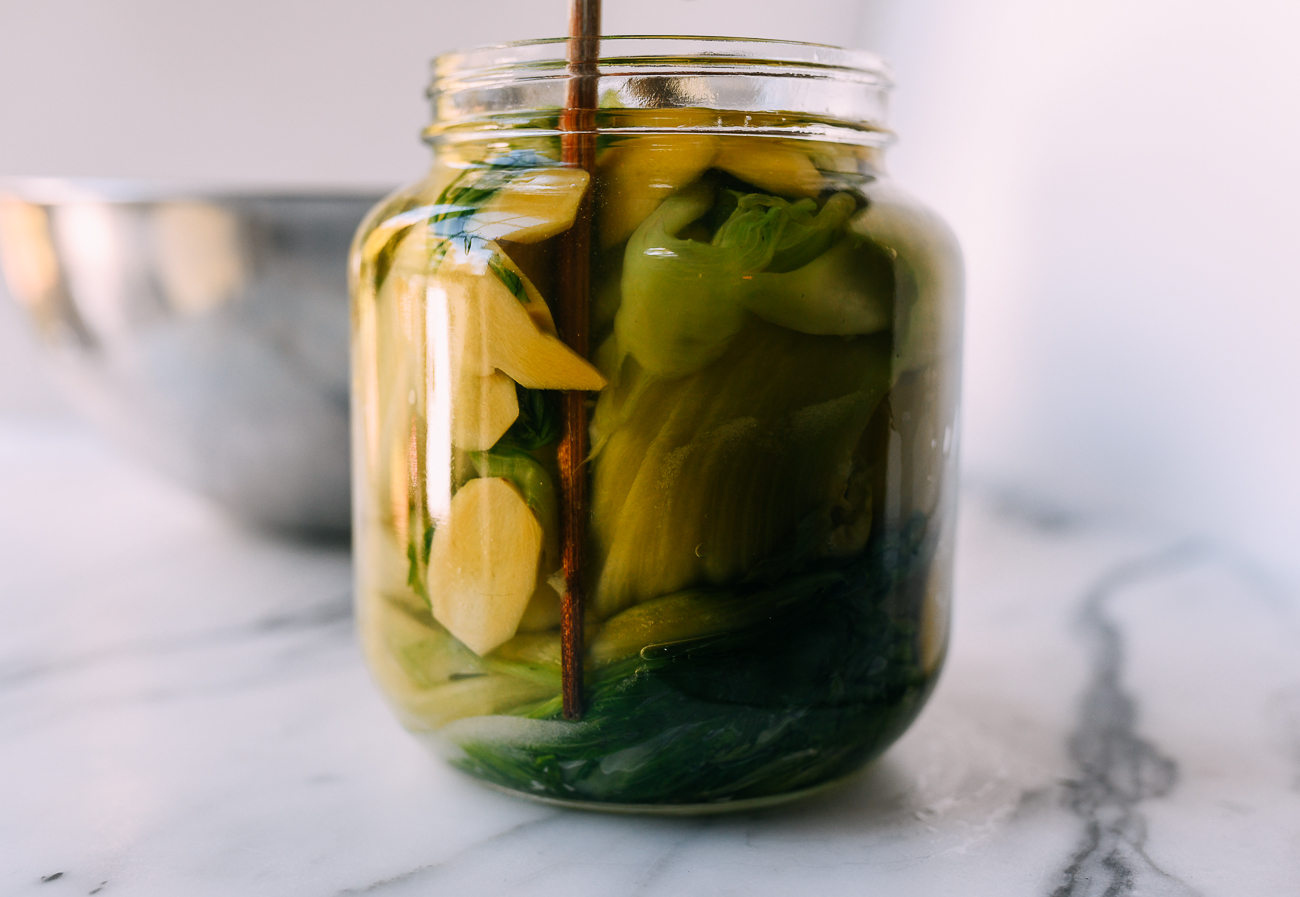
You can also cap the jar and move it around to coax air bubbles up to the top.
Once you feel all air bubbles have been eliminated, fill the jar to the top to ensure that all of the greens are completely submerged in liquid.
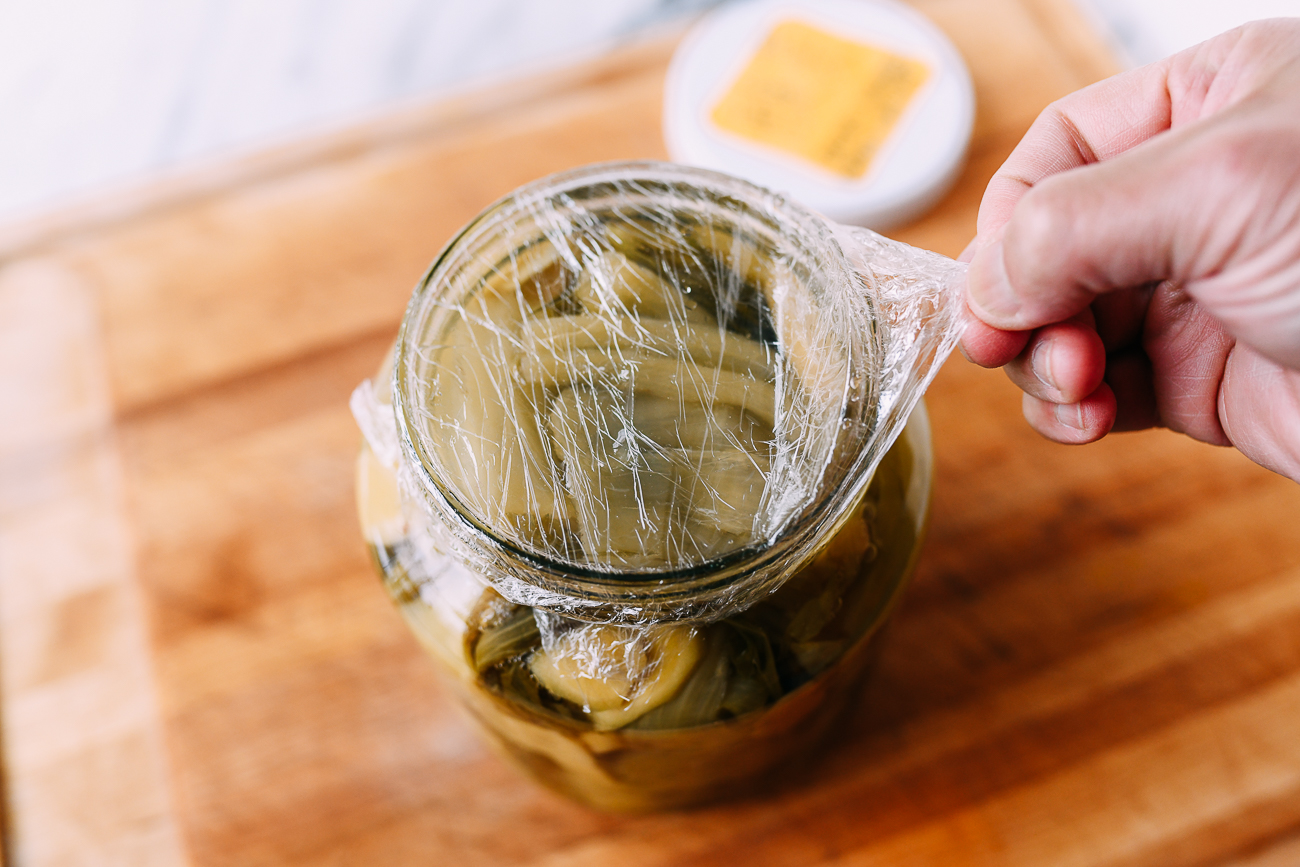
Take a 10- to 12-inch square piece of plastic wrap and fold it in half twice to make a neat smaller square. Place it over the jar, making sure there are no air bubbles under the plastic wrap.
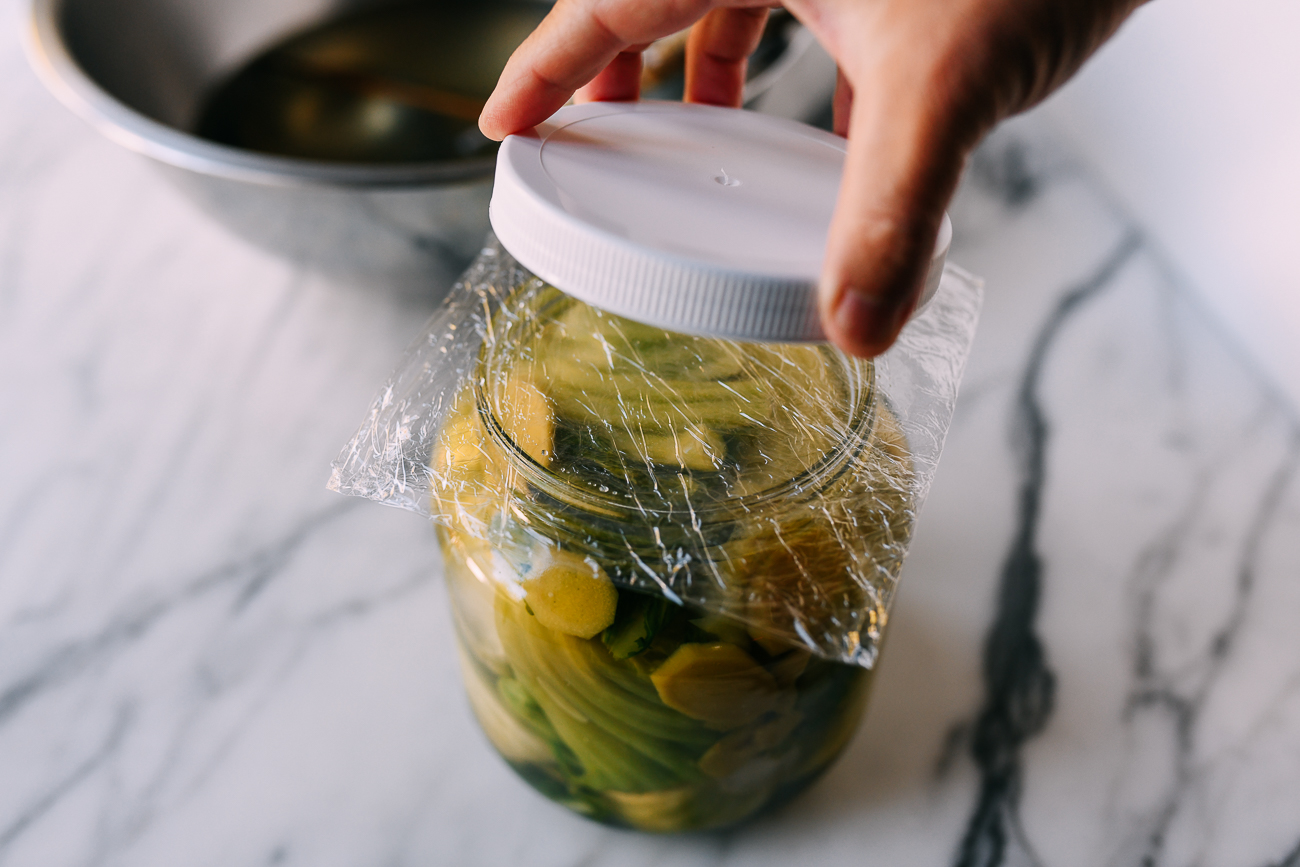
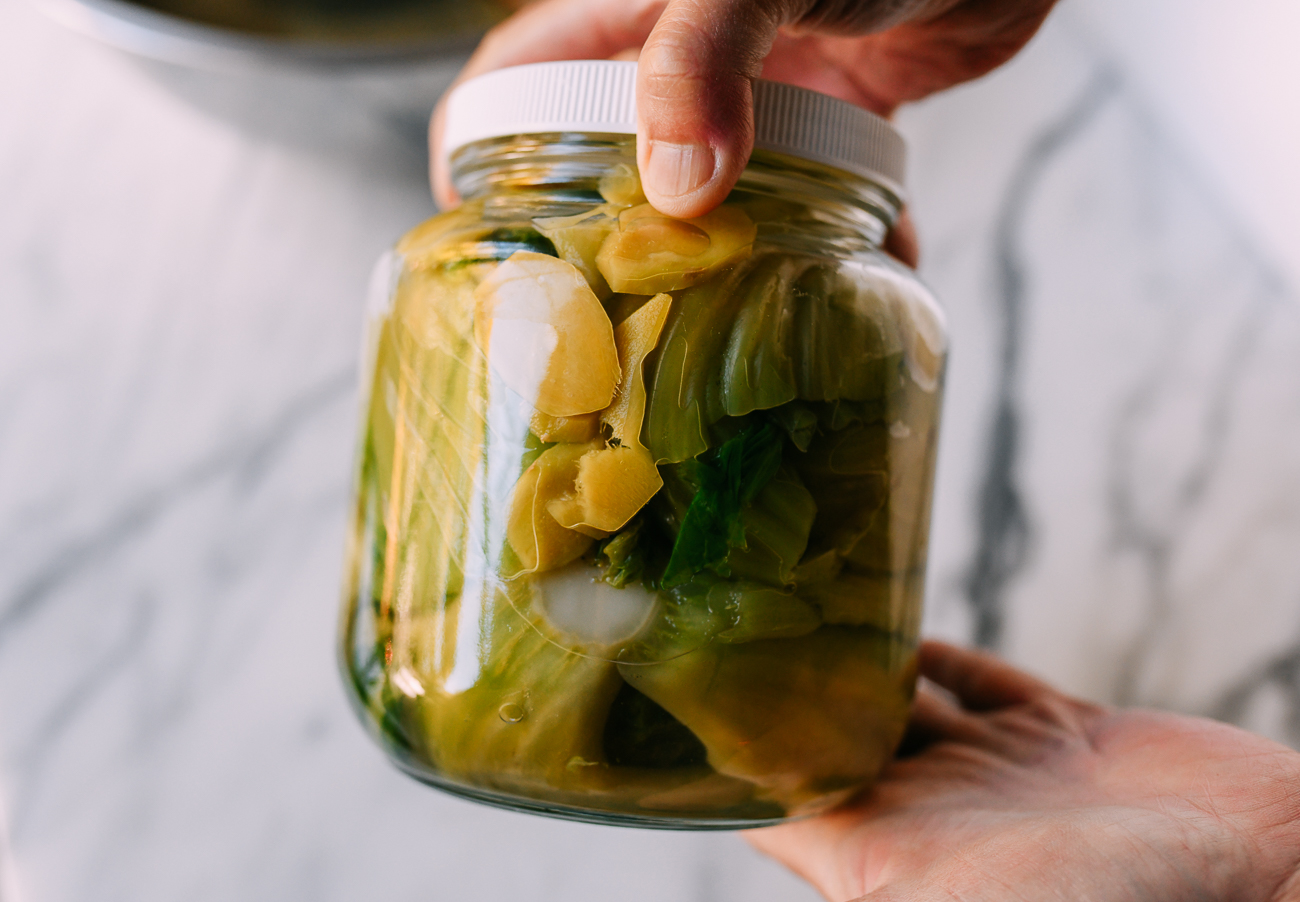
Screw the top on over the plastic wrap to create an airtight fit.
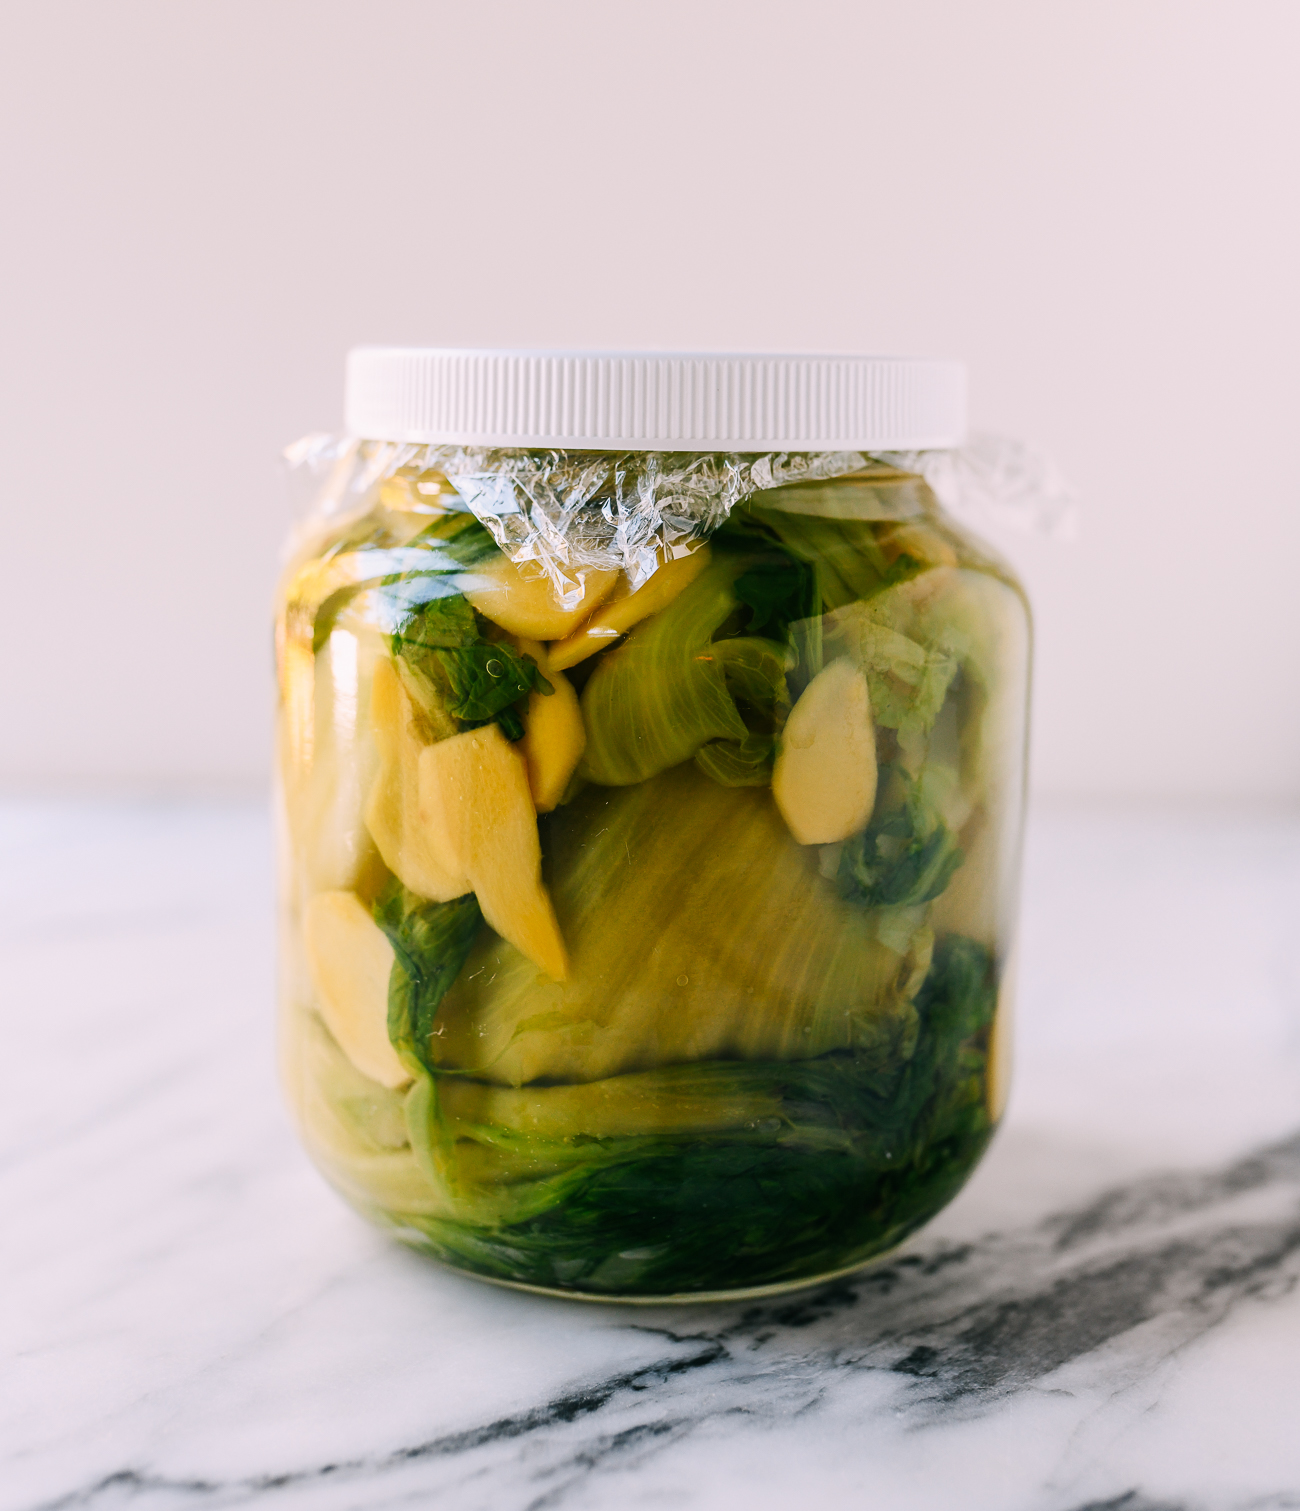
Use a clean kitchen cloth to wipe any liquid from the jar and place a label on it with the date.
Place the jar in a cool dark place for about 2 days, or until the mustard greens have turned from a bright green to a dull green.
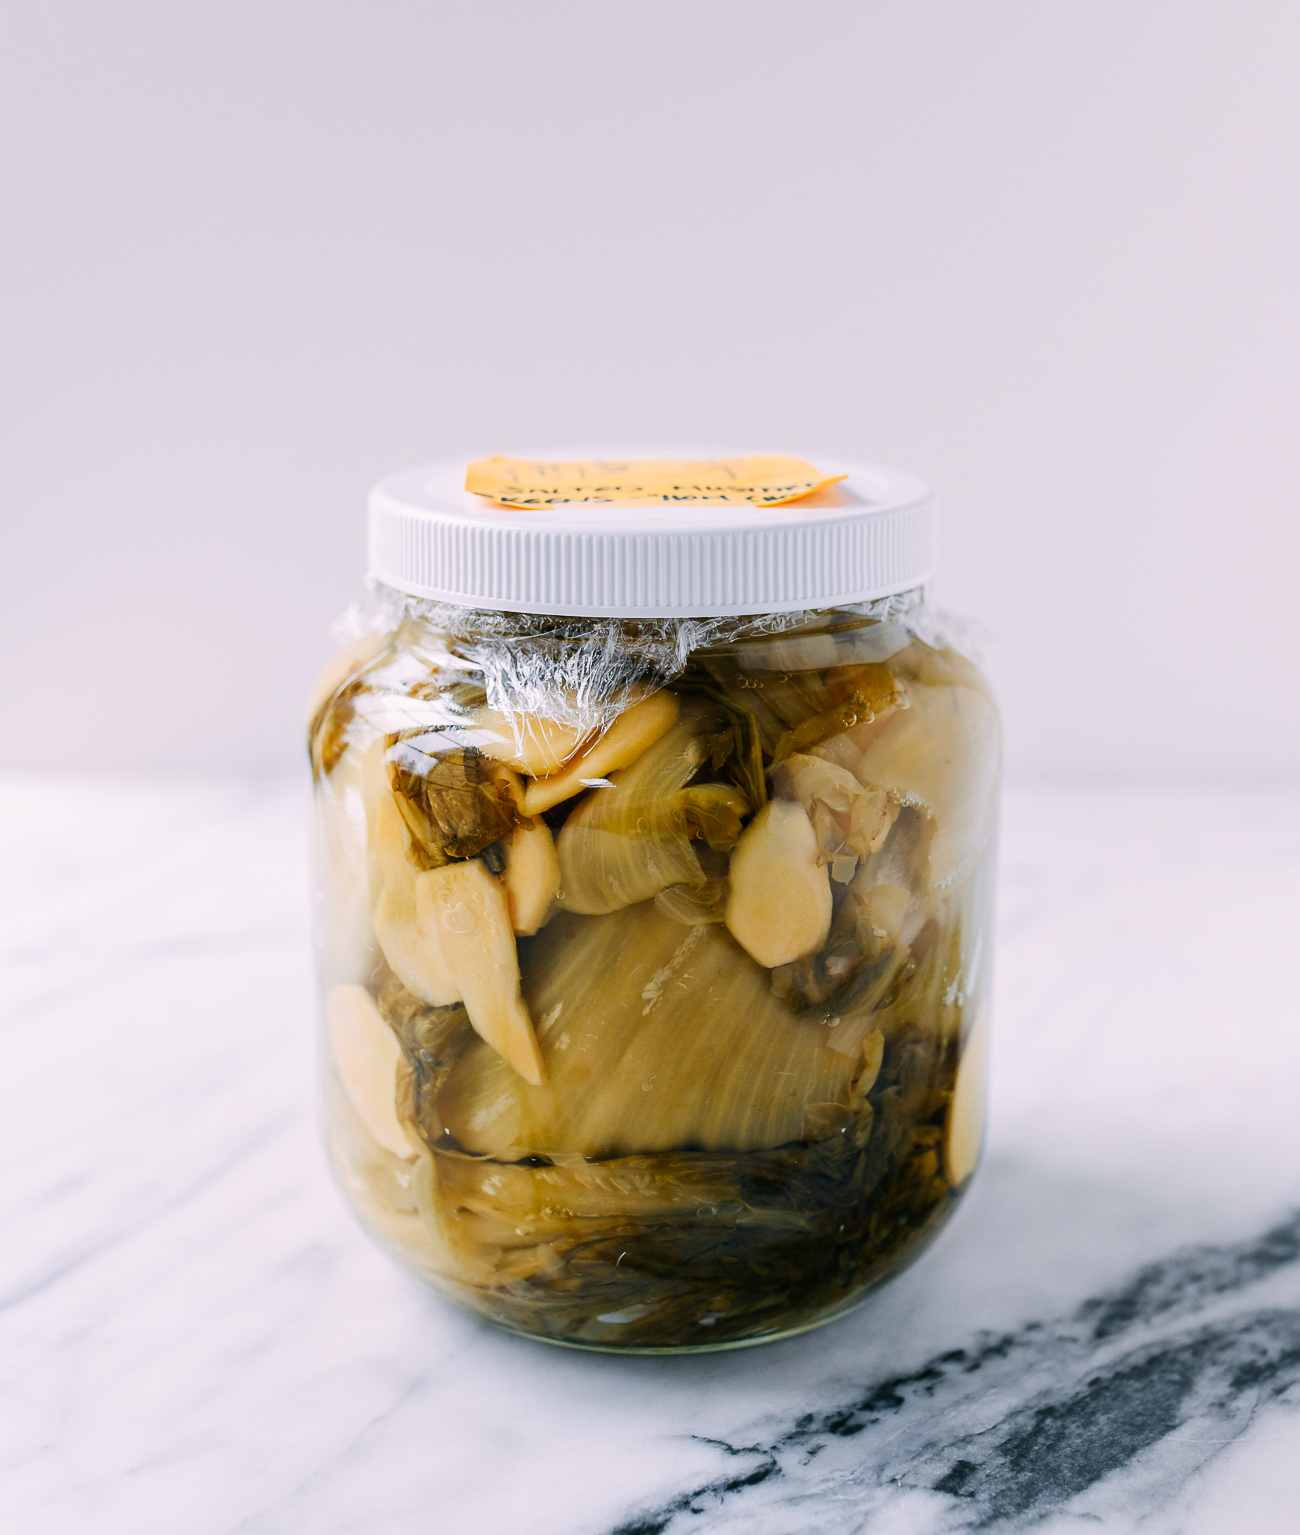
When my grandma first described it to me, she said to me in Cantonese, “you have to wait until the vegetables guo qiang.” I had no idea what she was saying, and she gave me this slightly bewildered look.
But then I remembered my mom describing this to me a very long time ago. Guo qiang in Cantonese is 过青 or guò qīng in Mandarin, or literally “passed green.”
Refrigeration and storage:
After the mustard greens turn a dull green (2 days), put them in the back of the refrigerator, and they should be ready to eat in 7 days.
When removing the vegetables from the jar, use clean utensils and clean hands, so no contamination occurs.
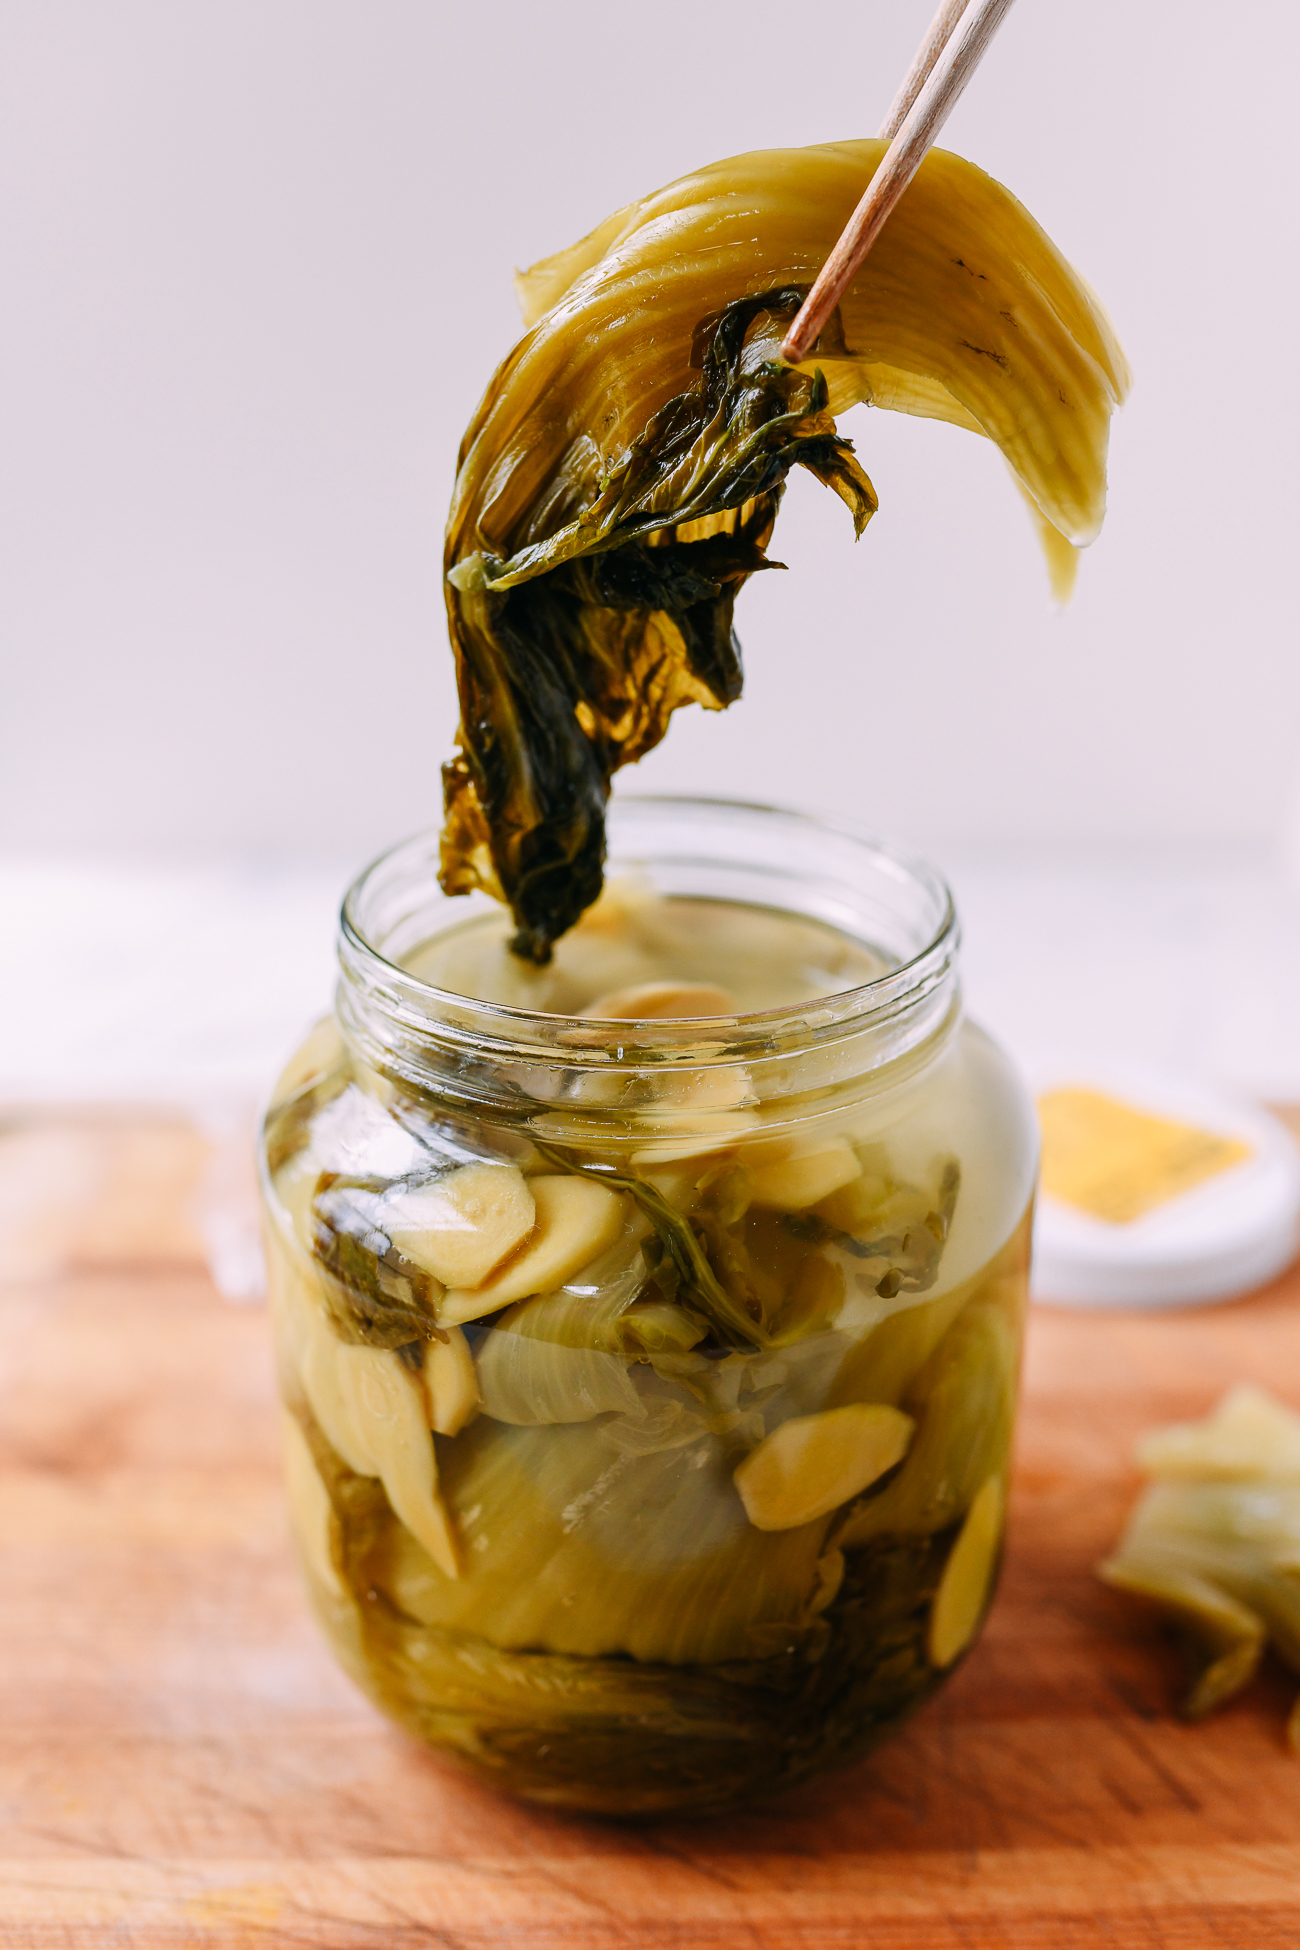
They will keep for weeks in the refrigerator, but it’s best to use them within 1-2 months.
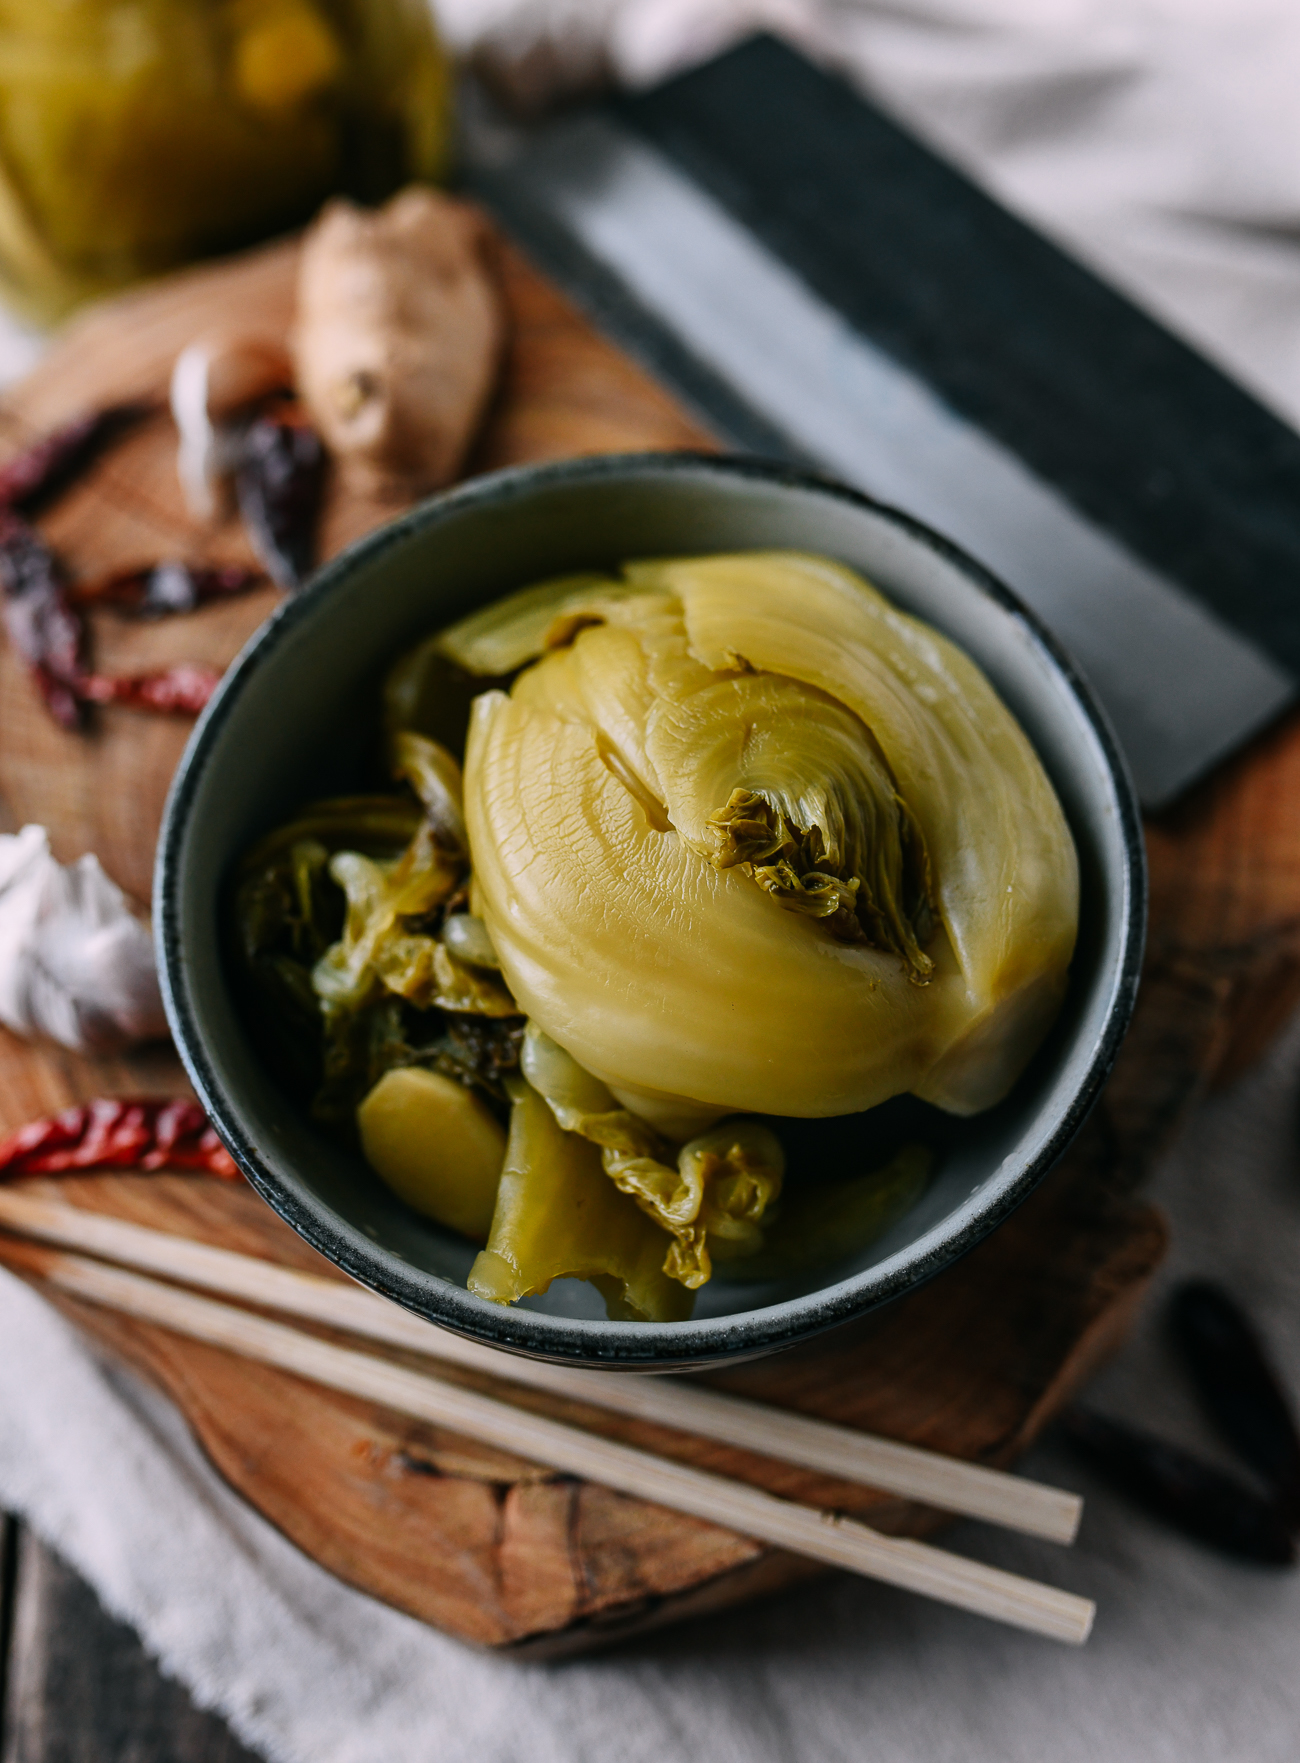
I was pretty surprised at how little time it takes to make such a complex ingredient, but we cooked a Chicken with Haam Choy stir-fry 10 days after we began the process, and it was delicious! The mustard greens were fragrant and took on a nice gingery taste.
Enjoy my grandmother’s traditional haam choy recipe! It has officially been passed down to the next generation.

Watch Video!
Looking for more authentic recipes? Subscribe to our email list and be sure to follow us on Pinterest, Facebook, Instagram, and Youtube!
Recipe

Chinese Pickled Mustard Greens (Haam Choy)
Equipment
- 1/2 gallon tempered glass jar
Ingredients
- 3 1/2 pounds Chinese mustard greens (gai choy, weighed after trimming but before washing)
- 1.5 ounces ginger (peeled and sliced 1/4 inch thick)
- 8 teaspoons sea salt (about 2 1/4 teaspoons/13g per pound of greens)
Blanching/brining liquid
- 10 cups water
- 1 1/2 tablespoons sea salt
To add after jarring the greens:
- 3 1/2 teaspoons sea salt (1 teaspoon/6g per pound of vegetables)
- 2.62 teaspoons granulated sugar (2.62 teaspoons is 2 1/2 plus 1/8 teaspoon; 3/4 teaspoon/3g per pound of vegetables)
- 7 tablespoons white vinegar (2 tablespoons/30 ml per pound of vegetables)
Instructions
- Trim the tough base off of the mustard greens, along with any yellow or brown portions of the leaves. To remove any dirt or sand, soak them in a large bowl of water for 10 minutes. Shake the vegetables to loosen the grit. Lift the vegetables out of the dirty water and rinse. Rinse the bowl, fill with fresh water, and repeat this process two more times. This cleaning step is very important.
- In a large pot, add 10 cups (2.4 liters) of water, bring to a boil, and turn the heat down to medium low. Stir in 1 ½ tablespoons (26g) of salt, until dissolved.
- Place the mustard greens into the simmering water 1 or 2 at a time, so they’re completely submerged. Blanch for 30 seconds, rotating them to evenly heat them on all sides. Lift the mustard greens out of the water and transfer to a clean sheet pan to cool.
- Next, put the sliced ginger into the blanching water and bring the water back to a simmer. Once simmering, turn off the heat, and allow the liquid to cool to room temperature.
- Once the vegetables are cool enough to handle, pour off any excess water from your sheet pan and rub salt (2 ¼ teaspoons/13g per pound of mustard greens) all over the greens, getting into the inner stems and rubbing the salt evenly across each stem/leaf until it has dissolved.
- Place into a non-reactive bowl—stainless steel, enamel, ceramic, or glass work—and pour the ginger-infused blanching liquid over the vegetables. Place a large plate on top of the vegetables with a heavy pot (or a pot filled with water) on top to press them down and keep them submerged. Allow the greens to sit in the salted water for 24 hours at room temperature, covered with a clean towel or paper.
- Disinfect the jar by first washing it thoroughly. Wash your hands, and rinse the jar with boiling water. With clean hands or tongs, lift the mustard greens out of the brine solution and let any excess liquid drain for a few seconds.
- Squeeze the vegetables tightly. This removes spaces where air bubbles can form, and also makes them more compact. Place them into the jar along with the ginger slices. Do your best to squeeze the vegetables into the jar and distribute the ginger evenly. Reserve the brine, as you will be adding it to the jar momentarily.
- Measure 1 teaspoon (6g) salt and ¾ teaspoon (3g) sugar per pound of greens, and sprinkle on top of the vegetables in the jar. Measure out 2 tablespoons (30 ml) white vinegar per pound of vegetables, and pour it over the salt and sugar in the jar.
- Next, use a clean ladle to carefully transfer the brine into the jar until it is almost full. Check for air pockets that may be trapped near the bottom of the jar. Use a chopstick to move the mustard greens around to release any air bubbles. You can also cap the jar and move it around to coax air bubbles up to the top. Once you feel all air bubbles have been eliminated, fill the jar to the top to ensure that all of the greens are completely submerged in liquid.
- Take a 10- to 12-inch square piece of plastic wrap and fold it in half twice to make a neat smaller square. Place it over the jar, making sure there are no air bubbles under the plastic wrap. Screw the top on over the plastic wrap to create an airtight fit.
- Use a clean kitchen cloth to wipe any liquid from the jar and place a label on it with the date. Place the jar in a cool dark place for about 2 days, or until the mustard greens have turned from a bright green to a dull green.
- After the mustard greens turn a dull green (2 days), put them in the back of the refrigerator, and they should be ready to eat in 7 days.